Save money on motorbike maintenance and learn to change your own chain and sprockets with MCN
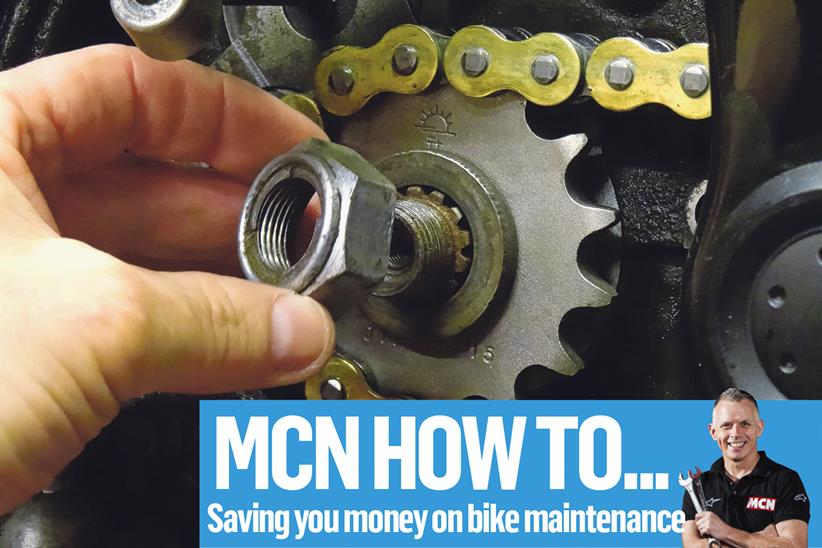
Well-maintained motorcycle chains and sprockets will last thousands of miles, but like all service parts they will eventually wear out.
The majority of motorcycles on the road use a chain and sprockets for their final drive and you can prolong their life by cleaning and lubricating regularly with dedicated products. Alternatively, you could fit a Scottoiler or similar auto lube system.
Related
Adjusting your chain by moving the rear wheel back along the swingarm to maintain the correct tension also helps. But once the chain has stretched beyond adjustment and the teeth on your sprockets have worn, it’s time to make a change.
This means a trip to the local mechanic for many, but it’s actually a job you can do yourself with relative ease and a few specialist tools.
Things to do before you change your motorcycle’s chain and sprockets at home
Count your teeth
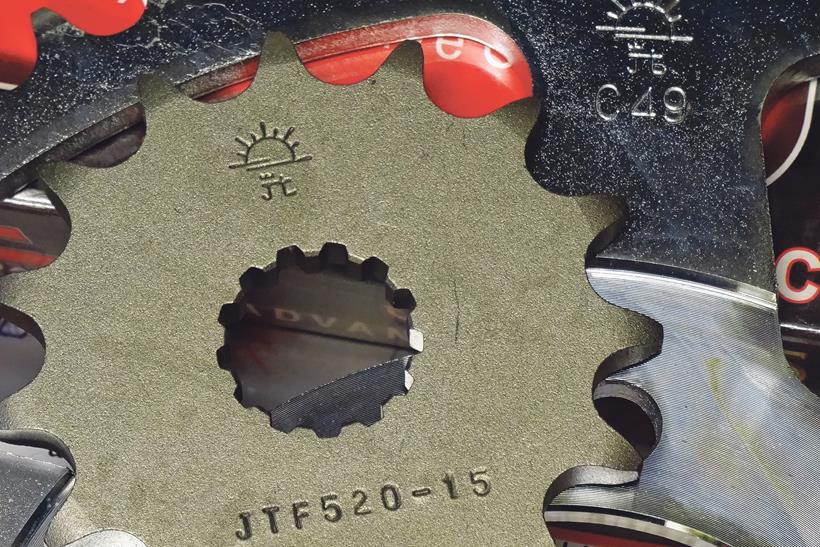
Although it is a fun job to do, you don’t want to be doing it too often, so always go for a premium chain and sprocket set. Some, like the set we used from JT Sprockets, will be manufactured to a higher spec than the OE – JT are one of the only sprocket makers in the world to use super-tough C49 high carbon steel.
And remember, you should always replace your chain and sprockets together, so quite often it’s more cost effective to buy a complete drive kit.
When ordering new sprockets, it’s important to select the correct one for your needs. Models often have various sized sprockets that you can order, each with a different number of teeth. Deviating from the standard spec will change the final drive ratio, altering performance, and even upsetting the speedo. Your manual will give you the number of teeth.
Get tooled up
It’s an easy job to do at home, but you’ll need the correct tools:
- Breaker bar
- Large single-hex socket to fit the front sprocket retaining nut
- Socket set for the rear wheel spindle and rear sprocket retaining nuts
- Chain splitter and riveter
Step 1 – Get access to your front sprocket
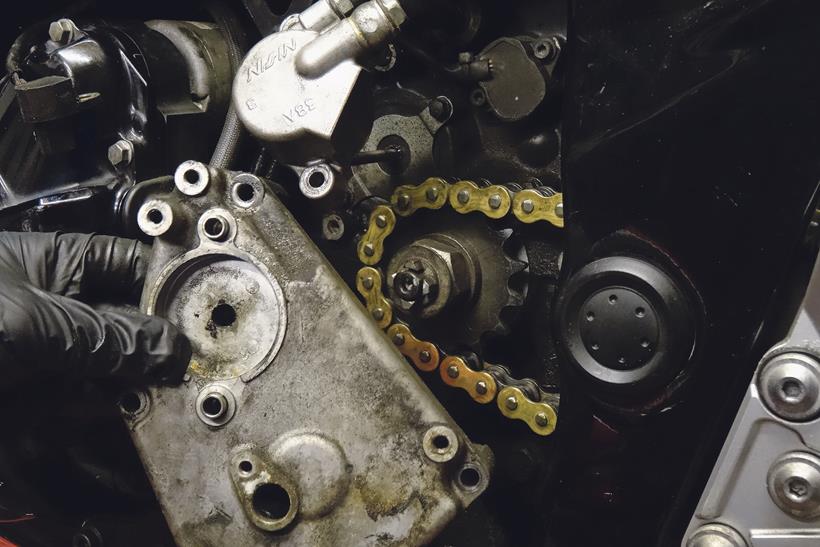
First, remove the front sprocket. To gain access to it you’ll usually need to remove a cover by undoing the retaining bolts. Beneath it some bikes like this Suzuki GSX650F may also have a hydraulic cover that will also need removing. If it’s also necessary to remove the gear lever from the spline be sure to mark its position relative to the boss with pencil.
Bruce’s tip: Don’t squeeze the clutch lever while the master cylinder’s not attached
Step 2 – Socket to that nut
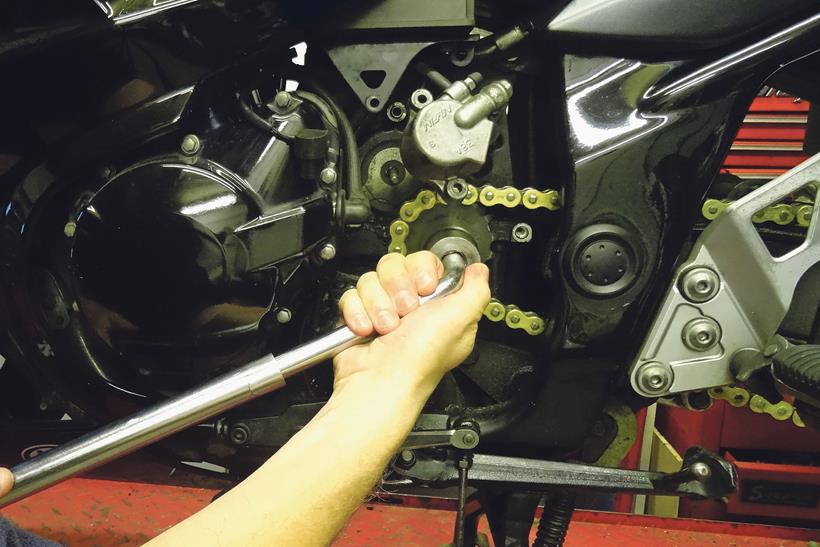
Find a socket that fits the retaining nut. You should use one with at least 1/2-inch drive and ideally a single hexagon type. Keep an eye for a locking tab washer behind the nut, as this will need to be tapped back prior to undoing the nut. You will also need to use a breaker bar because of the high torque and leverage required to undo it.
Bruces tip: Get someone to hold the back brake on whilst you apply leverage to the bar
Step 3 – Out with the old, on with the new
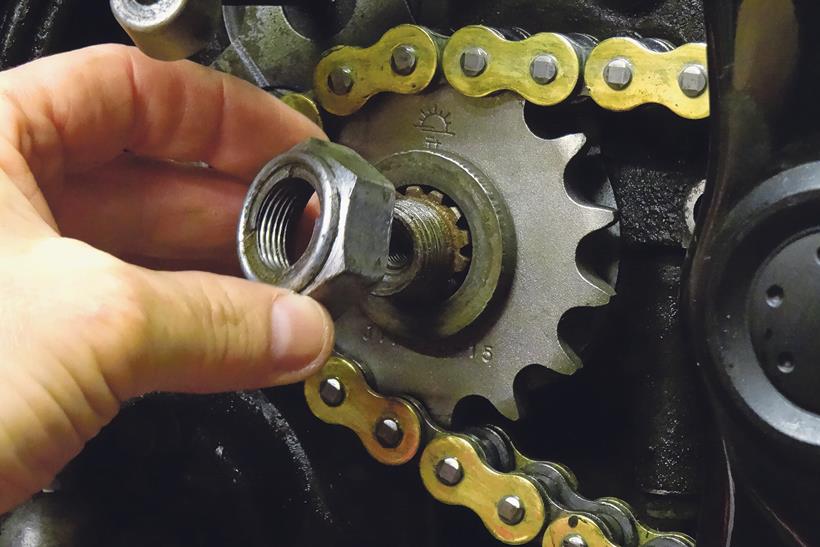
Slacken the chain with the adjusters. Remove the front sprocket and slip the new one on in its place, then put the tab washer on and make sure it’s lined up on the spline. Fit the retaining nut – make sure you put it on the correct way (there is often a recess that faces the sprocket). Torque up and bend the tab over one side.
Step 4 – Round the back…
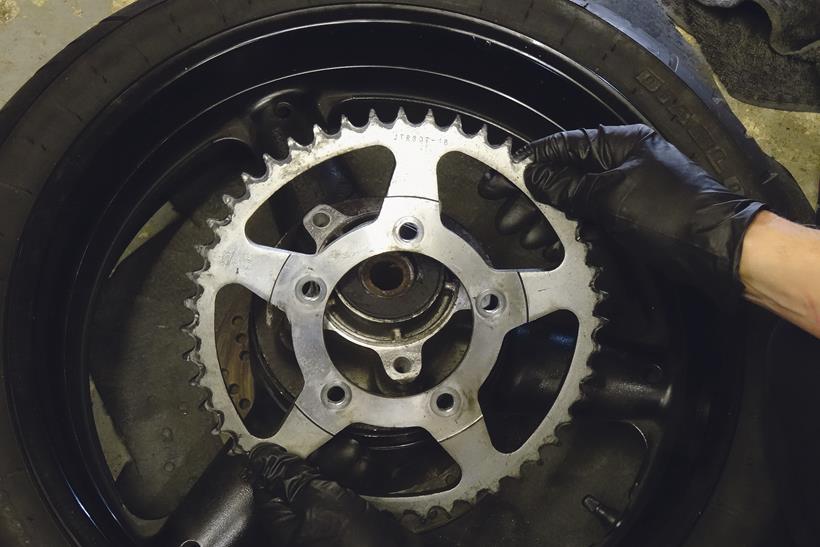
To fit the rear sprocket, first remove the rear wheel. With the wheel out, lay it flat on the floor on a soft surface that won’t cause damage to the rim. Undo the nuts that retain the rear sprocket, making sure to keep them safe for installation later. Just like the front sprocket, make sure the new sprocket is the correct type and size.
Step 5 – Go nuts!
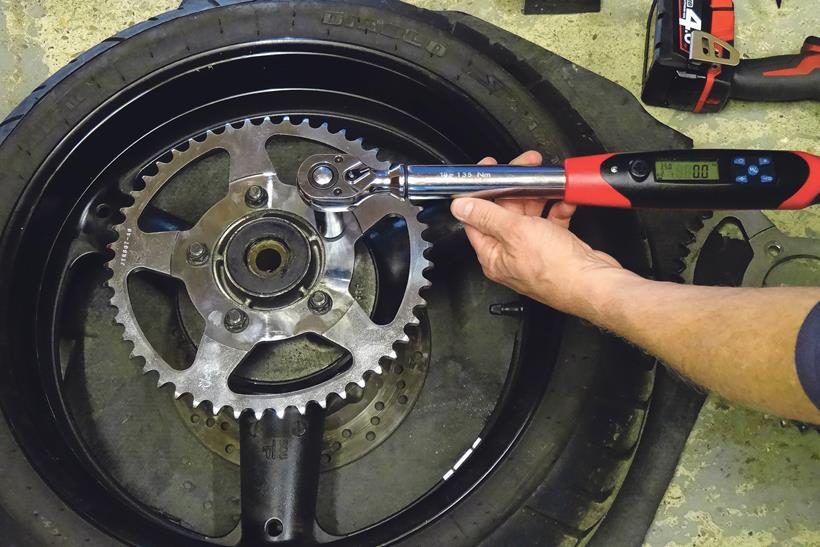
Place the new sprocket on the mounting surface and tighten up the nuts by hand. If there are no locking tabs, all of the nuts should be the self-locking type. Tighten them up in an opposing criss-cross sequence first, then refer to the manual for the specific torque and use a torque wrench to tighten them up to spec.
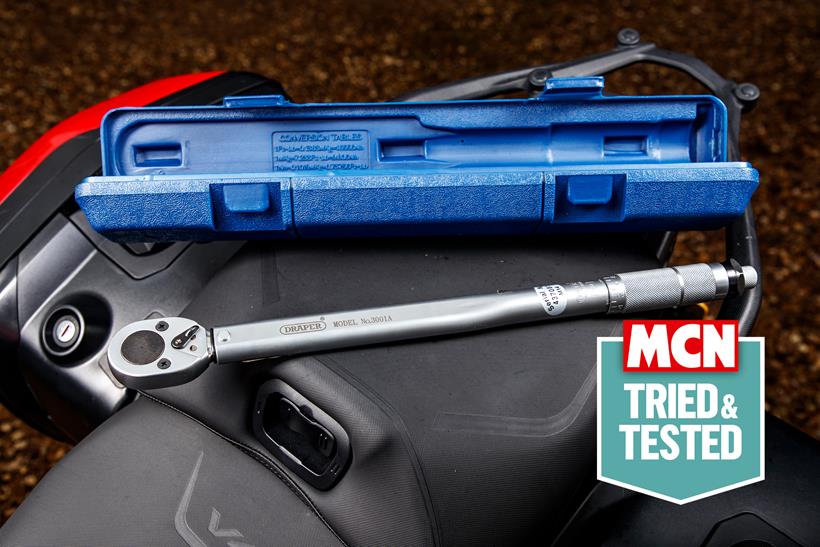

"If you do any work on your bike (or other vehicles) you really must have a torque wrench. I’ve got one for high-torque jobs, and a smaller one for more delicate tasks. This Draper item is the meaty one.
"Rated to cope with torques from 20-210Nm (22.1 – 154.9lb.ft), it’ll cover the vast majority of common tasks that use large nuts, like wheel spindle nuts, swingarm pivot bolts, headstock nuts etc. And these are all things you don’t want to under- or over-tighten – the consequences of both are dire, and potentially very dangerous.
"To use it, you simply add the relevant socket to the 1/2in square drive (like any other ratchet), set the torque rating on the marked handle, and tighten the nut or bolt in question. Once the right torque is reached, there’s an audible ‘click’ and it feels momentarily like you’ve broken something as the tension goes slack. Couldn’t be simpler."
Find our full list of the best torque wrenches
Step 6 – Time to split the chain
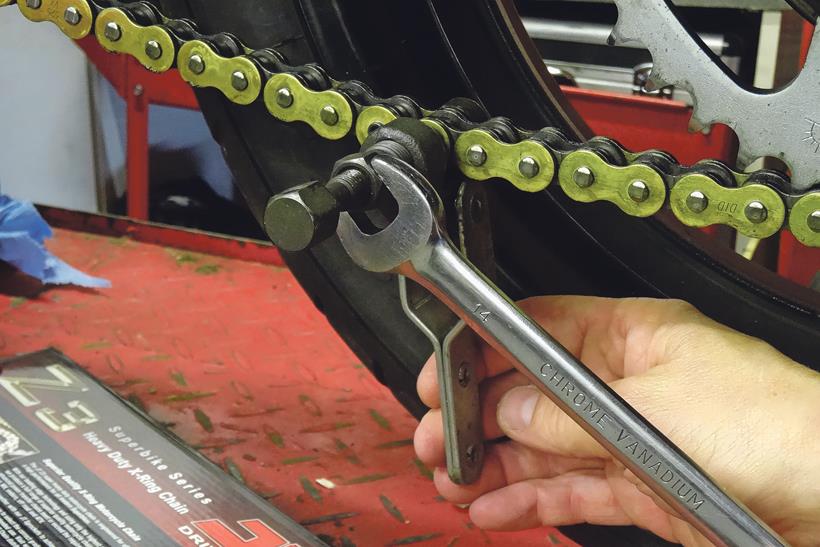
Tighten the chain again – having it a bit tighter than normal will prevent it twisting. Place the splitter on one of the links – seek the soft link as sometimes these can be easier to undo. Wind the pin in until it starts to press a link out. Keep winding until it’s flush, then push the other pin through from the opposite side.
Bruce says: One word of caution about refitting chains: always make sure you have the correct tools for splitting and riveting the chain. Even though it might sound like fun to take an angle grinder to your old chain, it’s a bit of a bodge and there’s always a risk of damage. Chain tools cost around £30 and will help you make a proper job of it.
Step 7 – Put on the new chain
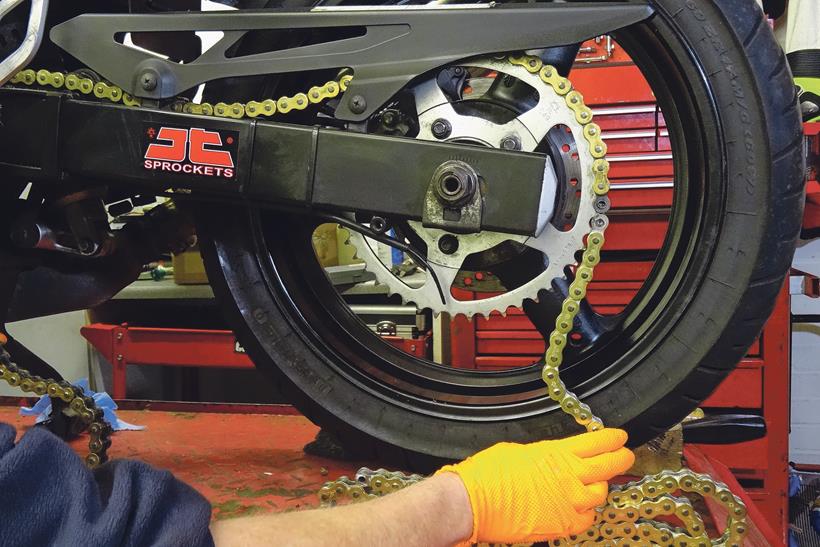
Put the bike on a stand so the rear wheel can turn. Join the new chain to the old using the split link, then slowly pull the old chain whilst feeding in the new chain. Do it until the new chain is around both front and rear sprockets. Remove the old chain, making sure that the adjusters are set so that the new one can be joined.
Step 8 – Make a link
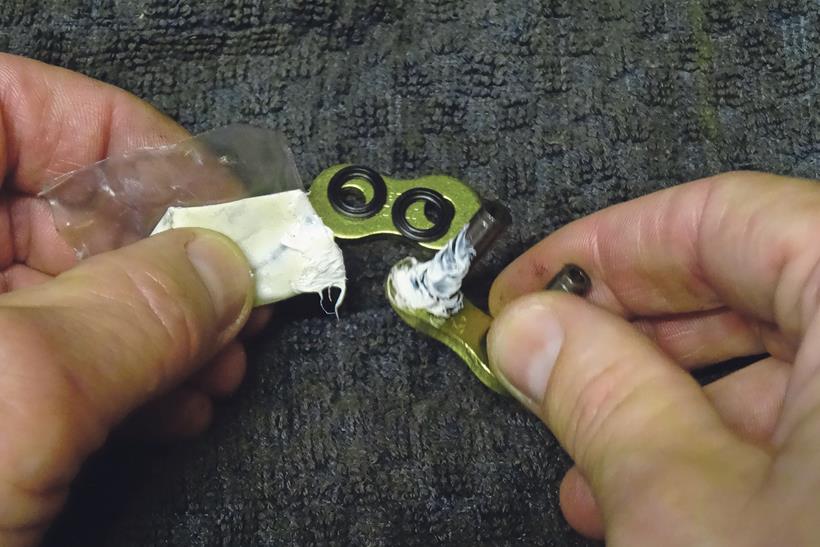
Prior to using the riveting tool, make sure the O-rings are in place then evenly use the tool press the plates together. Some links have a shim or spacer to help prevent over compression of the O-rings, but most do not, so be careful not to press the link together too much. Secure the side plate then adjust the chain tension.
How to use a chain splitter and riveter
This is probably the bit that puts most people off changing their own chain and sprockets because it involves a specialist tool. But a chain splitter and riveter is a relatively inexpensive bit of kit and once you have it you can split chains for the rest of your life (teach a man to fish…).

Step 1 – Pitch perfect?
Before you start, double check that the replacement chain and link you plan to fit are the correct type and size. The side plates on the replacement chain should have the same number as the existing one (provided you’re not doing a chain conversion). Here we are replacing a 520 pitch chain with another 520, as denoted by the number stamped on the side.
Step 2 – Set the length
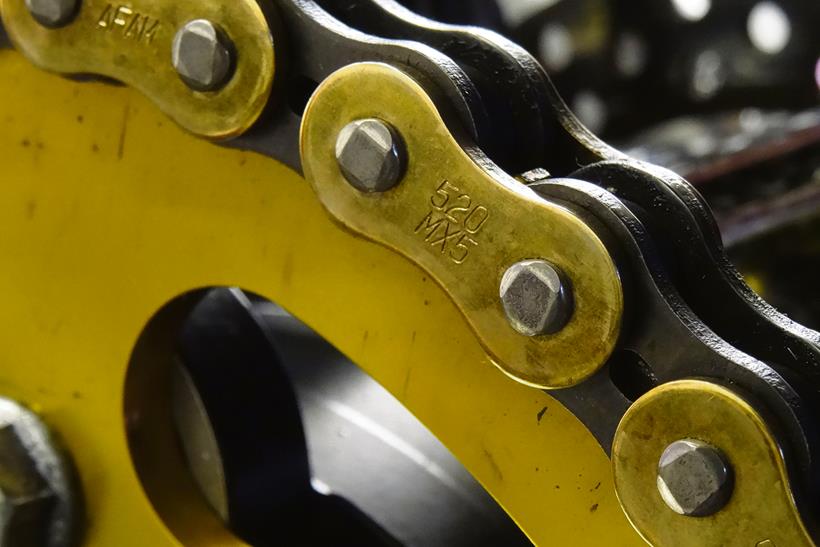
It’s crucial that your new chain is the correct length, as quite often the supplied chain may need a link or two removing prior to fitment because it will be too long otherwise. Count the existing pins on the chain, and then count the pins on the new one. If your new chain is too long, you’ll need to remove a link as detailed in step six.
Bruce’s tip: Check the specification for the drive chain in the workshop manual
Step 3 – Spot the split
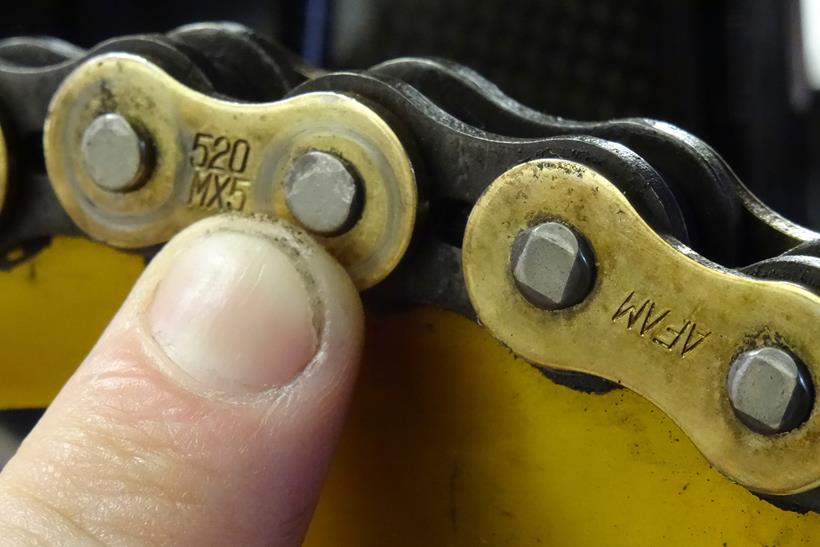
Next you need to find the split link on the old chain, it may not be obvious so look carefully to see the slight changes in how the tips of the link pins are distorted, as pictured here on this new chain. When you have it located the link, position it at the midpoint on the lower run of the chain and prepare to use the chain tool.
Step 4 – Push out the pin
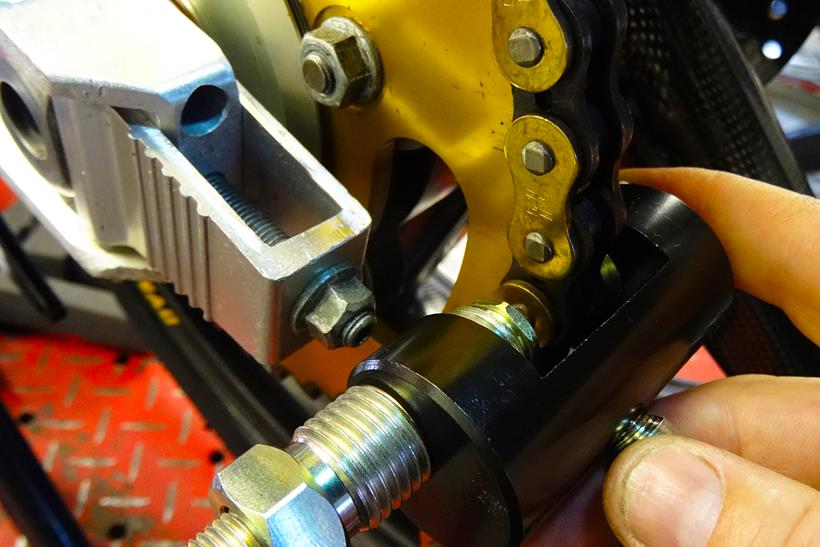
Fit the splitting tool to the link, making sure you locate the tip onto the correct pin. Tighten the threaded outer body of the tool directly onto the link, then wind in the internal fine threaded section. As you do so, this will apply pressure to the pin and start to ease it out. Wind it in until the pin drops out the other end. Unwind to remove.
Step 5 – Out with the old…
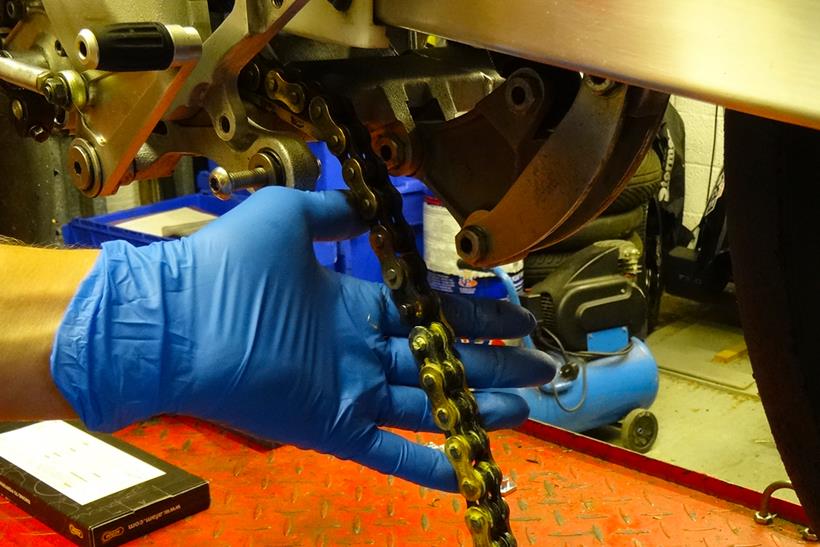
To fit the new chain, first ensure that the chain adjusters are set to allow the rear wheel to move forward to accommodate the new chain. Join the new chain to the old chain temporarily using the new link and feed it through by turning the rear wheel. Once the new chain has been fed right round, remove the old chain completely.
Step 6 – Press the plates
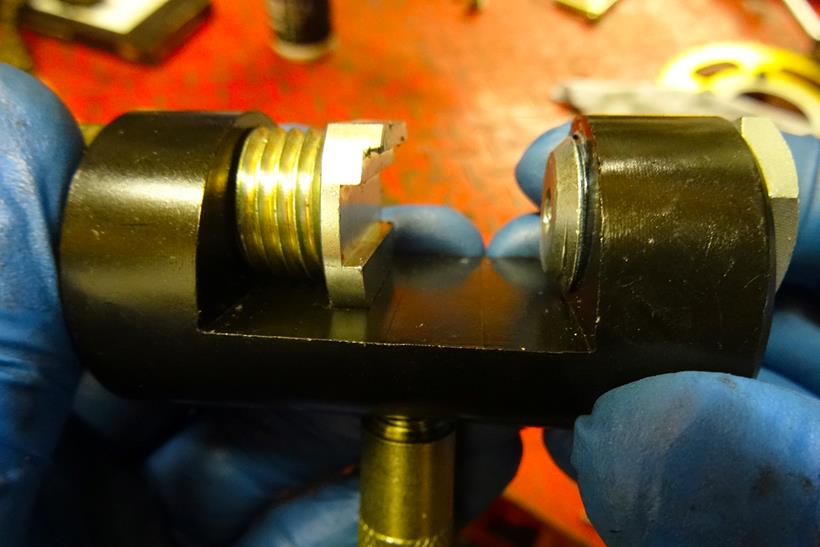
Hold the ends in place then install the open section of the link and join the ends, fitting O-rings and grease if necessary. Configure the tool ready to press the side plates together. Use a mole wrench to nip the side plate on so it doesn’t keep falling out of place, then use the tool to slowly wind the side plates together evenly.
Step 7 – Easy squeezy
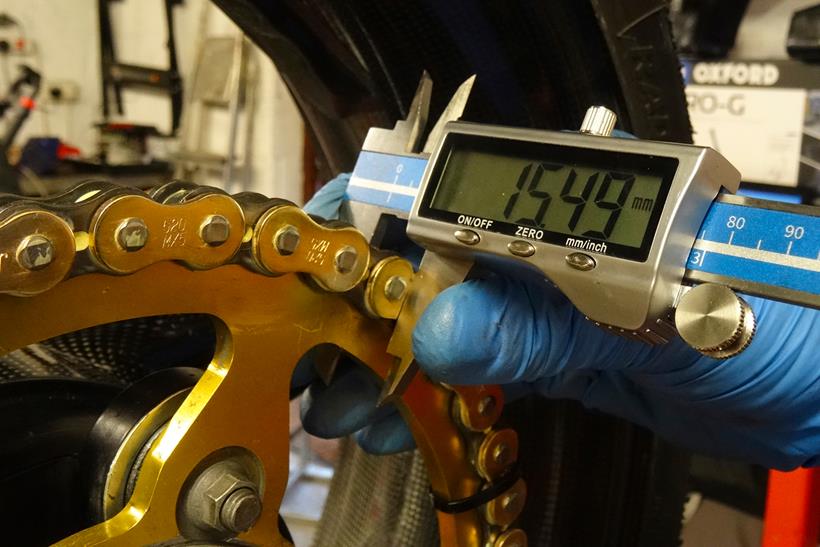
Make sure that the side plates are not pressed together too tightly. Measure the width between the side plates along another part of the chain and aim to replicate this measurement with the chain tool. Do this by turning the chain tool in quite small increments to achieve the correct clearance – this is not a time to be bullish!
"I’ve been squinting like Mr Magoo at an ancient version of this that only boasts markings for years, and finally conceded that a new caliper with a digi readout would be a massive improvement. And it really is.
"This dual-reading tool displays both types of readout, and also measures inbound and outbound, allowing a wide range of measuring applications – with complete accuracy. The measurement range is from zero to 150mm/6in, in 0.01mm and 0.005in increments, which covers the vast majority of measuring need for workshop jobs.
"The slider has a thumb-wheel and a lock. The tool is made from hardened steel, so it’s super-sturdy and should last a lifetime. The battery is an easily-available SR44 (included), and the auto-off feature means you won’t need a new one every time you use it! It’s also supplied in its own hard case, meaning you can store it safely in your tool chest without fear of damage."
Find our full list of garage essentials for motorcyclists
Step 8 – Flare, peen and check
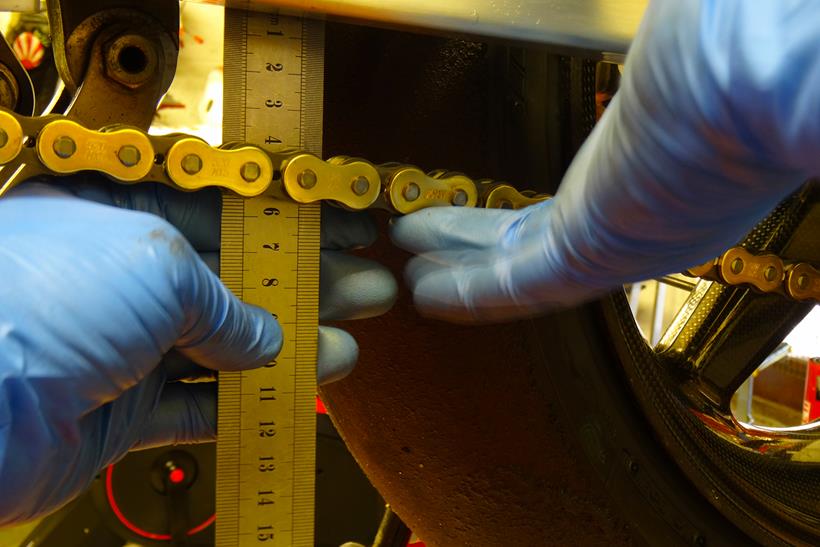
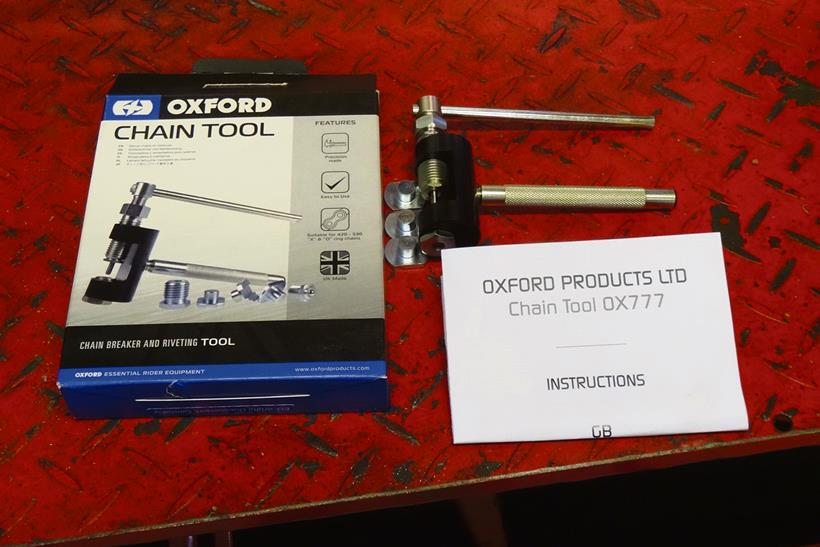
The chain tool needs to be reconfigured again to flare the protruding link pins – check the tool’s instructions. Hollow pins will flare out easily using the tool, so be careful not to overdo it. Solid pins can also be peened over using a heavy hammer on the back and lighter hammer on the front. Once finished, check and set the tension.
Bruce says
One of the crucial things to remember when fitting a link, whether it is a split link or rivet type, is that it must be the same make and size for the chain it’s going to be fitted to. For example, it’s no good thinking that all 520 links will fit all chain makes, because this is not the case.
A 520 chain does share a lot of the dimensions from one make to another, but there are differences in link applications that can cause problems. You might think this is stating the obvious, but it’s very easy to get wrong.
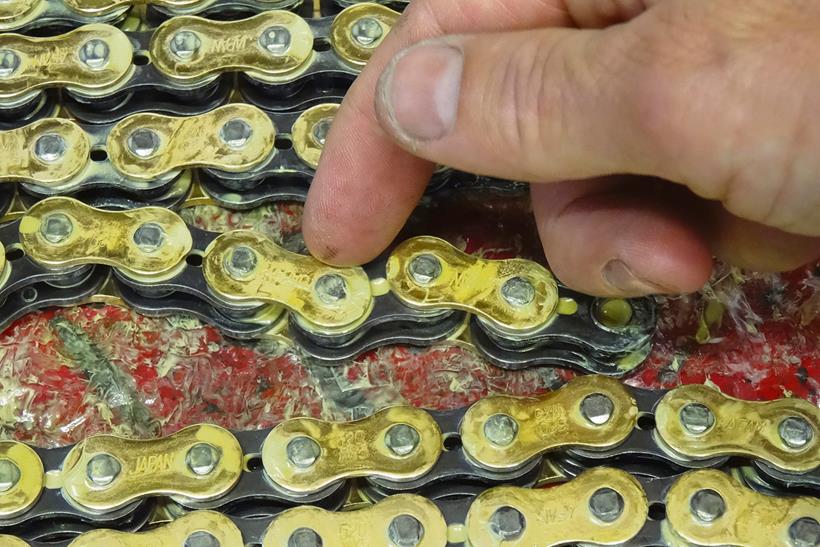
Just look at a list of 520 chains from one top brand and you’ll see there are at least five different types of O-ring chain available in that one pitch: standard, super heavy duty, heavy duty X ring, super heavy duty X ring and gold variants of the same names.
So, whenever I’m sorting out spare links or chains for my bikes, I’ll usually give my local dealer a shout and they’ll give me all the advice I need to get the job properly sorted – because, believe me, you don’t want a chain flying off! I had a split link fail whilst racing and it not only ruined my race and put me in a potentially dangerous situation, but it also ruined my bike’s crankcases when the loose end flailed around. Not pretty!
How MCN tests products
At MCN, our team of expert journalists have decades of experience gained over hundreds of thousands of miles. We don’t test our kit to destruction; we use it exactly how you do, in the real world and in all conditions. That means we can deliver impartial buying advice you can rely on.
Each of our writers has an in-depth understanding of the needs of today’s biker… because they are one.
If you can’t see a review against an item on this page, it’s because we haven’t tested it yet. These items will only be included if we think they’re important and relevant in the market, and rest assured, we will be working on bringing you a review as soon as we’ve done the miles.
To find out more, head to our dedicated page explaining how we test motorcycle products
- Just so you know, we may receive a commission or other compensation from the links on this website - read why you should trust us.


