Motorcycle puncture repair kit buying guide | Learn all about the quick-fix every rider needs
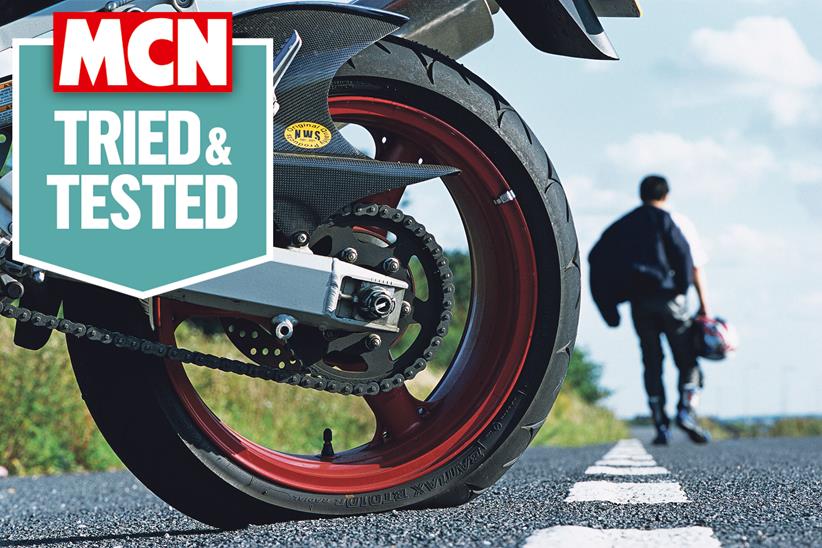
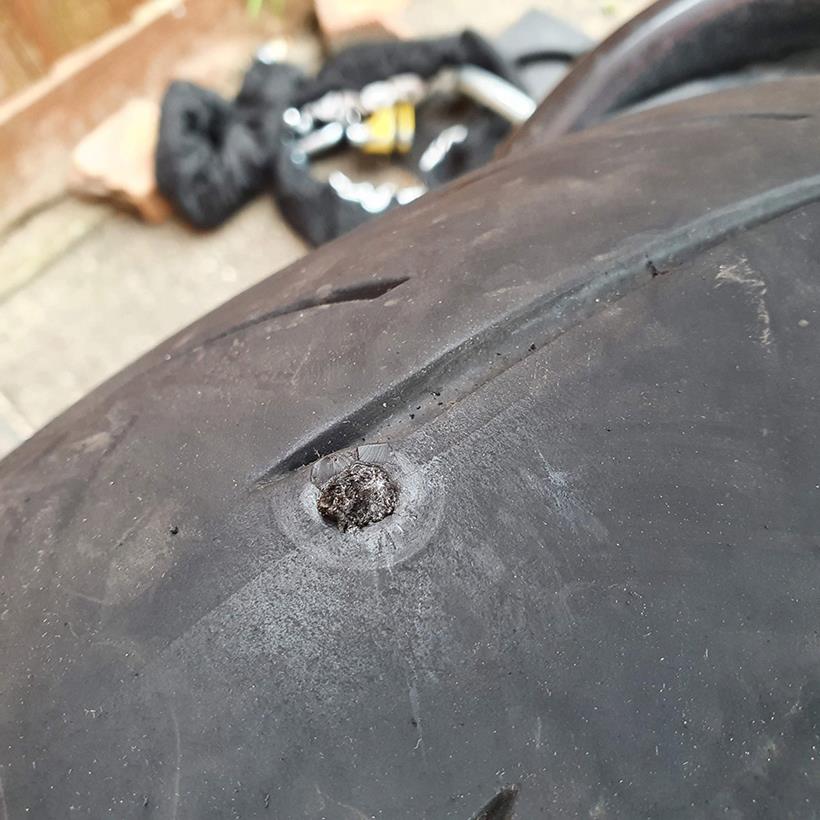
Your motorcycle’s tyres are the only part of the bike that touches the tarmac (at least when you’re not busy channelling Rossi), so they’re the only bit that has to take all the road cruft in their wake. Said road cruft is always plotting against you, and it only takes one rogue screw in the road to royally screw with your ride.
That signals the beginning of the end for many of us; an exasperated call to a recovery service, and a long arduous wait by the roadside. But you might be surprised how quick and easy it can be to get back up and running, if you ride ready with a puncture repair kit to hand. Especially useful when exploring unfamiliar lands, no one wants to be stranded with their touring bike loaded up waiting for a potentially expensive assistance team.
Best puncture repair kits at a glance:
- Best complete kit: Oxford CO2 Tyre Repair Kit – View offer on Sportsbike Shop
- Best budget kit: Tyre Doctor (Ranger Stork) repair kit – View offer on Amazon
- Best quick & dirty fix: Holts Tyreweld – View offer on Amazon
- Best for prevention: Slime Tyre Sealant – View offer on Amazon
If you can plug the tyre yourself, you’ll at least be able to limp back to civilisation, where you can get the tyre repaired or replaced. It’s only a five minute job to plug a tyre yourself, even if you have no idea what you’re doing before whipping the instructions out on the roadside, and after the accomplishment of riding back home you might even have the confidence to change the tyre yourself too.
That’s why we’ve put together our list of the best puncture repair kits for your motorcycle, as rated by MCN. They’re a cheap way of keeping anxiety at bay on the roads less travelled, so every rider should consider grabbing one — just in case.
Amazon Prime Big Deal Days – deals on puncture repair kits
Amazon Prime Big Deal Days are over… but there’s still some great deals to be had on puncture repair kits:
- 50% off Holts Tyreweld Emergency Puncture Sealant – was £10.92, now £5.49
- 8% off Grand Pitstop Mushroom Plug Kit – was £35.99, now £29.80
Jump to:
- The best motorcycle puncture repair kits
- Frequently asked questions
- Puncture repair kits explained
- How MCN tests puncture repair kits
The best motorcycle puncture repair kits
Best complete kit
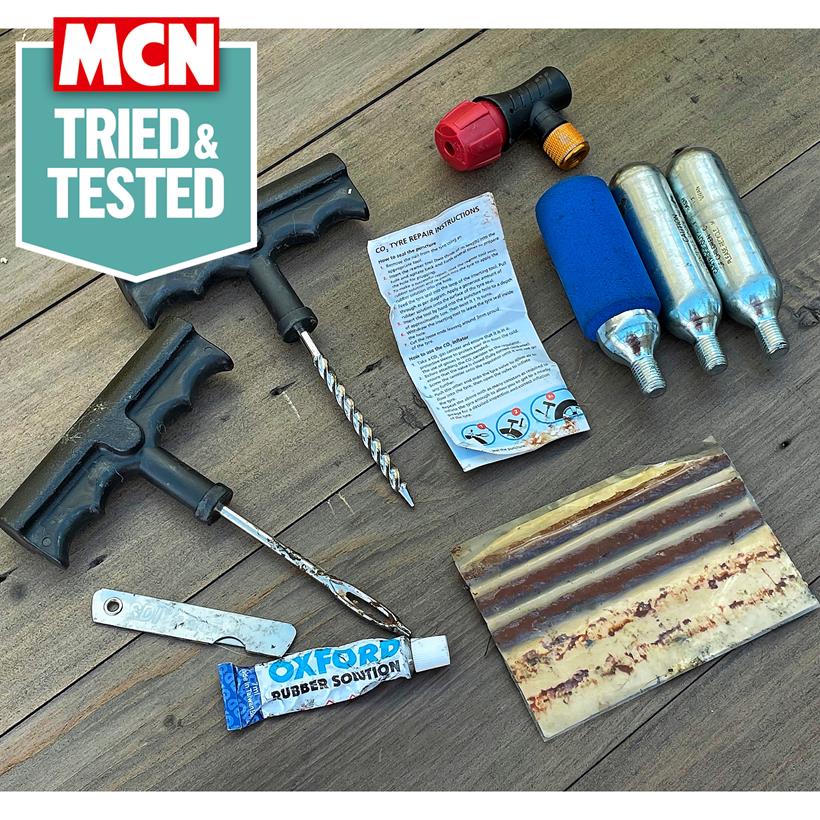

"There’s nothing fun about waiting for recovery with a puncture. But carry a repair kit and you’re soon rolling again. This particular pack has been part of my essential kit for the past two years. It has saved the day when road testing on more than one occasion. As a result, it has paid for itself at least twice over.
"It comes with full instructions and includes everything you need to plug a hole. Though it can get a bit messy once you start squirting the glue around. A good tip is to put some latex gloves in the accompanying storage pouch.
"There’s enough material to fix 5 punctures. However, the CO2 canisters supplied will only inflate one tyre. Top-ups are available separately though (£9.99 for 4). So replace them as you use them without needing to buy a full kit every time. Use it to limp home, then get the repair properly inspected and plugged by your preferred tyre specialist."
Pros
- Complete and compact kit, including enough CO2 canisters for one use
- Replacement canisters are easy to find
- Very easy to use
Cons
- Can be messy to apply the glue
- CO2 canisters are potentially hazardous in extreme heat
| Tyre type | Tubeless |
| Repair type | Temporary |
- 5 glue strips
- 1 insertion tool
- 3 16g CO2 canisters
- 1 valve
- 1 knife
- 1 reamer tool
- 1 CO2 canister cover
- 1 rubber solution
- 1 carry pouch
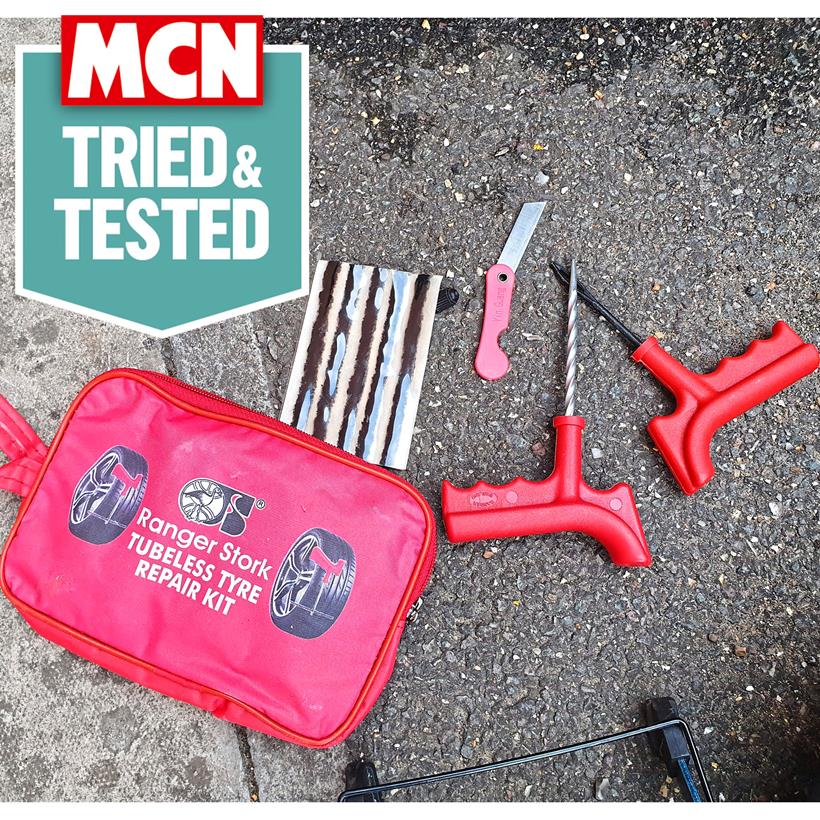
Best budget kit
"There’s nothing worse than a puncture to ruin your fun. We’ve all had that sinking feeling of returning to your bike to find a flat or soft tyre.
"This repair kit includes everything you need to get your tyre airtight again but, unlike some kits, has no canisters to re-inflate if you’re stuck out and about. I used this twice in a short space of time thanks to an over-worn rear tyre becoming susceptible to punctures.
"It’s really easy to use with clear instructions and the tools feel sturdy enough for repeated use, too. It comes in a handy carry case with 15 glue strips – meaning a cost of a little over 50p per repair! Well worth sticking in your rucksack I reckon."
Pros
- Clear instructions provided
- Tools are sturdy enough for repeated use
- Offers lots of potential repairs for the money
Cons
- No way to re-inflate the tyre is included
| Tyre type | Tubeless |
| Repair type | Temporary |
- 15 glue strips
- 1 insertion tool
- 1 reamer tool
- 1 knife
- 1 carry poucn
Big seller on Amazon
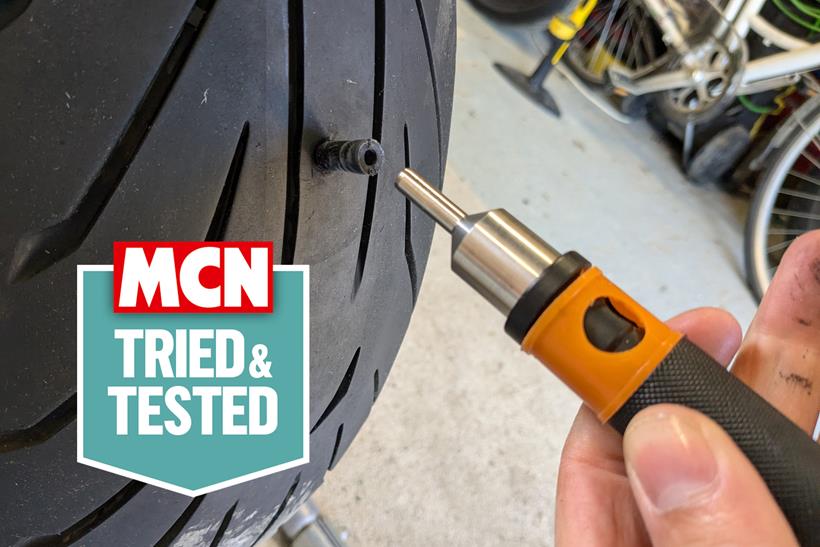

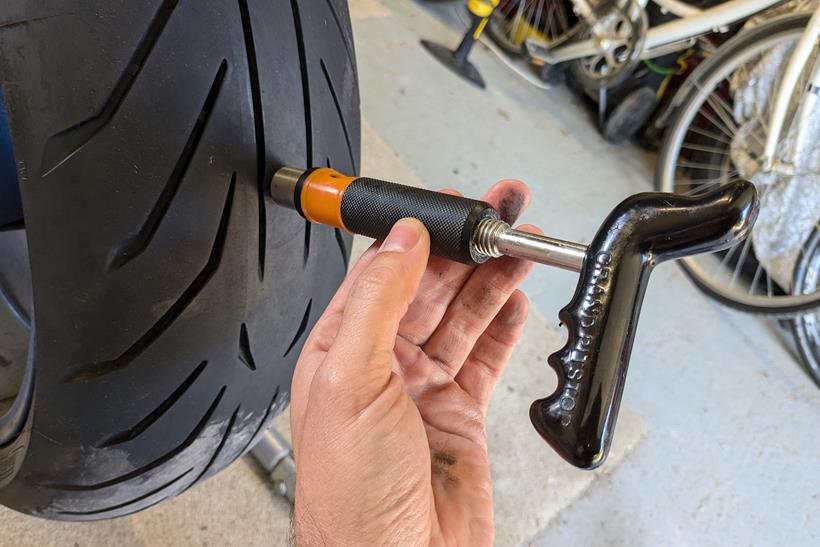
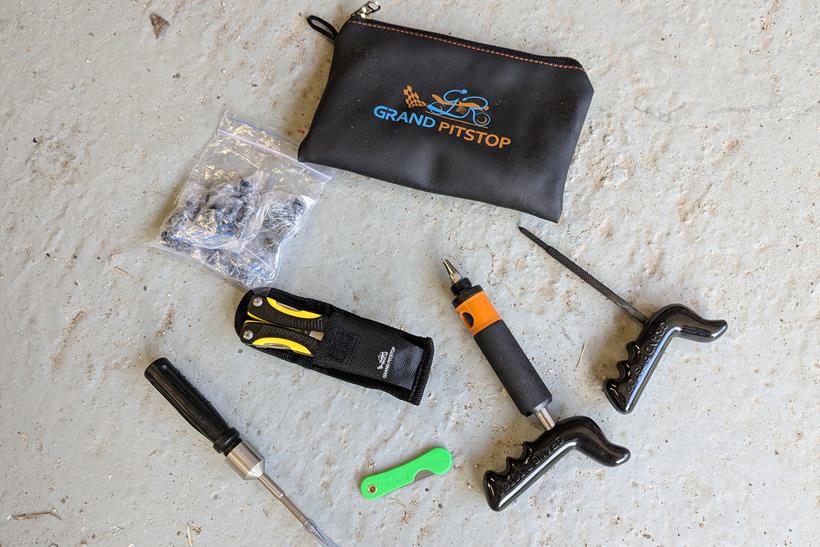
“This kit (and similar others from the same brand) routinely sell well in Amazon sale events such as Prime Day and Black Friday and so we bought one to see what all the fuss was about.
“The kit comes in a handy leatherette a bit like a small washbag and as soon as you pick it up, you notice the weight. I’ve used the Ranger Stork kit previously, which weighs considerably less with its simpler and more manual tools.
“I’ve only repaired one puncture with the kit but it’s really easy to use. It takes a little longer than a glue stick system due to the added steps of using the tool but we’re talking maybe a minute or so.
“If you wanted to use this kit as a wilderness repair option then you’d have to get some CO2 canisters (adding to the cost) or carry a pump (extra luggage) but the repair itself could be done anywhere.
“The mushroom design of the plug provides a really good seal and the colleague whose bike had the puncture carried on as normal afterwards. The manufacturer advises a 50mph limit and 100-mile range on a repaired tyre, which we completely ignored (don't try this at home, kids).”
Pros
- Compact and portable kit
- Uses mushroom plugs instead of strips
- Comes with applicator system
- No mess, as the plugs come pre-lubricated
Cons
- No re-inflation kit included
- Slightly more complicated to fit than strips
- Lesser known brand
| Tyre tye | Tubeless |
| Repair type | Temporary |
- 15 mushroom plugs
- 1 reamer tool
- 1 knife
- 1 mini applicator gun
- Carry case included
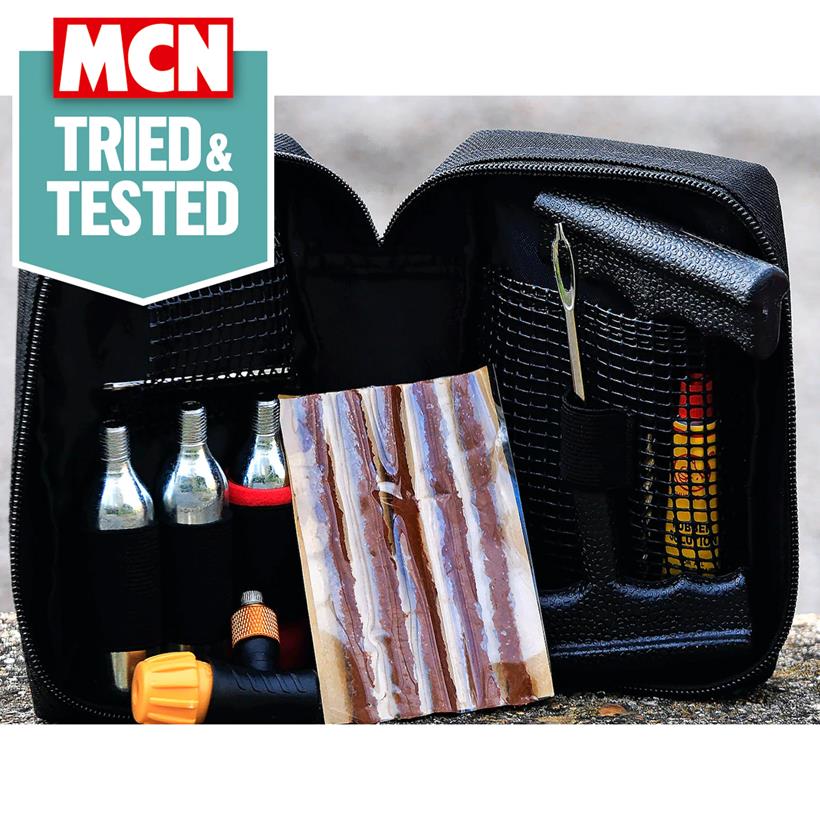

Tested by Jim Blackstock:
"There are two main ways to get going again if you have a puncture – this or a can of spray-in tyre repair. But the latter makes a horrendous mess and many professionals may not entertain carrying out a permanent repair afterwards.
"You can use the Gear Gremlin motorcycle tyre repair kit up to five times before getting more worms. That's as long as the hole is smaller than the specified 6mm maximum. Also assuming you have some way of re-inflating the tyre, like a small rechargeable compressor or additional canisters of gas. But it’s small enough to take with you on any major ride."
Read our full Gear Gremlin tyre repair kit review.
Pros
- Creates effective mechanical tyre repairs
- Comprises everything you need to fix a flat
- Small enough to take with you
Cons
- Included canisters aren't enough to fully re-inflate a motorcycle tyre
- More expensive at RRP than Oxford's option
| Tyre type | Tubeless |
| Repair type | Temporary |
- 5 glue strips
- 1 insertion tool
- 3 CO2 canisters
- 1 valve
- 1 knife
- 1 reamer tool
- 1 CO2 canister cover
- 1 rubber solution
- 1 carry pouch
Best last resort
Tested by Ben Clarke:
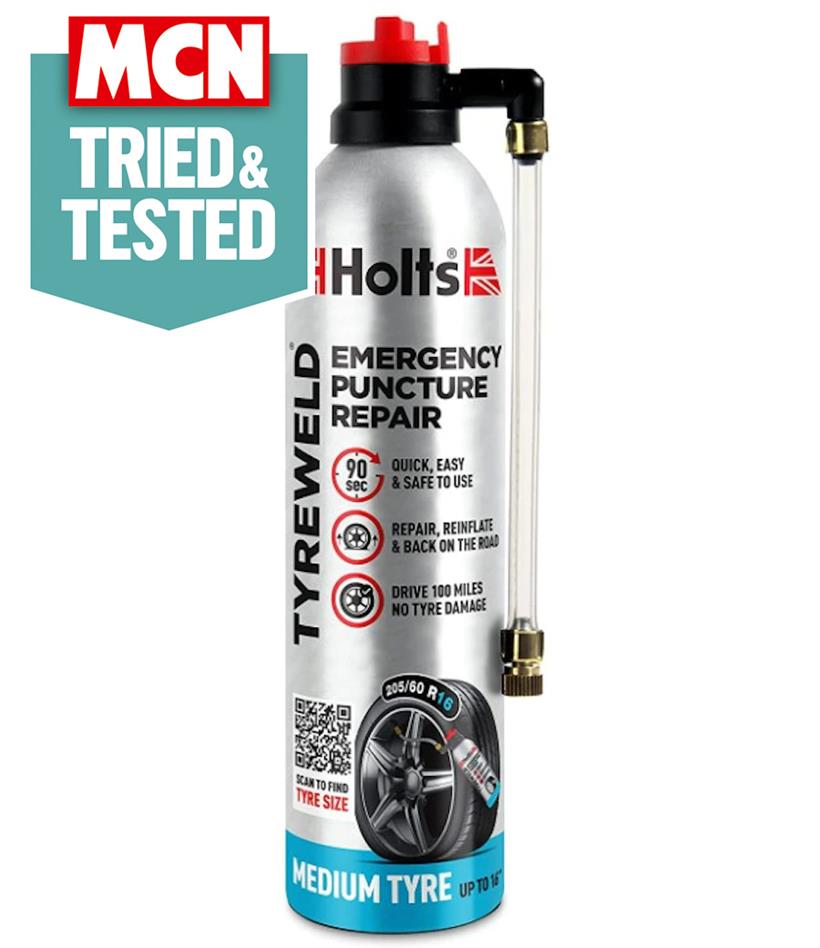
"I used this stuff to fix a flat in a hurry when I needed to get into MCN Towers. Ironically that was to have new tyres fitted. It plugged the hole and put just enough pressure into the tyre for me to limp to the nearest garage. I'd lost some pressure again by the time I got an hour down the road to the office.
"The main problem was the look on the tyre mechanic's face when he saw what I'd done. The mess it leaves for them to clear up will make you a little unpopular."
Pros
- All-in-one solution
- Quick to apply
- Easy to find in shops in a pinch
Cons
- Doesn't hold tyre pressure as well as some other options
- Makes a mess
| Tyre type | Tubeless |
| Repair type | Temporary |
- Aerosol application
- Unscented
Best for prevention
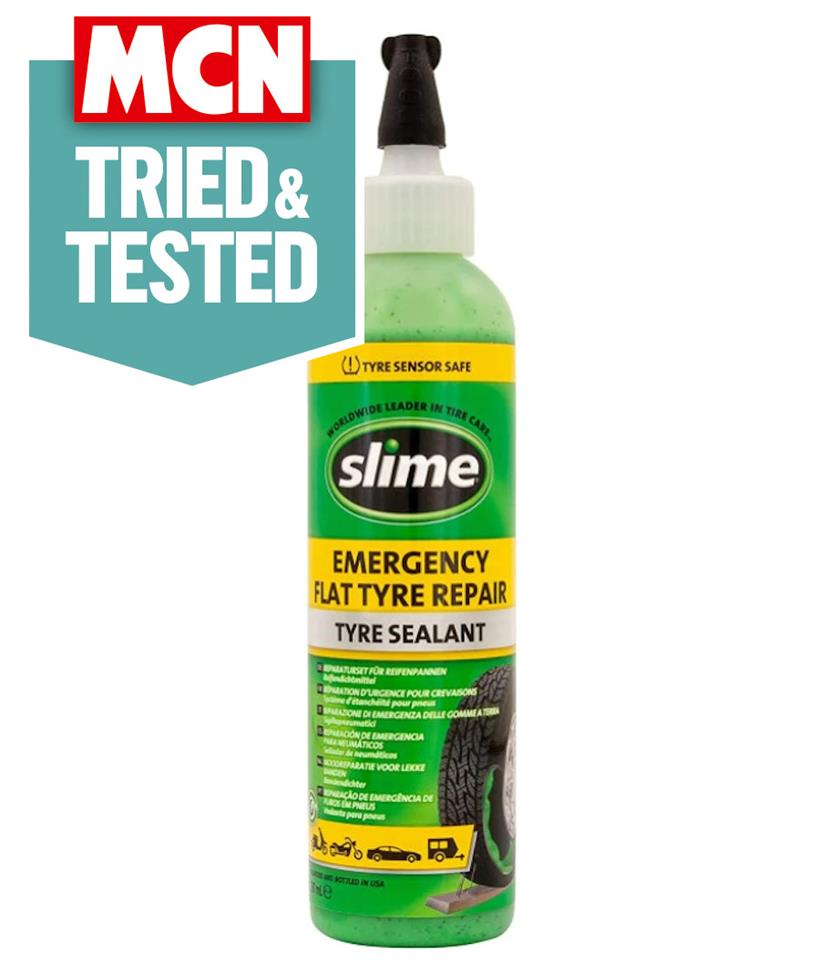

Tested by Ben Clarke for 4 months, 13,000 miles:
"This isn't technically a puncture repair kit, more of a prevention strategy. I used the goop in my Yamaha XT660R tubed tyres for a long tour of the USA and Central America. I travelled 13,000 miles across various types of roads and trails. I only suffered one puncture.
"It can be a bit messy and fiddly to get in. But once it is, you can just forget about it. Definitely worth considering if you are riding off road a lot."
Pros
- Fit and forget
- Prevents punctures from happening
- Works with tubed tyres, unlike the other options on this list
- Has been around for a long time
Cons
- Efficacy reduces over time
- Can cause tyre imbalances when applied
- Will be difficult to clean out if it's had time to harden
| Tyre type | Tubeless & tubed |
| Repair type | Preventative |
- Eco-friendly and non-toxic
- Tyre Pressure Monitoring System (TPMS) safe
FAQ
How long can you ride on a plugged tyre?
A plugged tyre should always be treated with caution, and you should only ride until you get to the closest tyre specialist to properly repair the puncture, or replace the tyre altogether.
What if you can’t find the puncture?
Sometimes all it takes is a pin-sized hole to puncture your tyre, and that can make it tricky to find where you need to plug it. If the puncture seems invisible at first glance, you can try filling the tyre with air — you might be able to hear hissing sounds, or if you cover the outer surface in soapy water, you might find bubbles forming around the puncture.
Can you use a car tyre repair kit on a motorcycle tyre?
It can be tempting to grab a tyre repair solution that works for both your car and your bike, and there are a lot of products out there that are designed for use with both. This isn’t always the case, however, and just because it’ll work for a car doesn’t guarantee that it will for a motorcycle too. Always check that what you’re buying will work with motorbikes before trusting life and limb with it.
Puncture repair kits aren’t to be used anywhere
It goes without saying that these kinds of repairs are only appropriate for certain geographical locations. For example, you shouldn’t try this on the hard shoulder of the motorway with traffic passing you. But if you can get off the motorway into a service station or at a junction to find a safe place to stop, then it’s definitely worth a go.
We’re talking about tubeless tyres only
Note that the majority of the kits we’re looking at here are for tubeless tyres. These are used by the majority of road bikes. Options for tubed tyres, which are used by many adventure or off-road bikes, are different. That goes for those used on the road between off-road forays. We’ll look at them in a separate story.
How puncture repair kits work
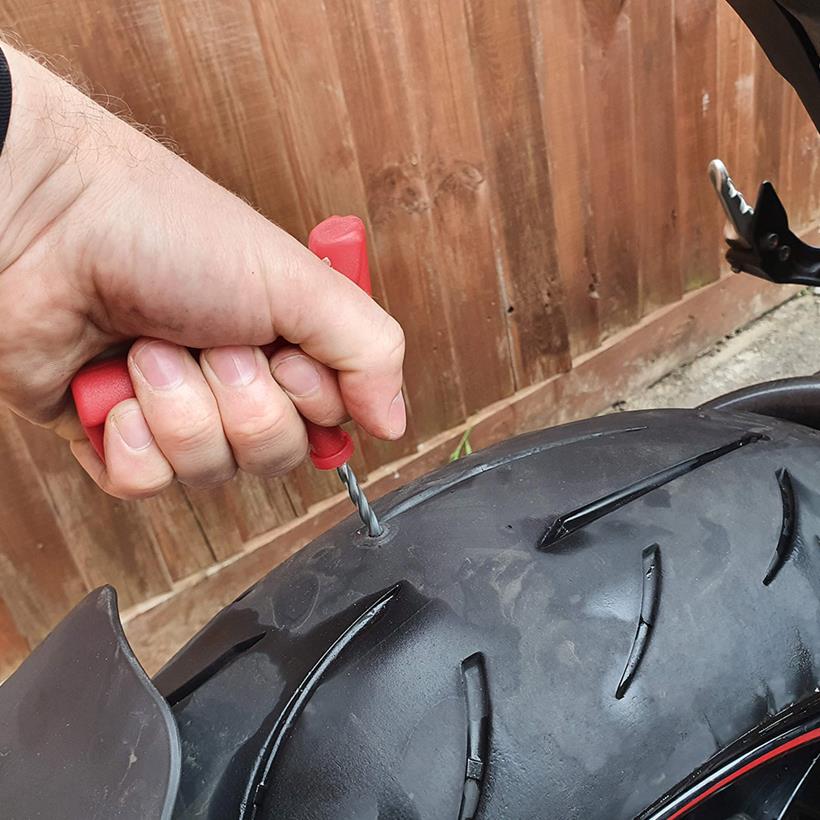
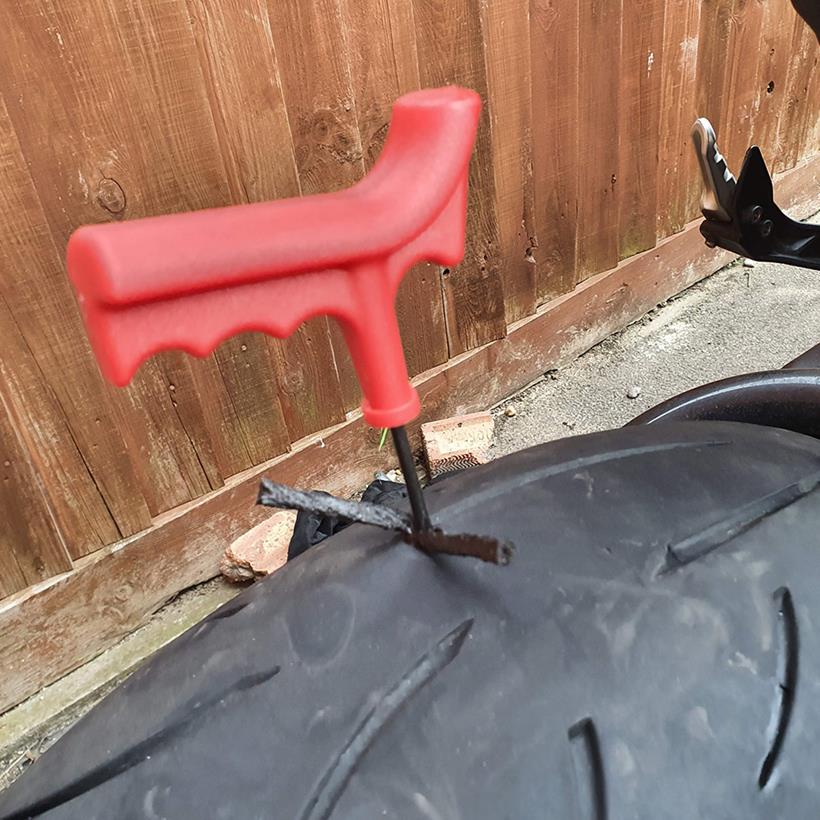
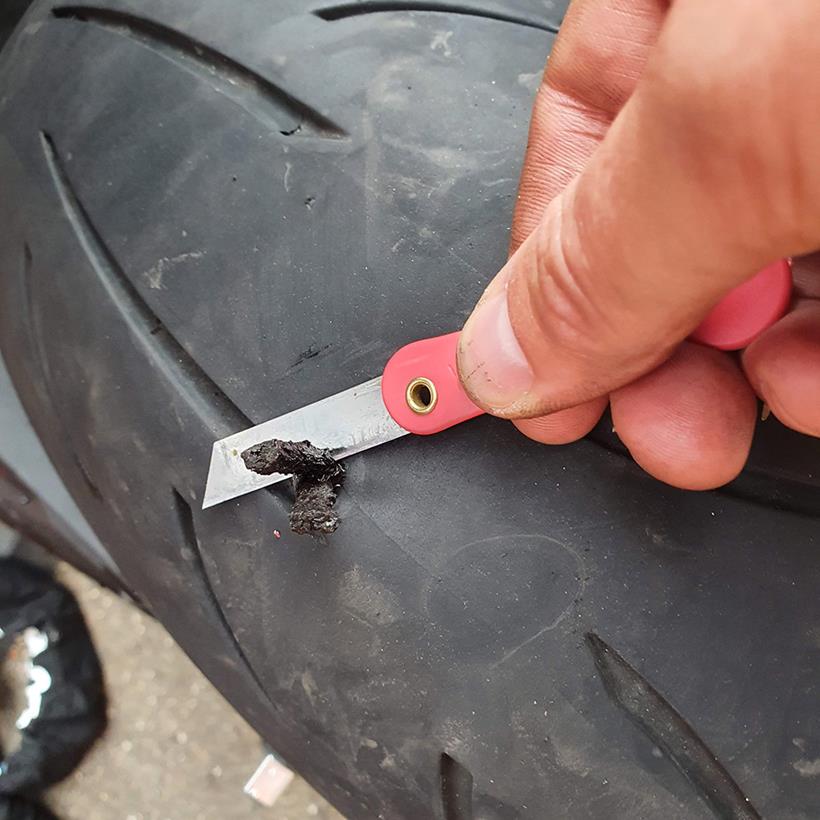
Pretty much all the tubeless kits are based on the same idea. When you have removed what caused the puncture, you ream out the hole. Then you insert a plug to fill it using a worm, string, or plug. Afterwards, you re-inflate the tyre and you’re back on your way.
You should also be aware that some kits come equipped to re-inflate your tyre, like a small gas canister. But when they don’t, you will need assistance or to use a mini compressor. If you are mid-way through an off-road trip, you should have one with you. We will also look at that in a separate article.
You can’t just repair any puncture on any tyre
TyreSafe is Britain’s tyre-industry association that raises awareness of tyre safety. They make several recommendations about tyre care and making repairs. For motorcycles, repairs should only be carried out on 50% of the tyre and not the sidewall. Tyres with a speed rating higher than V (149mph) should never be repaired.
Furthermore, for tyres with speed ratings up to J (62mph), no more than two 6mm repairs should be made. With tyres up to and including the V speed rating, a single repair of 3mm is the limit. They say repaired tyres should be inspected by a professional when possible to ascertain their suitability for continued use.
How MCN tests puncture repair kits
At MCN, our team of expert journalists have decades of experience gained over hundreds of thousands of miles. We don’t test our kit to destruction; we use it exactly how you do, in the real world and in all conditions. That means we can deliver impartial buying advice you can rely on.
Each of our writers has an in-depth understanding of the needs of today’s biker… because they are one.
If you can’t see a review against a puncture repair kit on this page, it’s because we haven’t tested it yet. These puncture repair kits will only be included if we think they’re important and relevant in the market, and rest assured, we will be working on bringing you a review as soon as we’ve fixed some flats with them.
To find out more, head to our dedicated page explaining how we test motorcycle products.
- Just so you know, we may receive a commission or other compensation from the links on this website - read why you should trust us.
