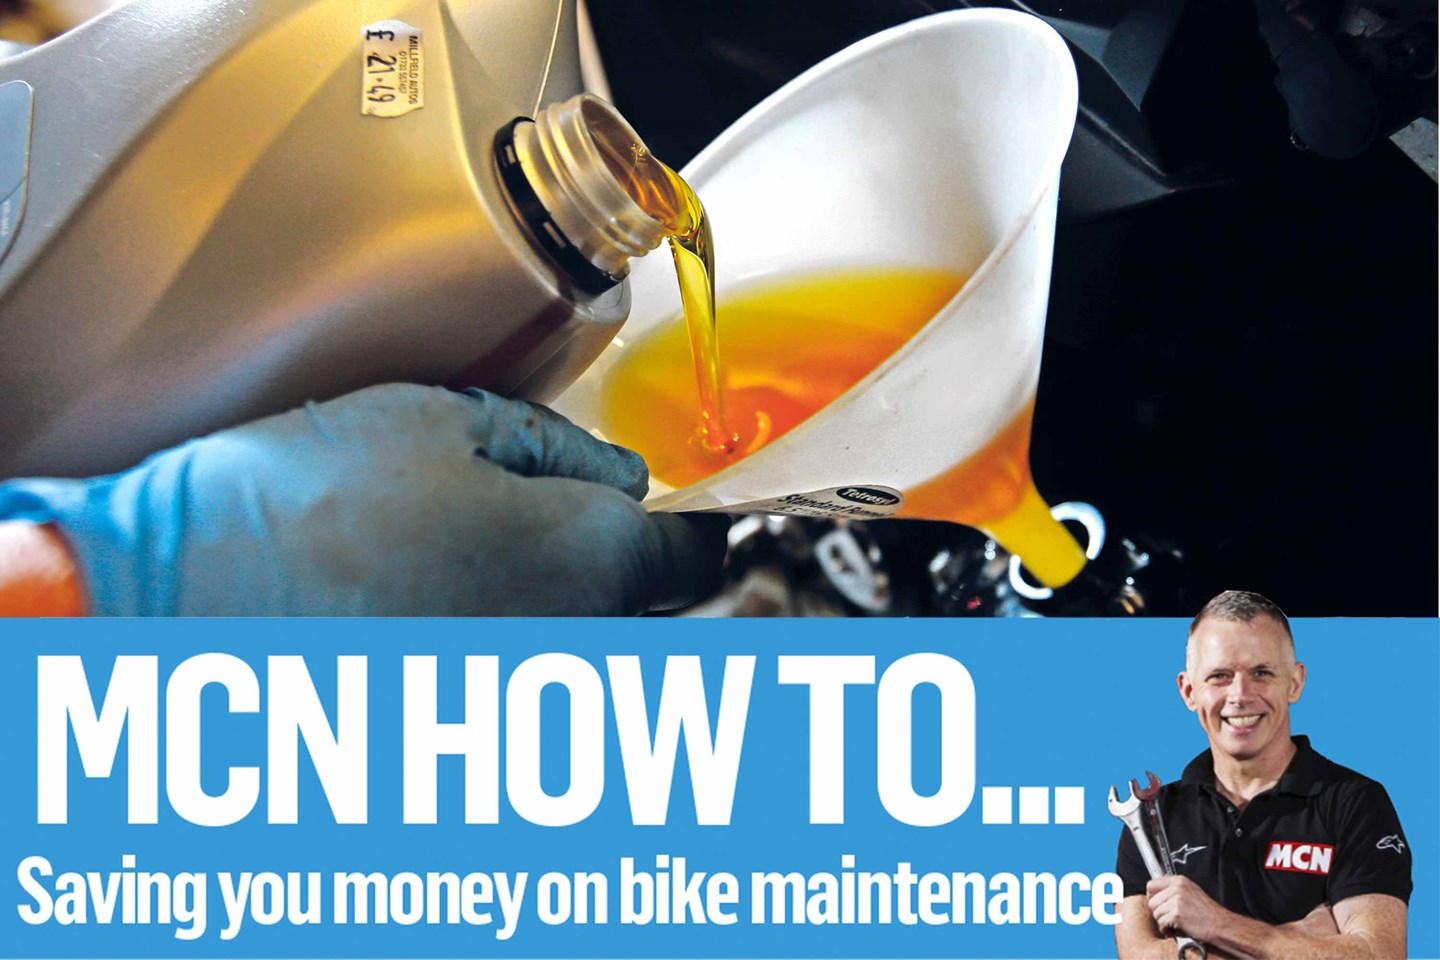
Save money and learn how to do basic oil and filter servicing on your motorcycle with MCN's expert

The oil in your motorbike’s engine plays an incredibly important role. It acts as a cushion between moving parts, such as between camshaft and head, reducing friction and wear.
- Jump to: The right tools for the job
Furthermore, it plays a part in the transfer of excess heat away from the motor via an oil cooler, increasing efficiency and performance.
To ensure it remains within its tolerances and as effective as it needs to be, regular attention needs paying to both your oil and its filter. You should always adhere to oil change schedules as advertised in your bike’s manual – bike builders have spent thousands of hours working out when a motorcycle engine oil is going to break down.

While you’re at it, you may as well change the air filter in your airbox too. This is the part that collects debris from the air as it enters your motor, and after a while will need a good clean or even replacement. This is what’s meant by a basic ‘oil and filters’ annual service and can easily be performed at home – especially on older bikes.
Before you follow the step-by-step guide to changing your motorcycle oil outlined below, ensure you’ve purchased the correct oil, filter and tools to work on your bike. You’ll need your manual to confirm the viscosity required (how thick the oil is) and the size of filters. Also consider the type of oil suggested – usually high quality synthetic oil, particularly for high performance bikes.
The below shows a typical oil and filters change on a 2004 Kawasaki ZX-10R, but should be relatively representative of the vast majority of motorcycles.
Step-by-step: How to change your motorcycle’s oil and filters
1. Changing your bike’s oil and filters doesn’t have to be hard work

A basic oil swap and filter change is part of routine servicing and should happen in regular intervals as detailed in the owner’s manual. Once your bike is out of warranty, it’s a task you can add to your own at-home maintenance regime. It’s fairly straightforward but check with a manual and ensure that you’re confident and understand the steps.
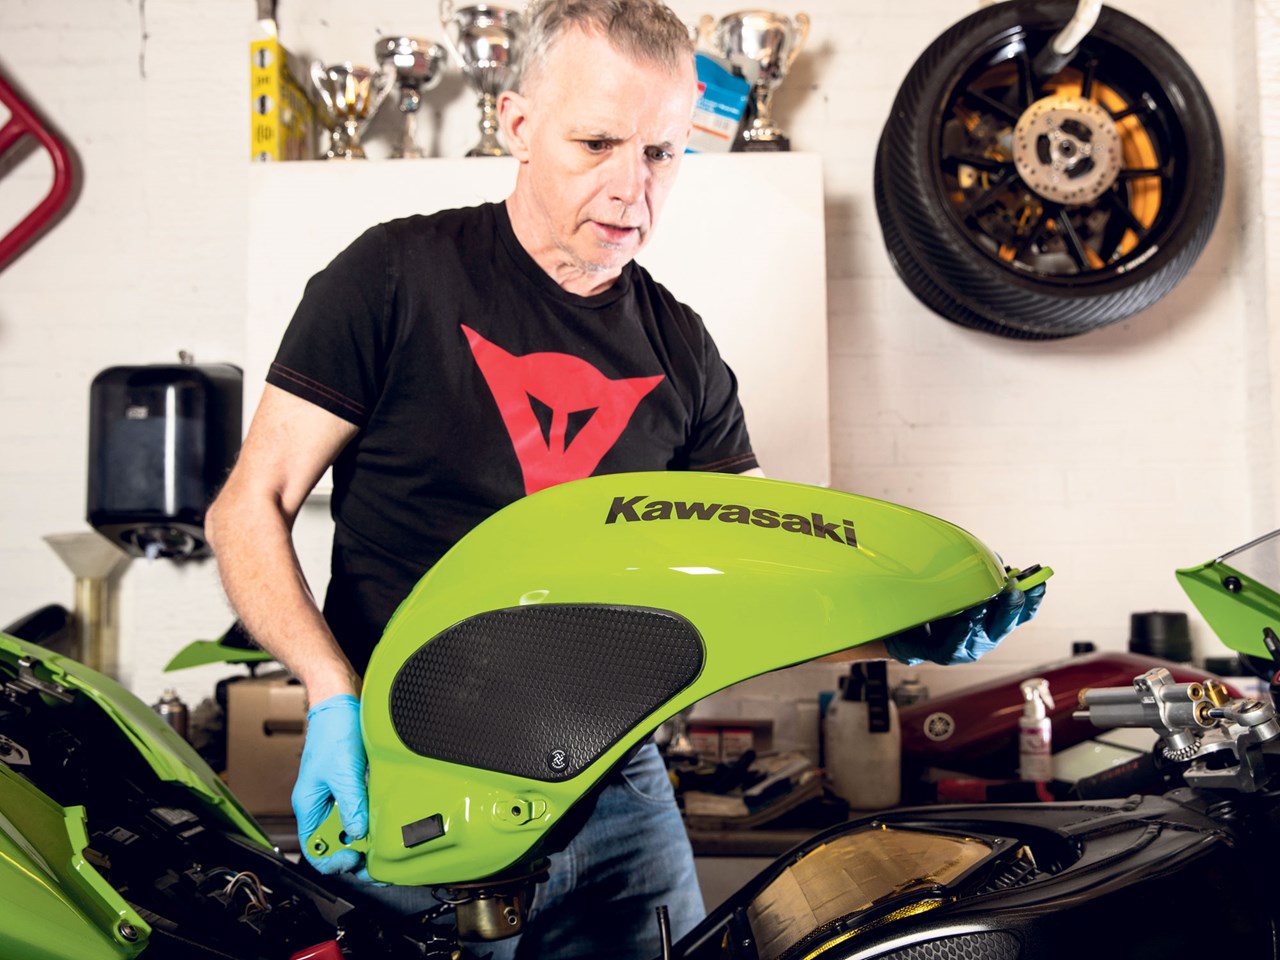
2. Get familiar with your filters and where they live

The air and oil filters are usually located under the petrol tank and at the bottom of the engine respectively. The first step is to remove all the necessary bodywork and the petrol tank. This 2004 Kawasaki ZX-10R has a typical layout with the air intake, containing the motorcycle air filter, under the fuel tank and the oil filter located behind the exhaust downpipes.
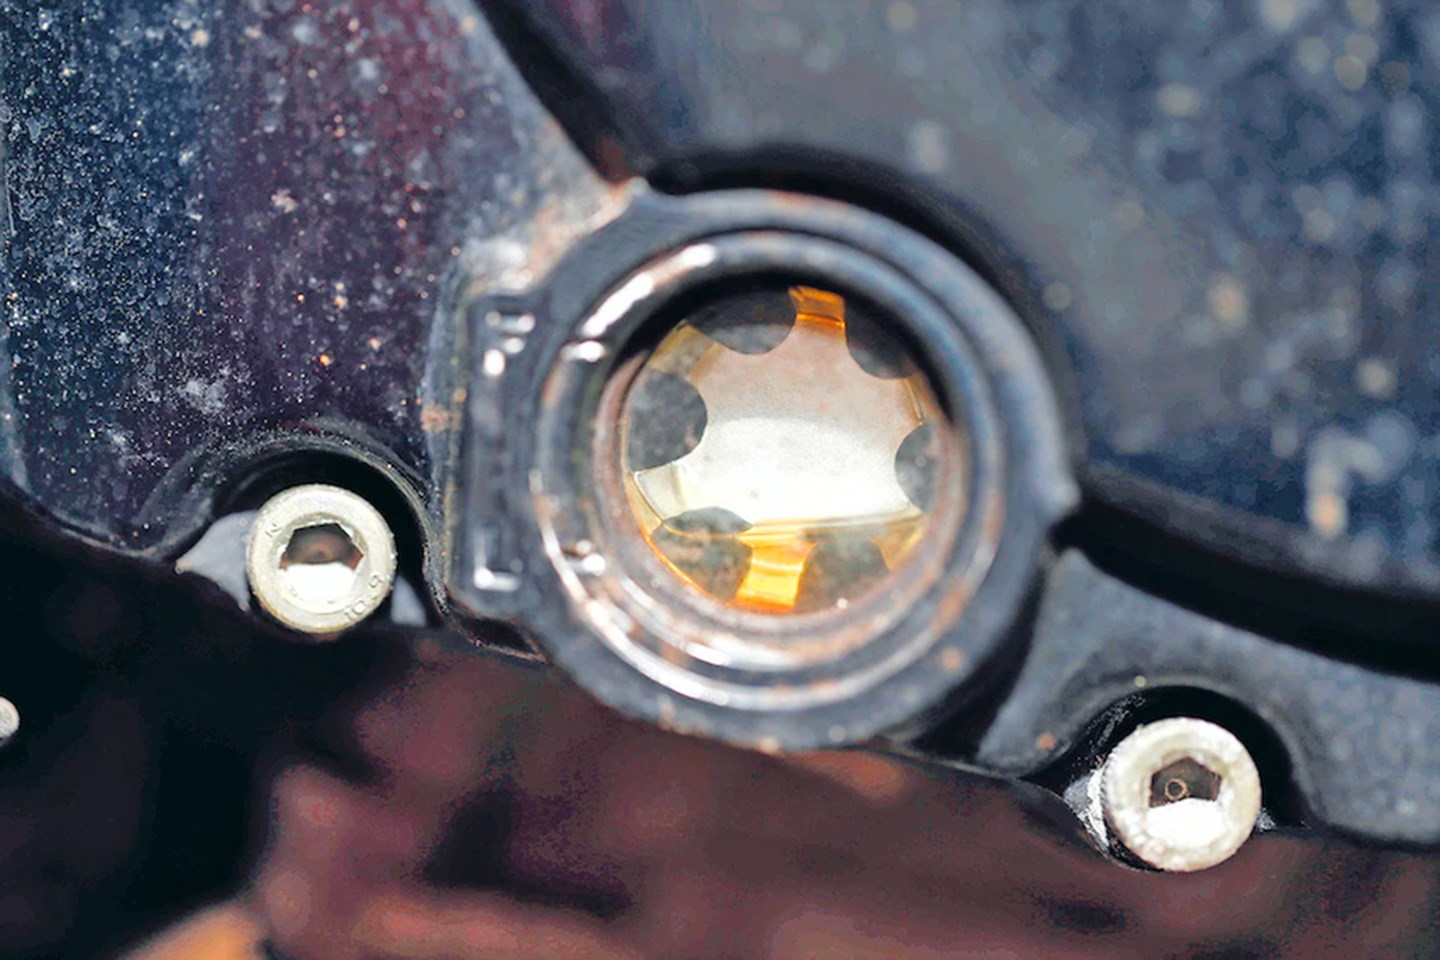
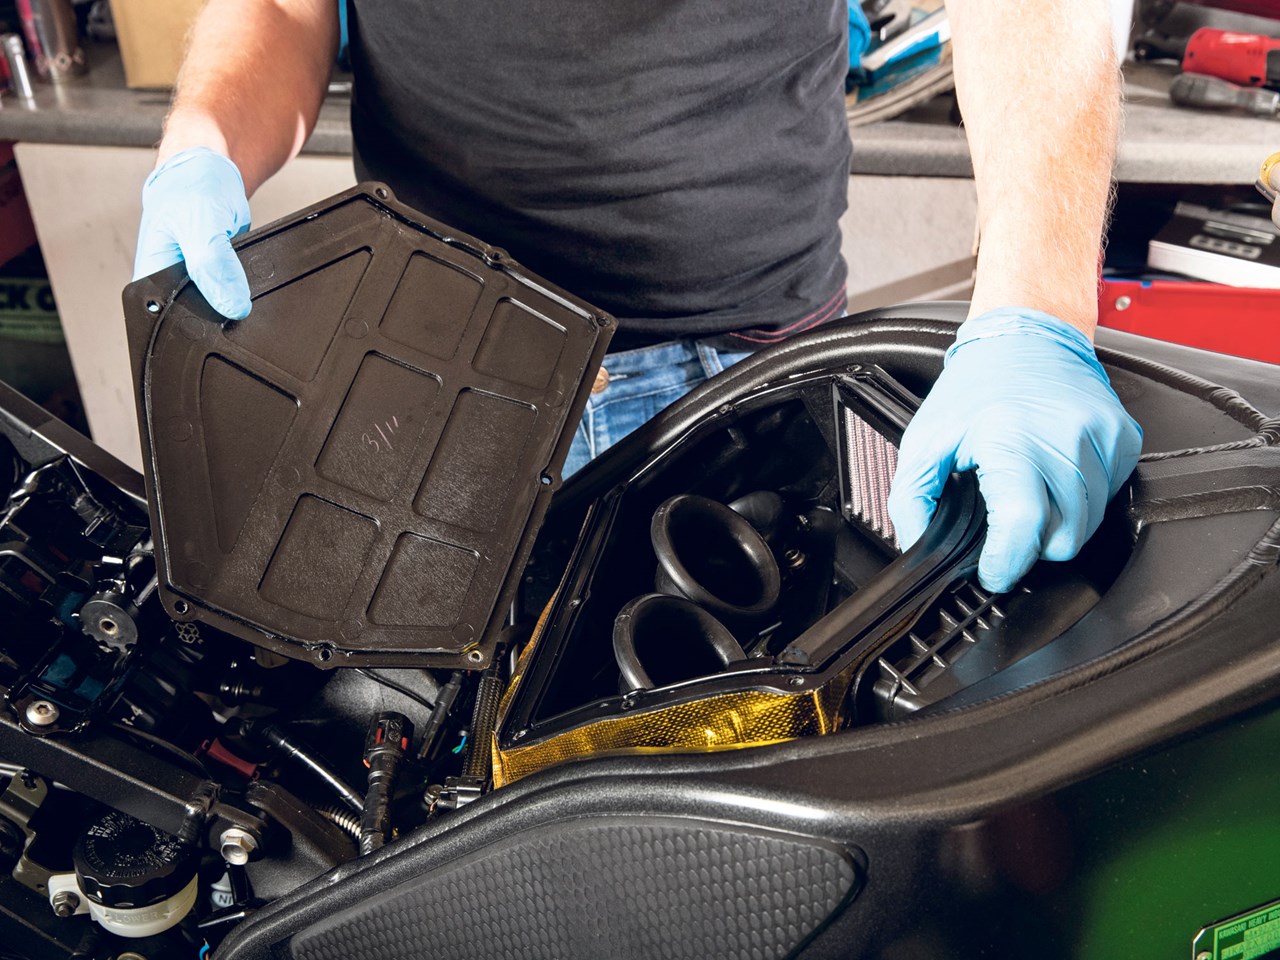
3. Lifting the lid on the airbox

Remove the fastening screws from the airbox lid and gently lift the lid off. The air filter will be housed underneath. Carefully remove the filter, making a note of which way up it is facing. Be sure to keep it level as often there are small stones or debris on top of the filter which could fall into the open airbox and through into the inlet tracts.
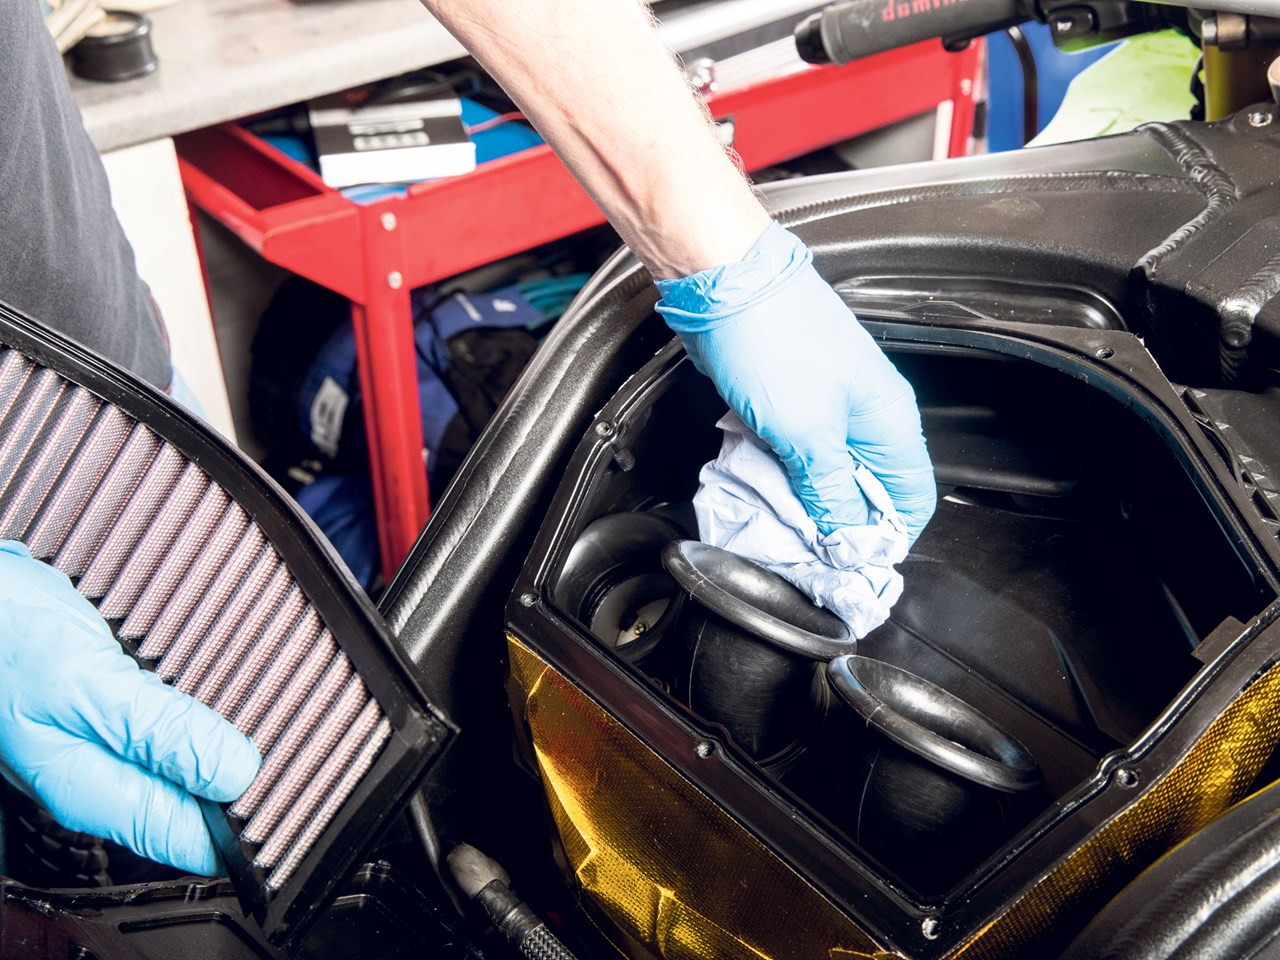
4. Wipe and check motorbike air filter

Before installing the new air intake filter, check that both the airbox and lid are clean and free from debris. Wipe the inside of the lid with a clean rag to remove all traces of dirt and dust, and apply filter cleaner as per the instructions on the bottle. At this point it’s also important to compare the new filter against the old to check that you have the correct part. They should be identical in shape and size.
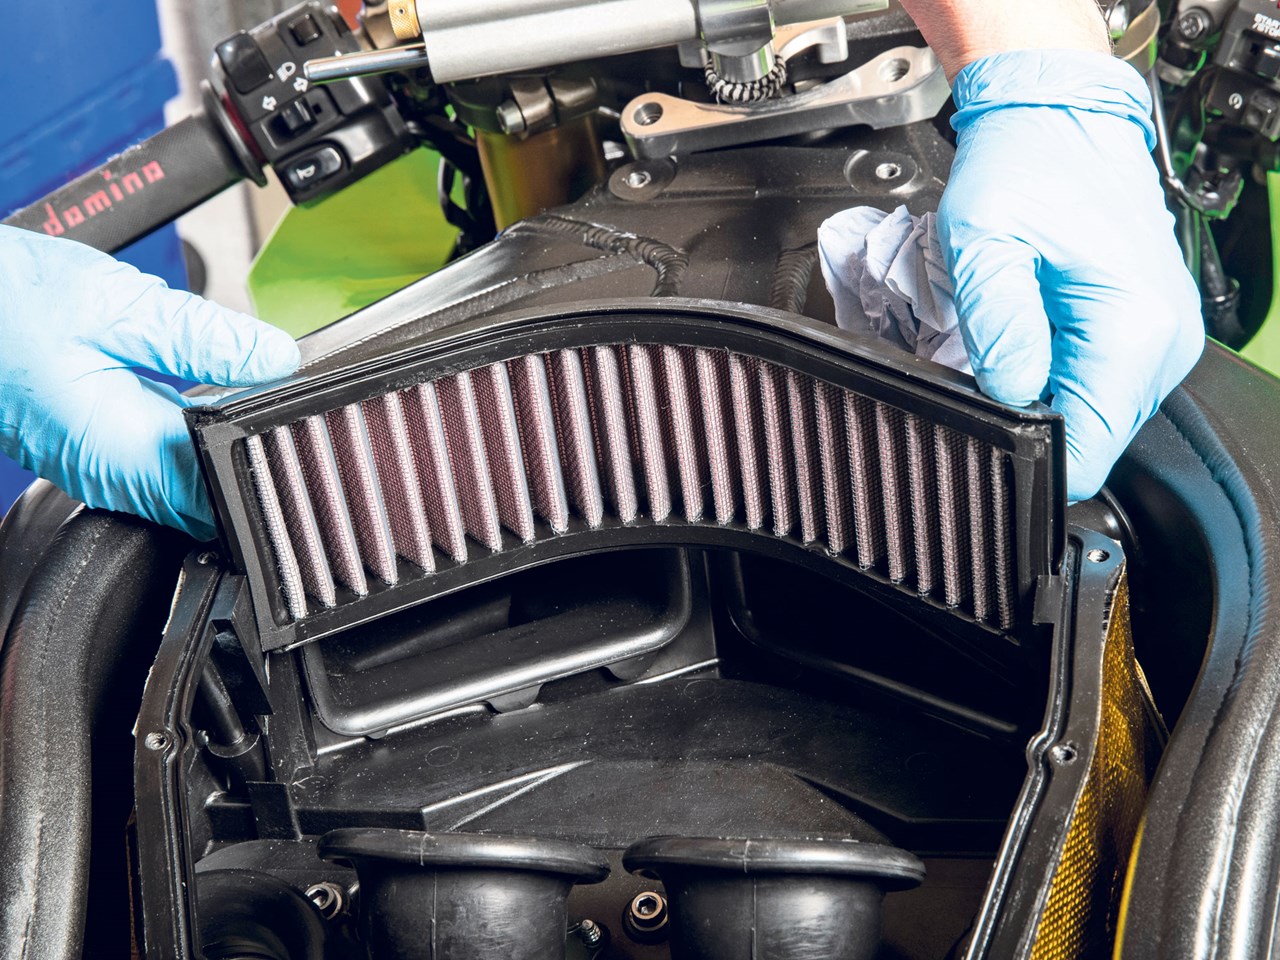
5. Check filter fitment within airbox

Install the air filter into the airbox. There is usually a lip for it to locate into all the way around the perimeter. A snug fit is necessary in order to force air through the filter and not around it. The importance of correct fitment is vital and is one of the many reasons to use genuine parts.
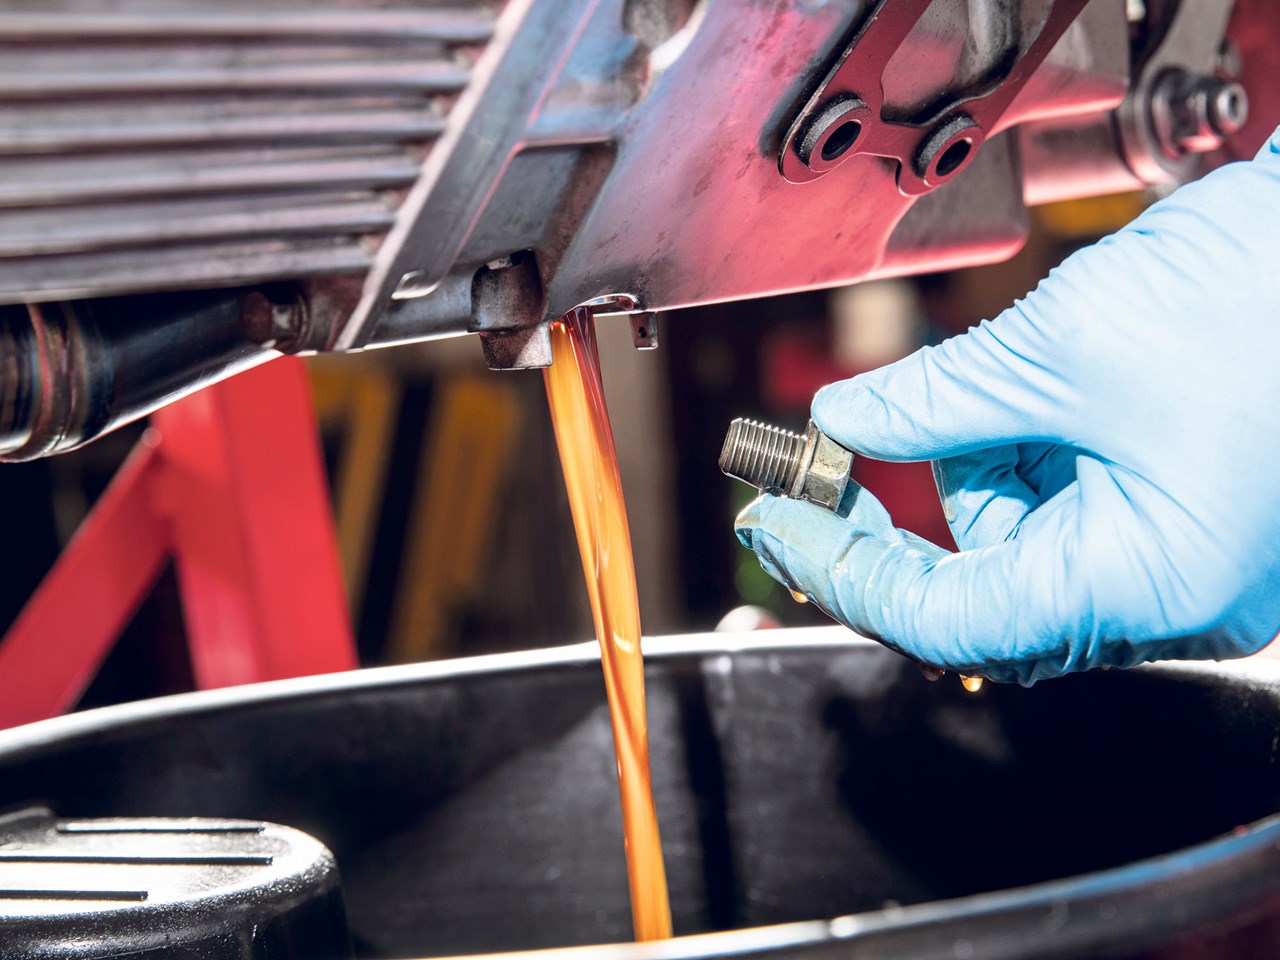
6. Remove the sump plug

Now: oil filter. If the bike is cold, run the engine briefly to warm the oil so it flows out faster. Locate the sump plug, partially undo it using a spanner then spin it out by hand and allow the oil to flow into a tray. Clean and inspect the sump plug, remove the old washer seal and replace with a new one.
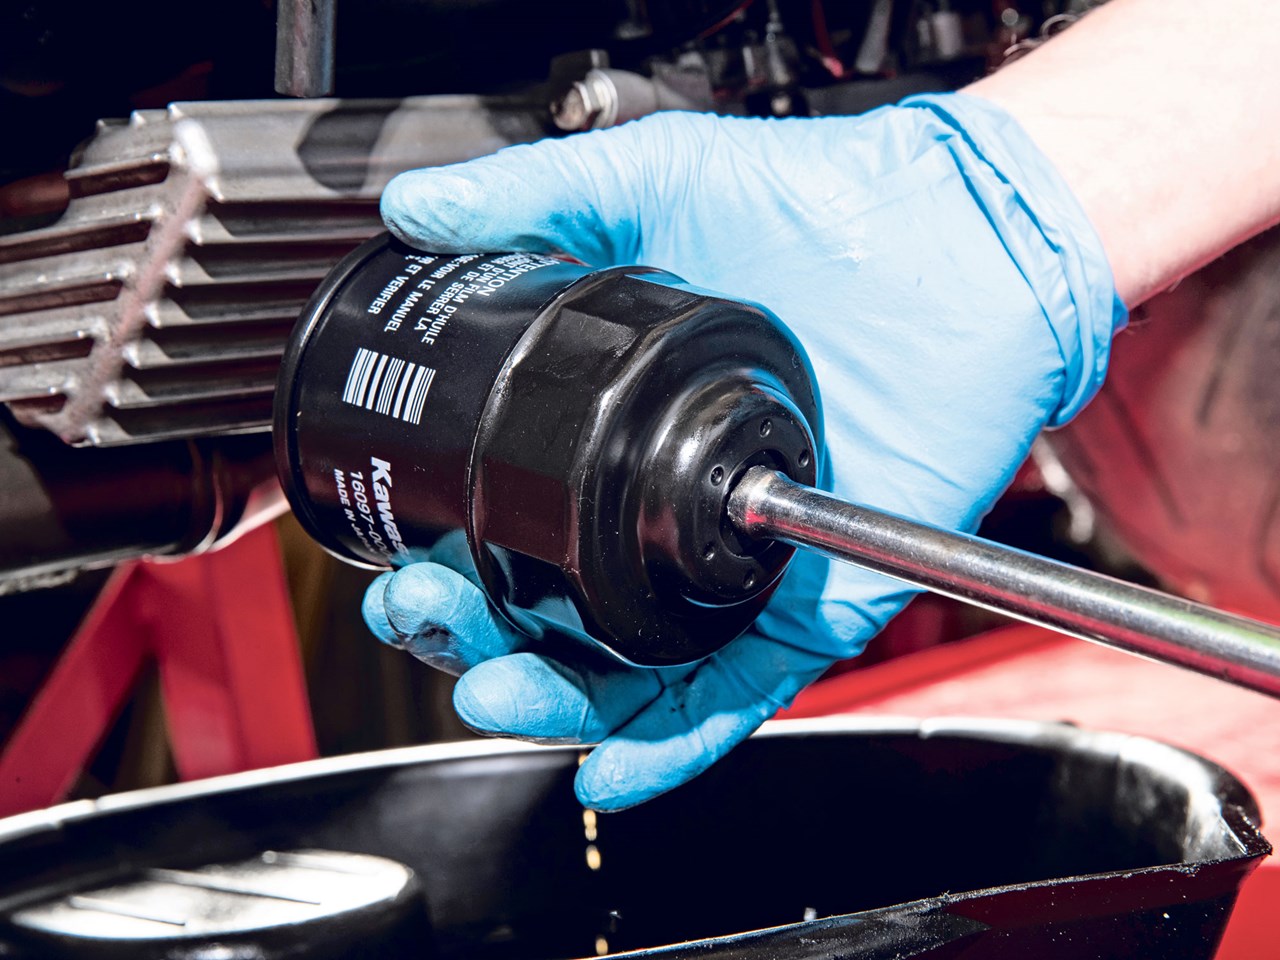
7. Free the oil filter

Reposition the drain tray so it can catch any oil from the filter as it is removed but is also still under the sump in order to catch the last drops. Undo the filter using a filter wrench or suitable tool; often they can be quite tight, so make sure you have a good purchase on it. Once it has been undone a turn or two you can remove it by hand.
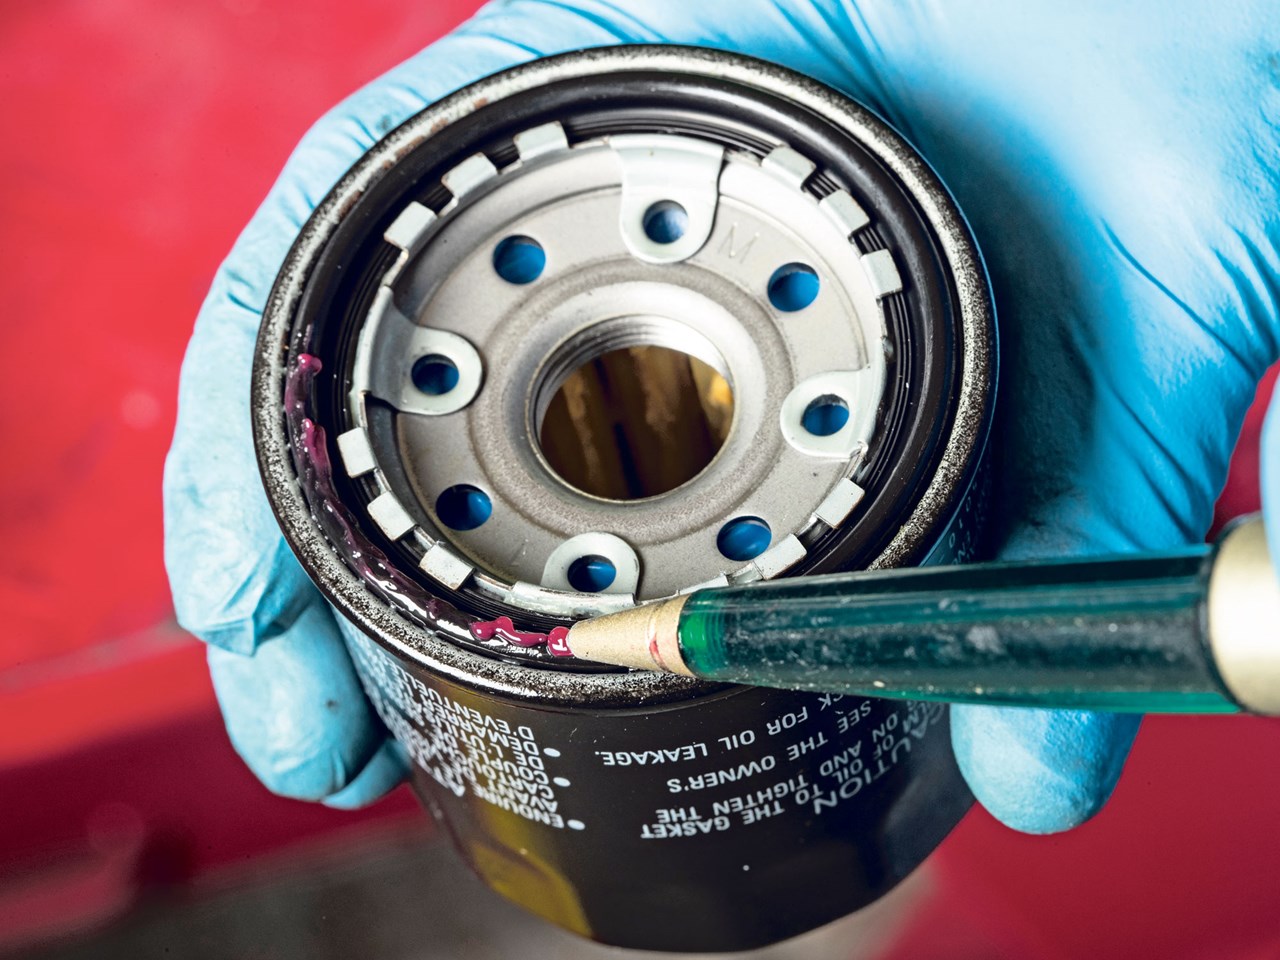
8. Install the new oil filter

Wipe away all traces of oil and grime from beneath the area where the oil filter was sitting, taking special care of the flat surface where the filter O-ring seats. Lightly oil or grease the O-ring on the new filter then install. Tighten the filter by hand and then torque it up to spec. Be careful not to overtighten as this will make subsequent removal difficult.
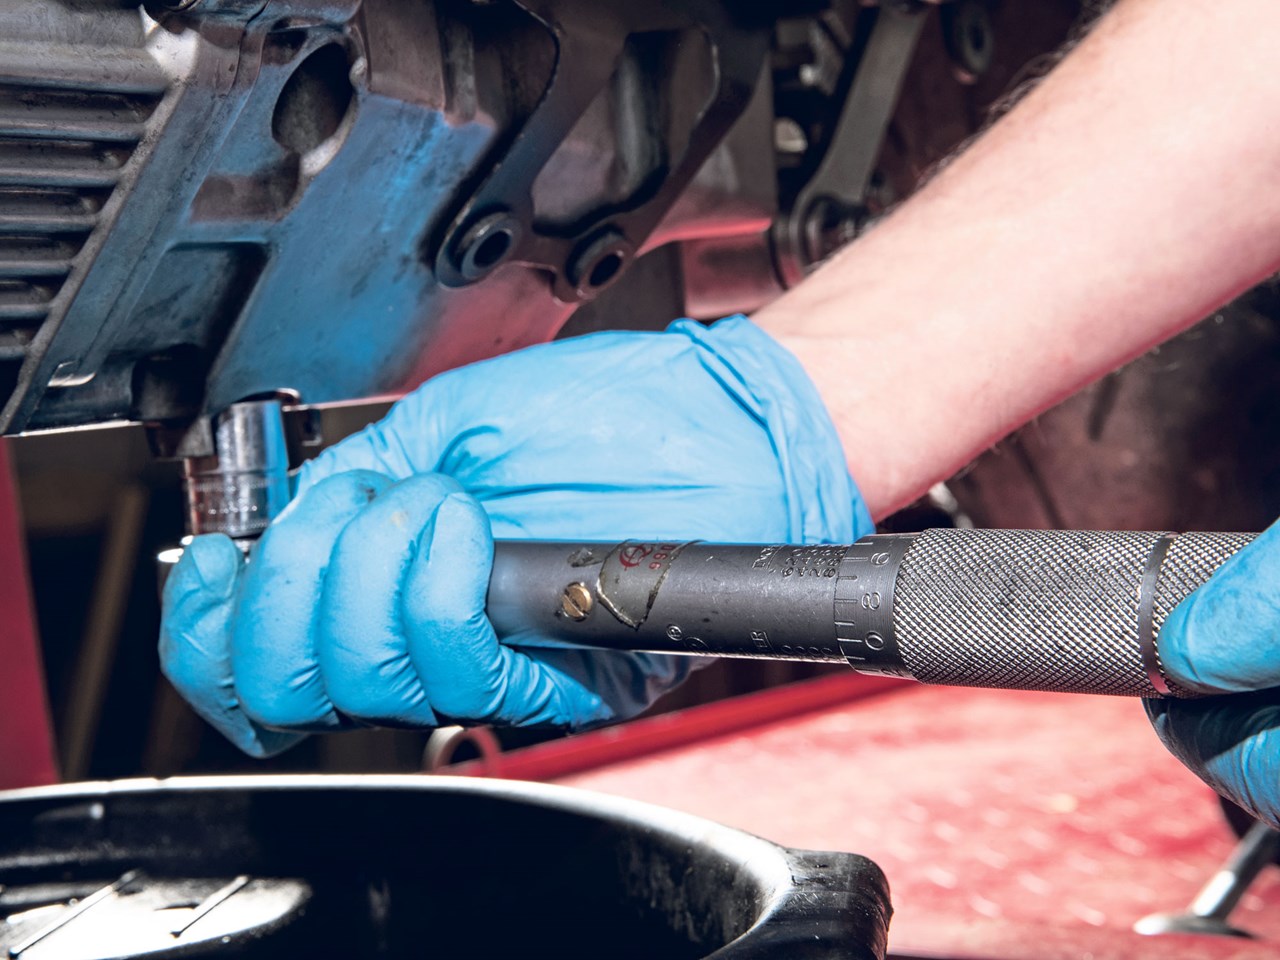
9. Clean up and retorque sump plug

Before re-installing the sump plug, give the area where the bolt seats a clean with some paper towel and wipe away any residual oil, road dirt or debris. Screw the sump plug in then tighten it up firmly. Check in the manual if the plug requires torqueing up: this 2004 ZX-10R needs to be tightened to 20Nm.
10. Refill with fresh engine oil

Refer to your bike’s manual for the type and amount of oil your machine needs. Measure it out precisely then pour in through the filler. When you’ve poured in the correct amount, replace the filler cap and run the engine for a few minutes. Wait a short while and check the oil level. Make a visual check for any leaks around sump and filter, then replace the panels.
Useful tools for a motorcycle oil and filter service

Next are adjustable claw types where you tighten three prongs around the filter and then use a spanner to twist it. Then there are chain or strap types that can fit any filter. These are slipped around the filter and pulled tight and then the handle is used as a lever to simultaneously grip and twist much harder than you can with your hands.


These from Draper were tested by Jim Blackstock who said: "In outright terms, this is an excellent set of T-handle hex keys. They are well designed and fit the hand nicely, so they are comfortable and easy to use.
"They come with a metal stand for storage and comprise the most common sizes you are likely to need on most bikes.
"You can generate decent torque using the handle and even more using the main shaft as a lever and they come with a lifetime guarantee. However, when you consider that they are less than £20 for the set, they are also an absolute bargain."
Read our full Draper T-bar Hex Key review

"If you do any work on your bike (or other vehicles) you really must have a torque wrench. I’ve got one for high-torque jobs, and a smaller one for more delicate tasks. This Draper item is the meaty one.
"Rated to cope with torques from 20-210Nm (22.1 – 154.9lb.ft), it’ll cover the vast majority of common tasks that use large nuts, like wheel spindle nuts, swingarm pivot bolts, headstock nuts etc. And these are all things you don’t want to under- or over-tighten – the consequences of both are dire, and potentially very dangerous.
"To use it, you simply add the relevant socket to the 1/2in square drive (like any other ratchet), set the torque rating on the marked handle, and tighten the nut or bolt in question. Once the right torque is reached, there’s an audible ‘click’ and it feels momentarily like you’ve broken something as the tension goes slack. Couldn’t be simpler."


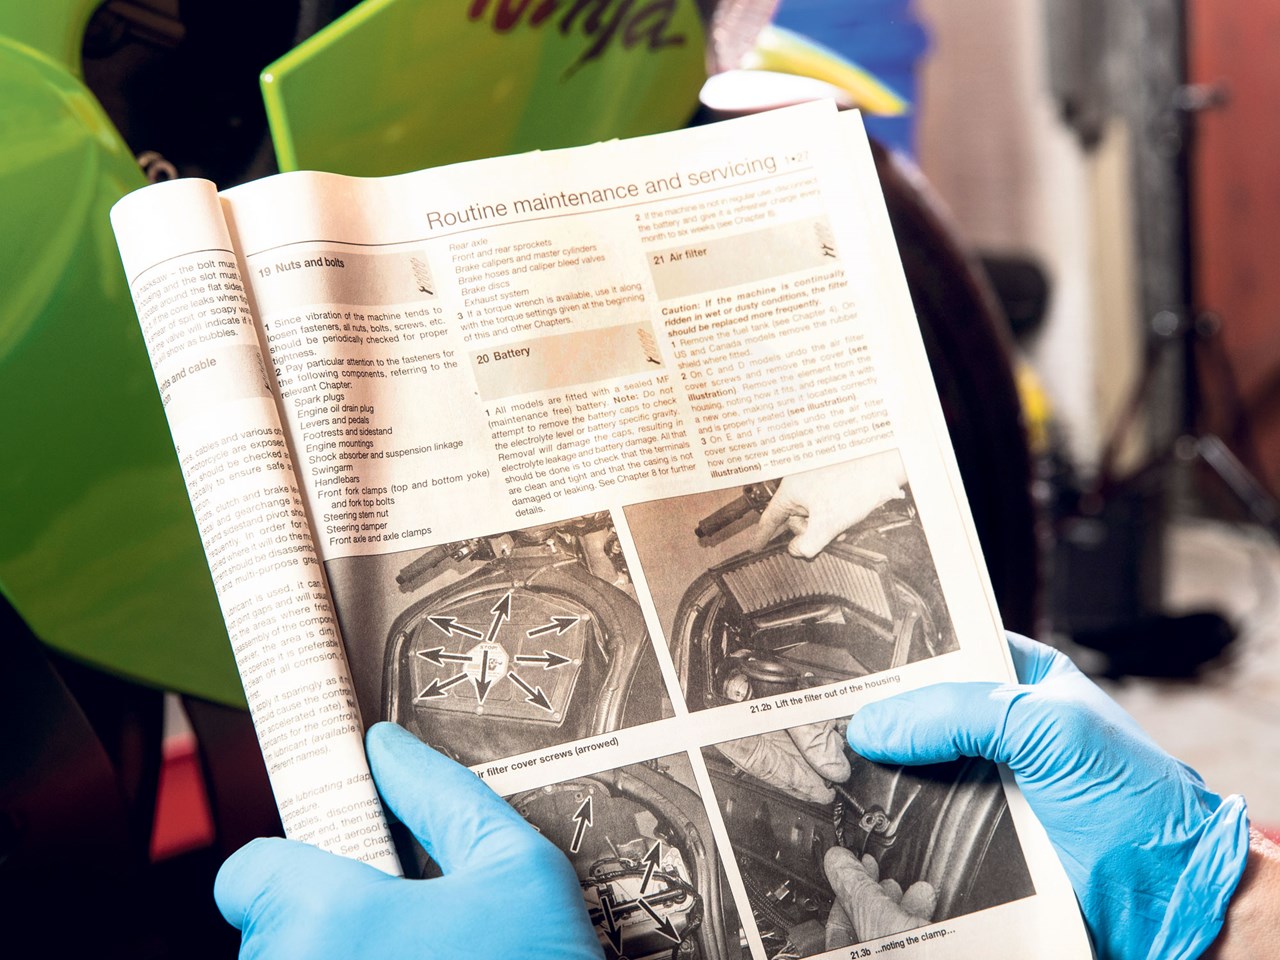
 Workshop manual for motorcycle
 Clean up and retorque sump plug

 Get familiar with your filters and where they live
 Lifting the lid on the airbox
 Wipe and check motorbike air filter
 Check filter fitment within airbox
 Remove the sump plug
 Free the oil filter
 Install the new oil filter
 Clean up and retorque sump plug