MCN's step by step guide to getting a squeaky clean helmet inside and out
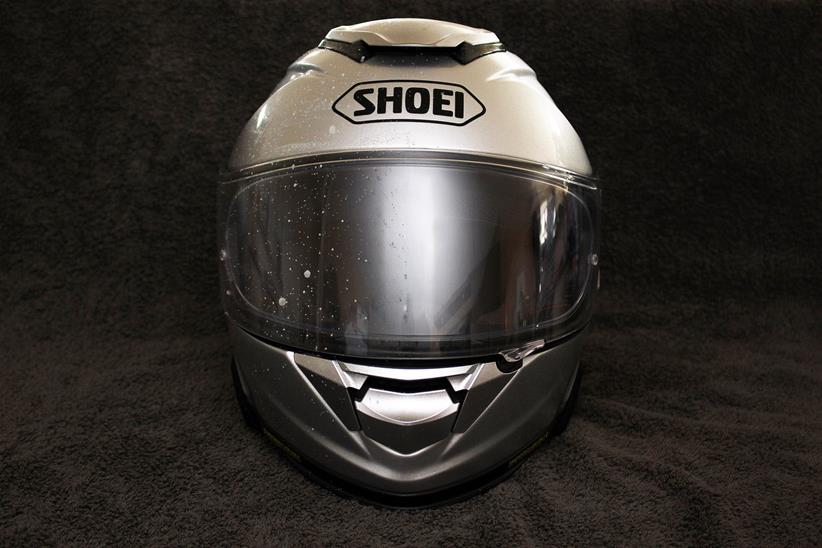
Helmet cleaning is one of those jobs that many of us put off for as long as possible. Aside from wiping the bugs off your visor in summer, the task tends to drop down the to-do list for months (or years) at a time. Like cleaning your bike itself, cleaning your helmet is a really worthwhile chore.
It doesn’t take long for a helmet to get sweaty and start to smell a little. Even the shortest hot-weather runs can lead to a sweaty head and on longer trips, multiple stints in the helmet can create unpleasant aromas and make the most important bit of your riding kit an unwelcoming place to be.
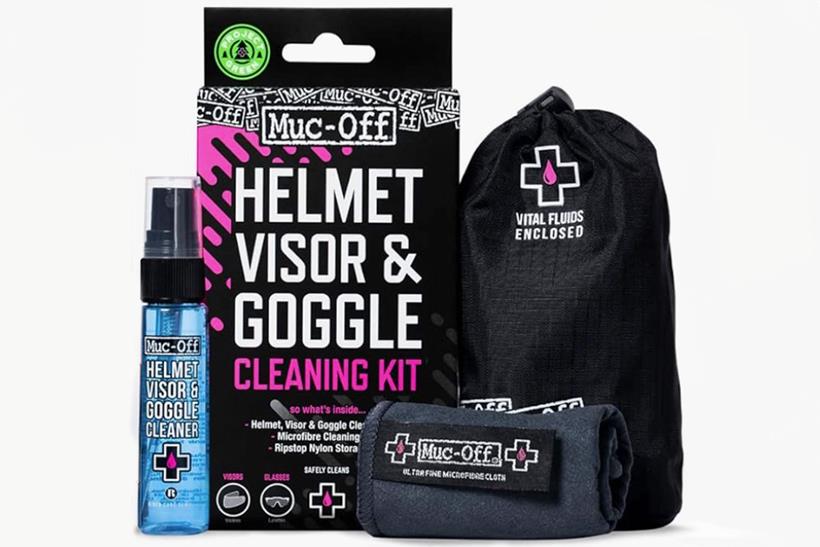
But helmet cleaning is not a difficult process. It takes an hour or two, plus drying time for some of the components, so over a weekend, you can easily bring your lid back up to fresh, new spec ready for the next round of commuting or long multi-day tours, with the help of some helmet maintenance products.

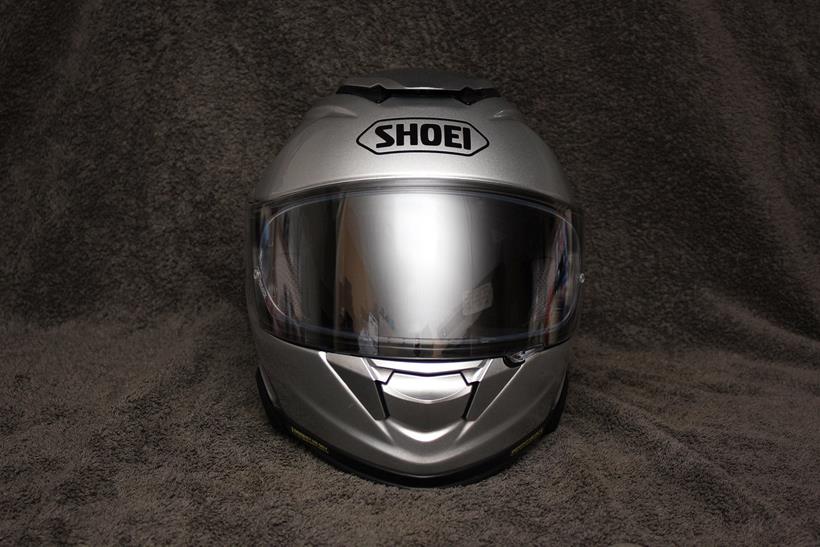
Cleaning the outside of the helmet
Step 1:
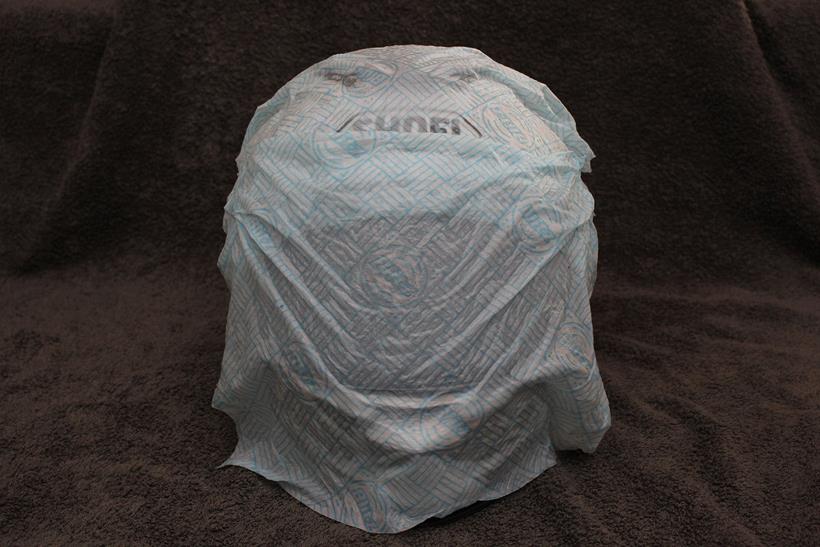
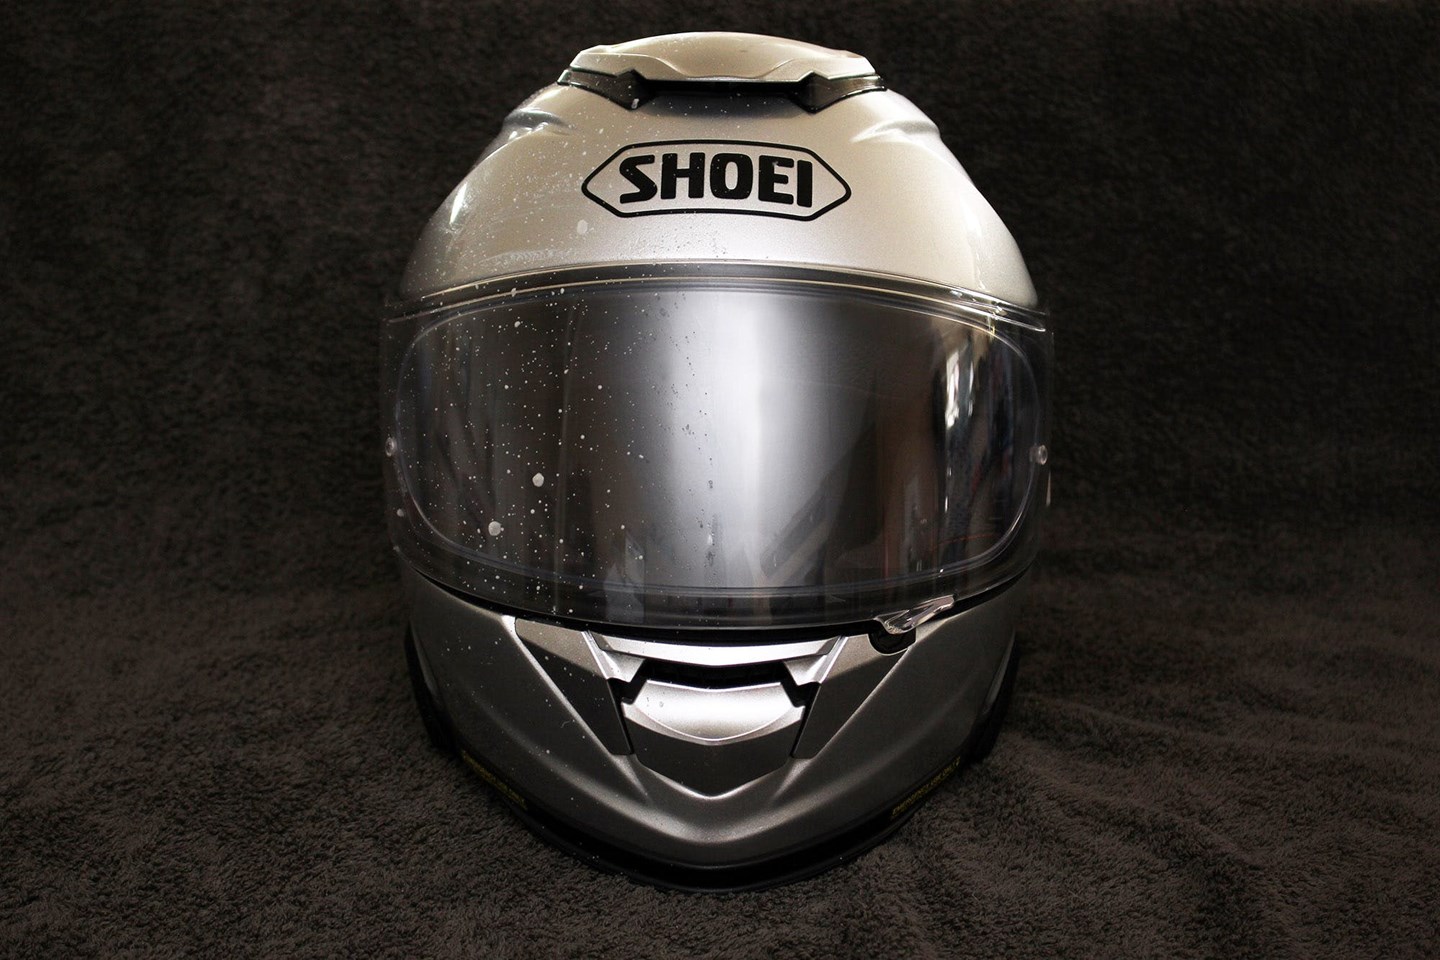
Just about the hardest part of helmet cleaning is dealing with roadkill; dried-on insect remains are notoriously difficult. The ideal start point is to lay a water-soaked kitchen paper towel over the helmet and leave the moisture to soak into the remains of the bugs.
Step 2:
After a while (you will have to judge that yourself – anywhere from a few minutes to longer, depending on how long the bugs have been on there), use the still-damp kitchen roll to gently wipe the worst of the remains off.

Step 3:
Then use a soft, damp cloth to carefully remove the rest of the moisture and let it dry. It isn’t clean yet but the worst of the debris is off.
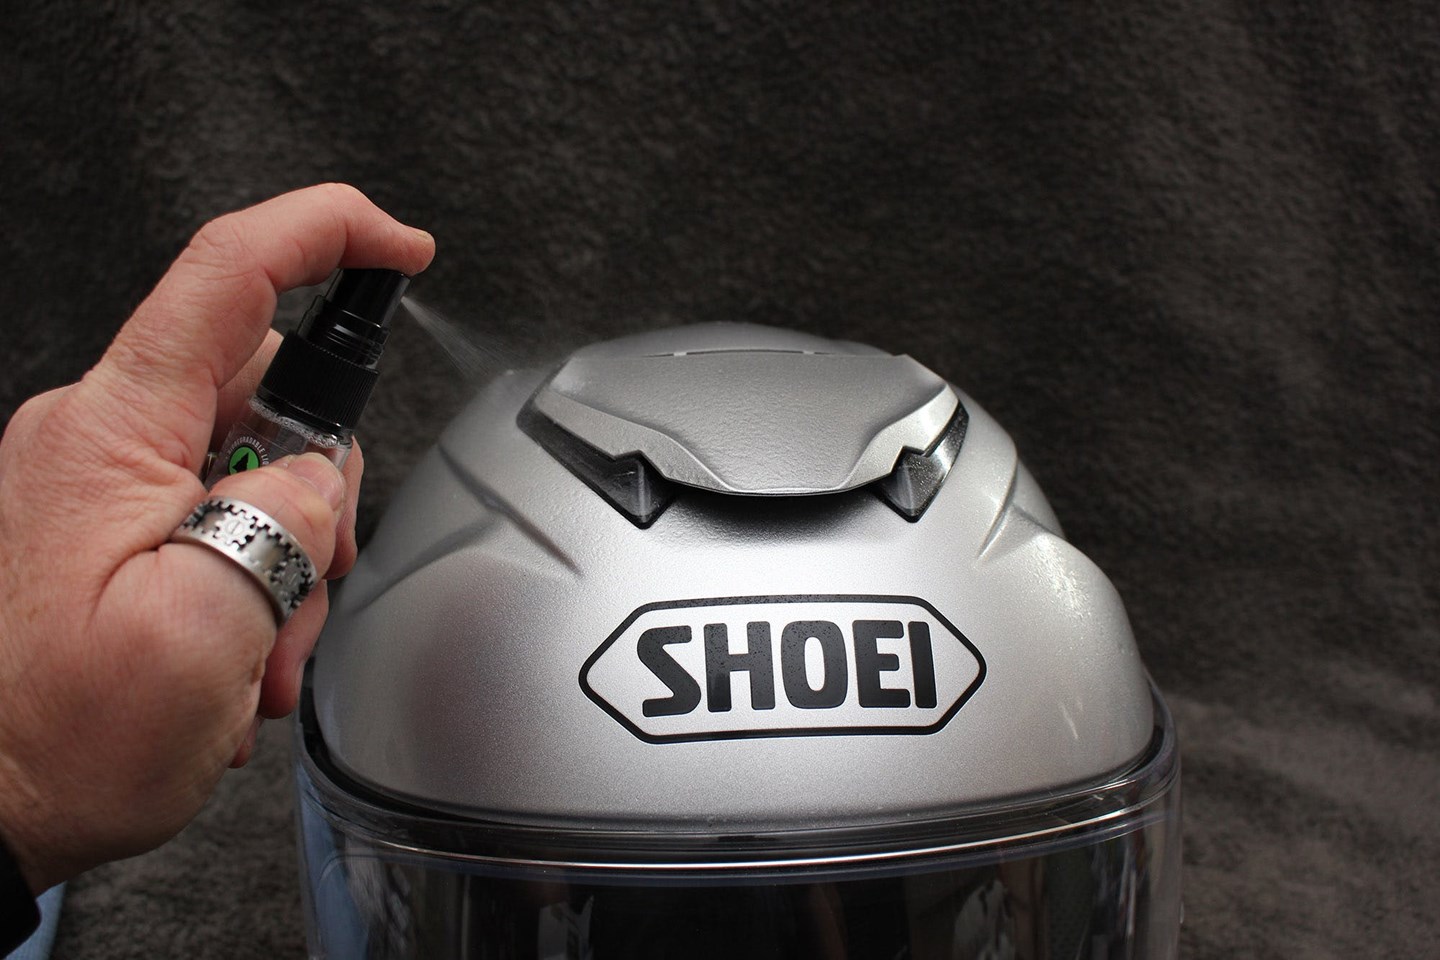
Step 4:
Now use a proprietary helmet cleaning spray to clean the shell of the helmet. These are designed for the job and won’t harm the material. Spray it onto the helmet’s shell directly.

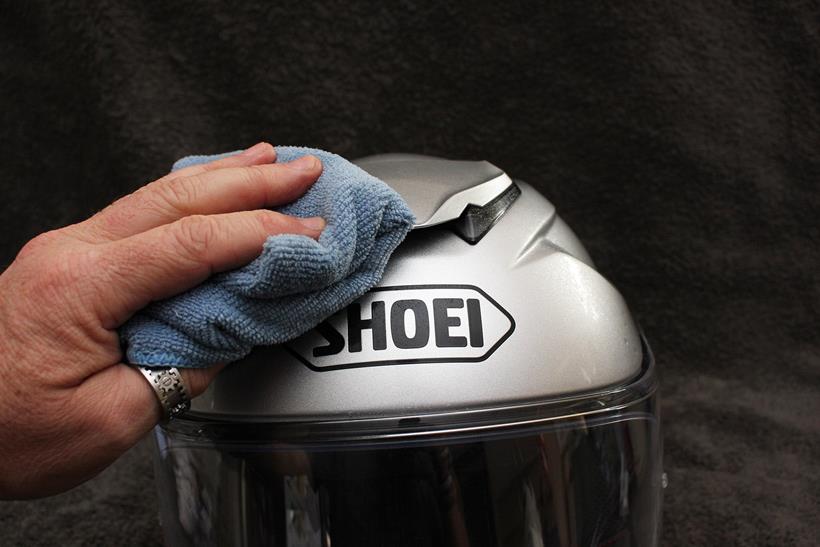
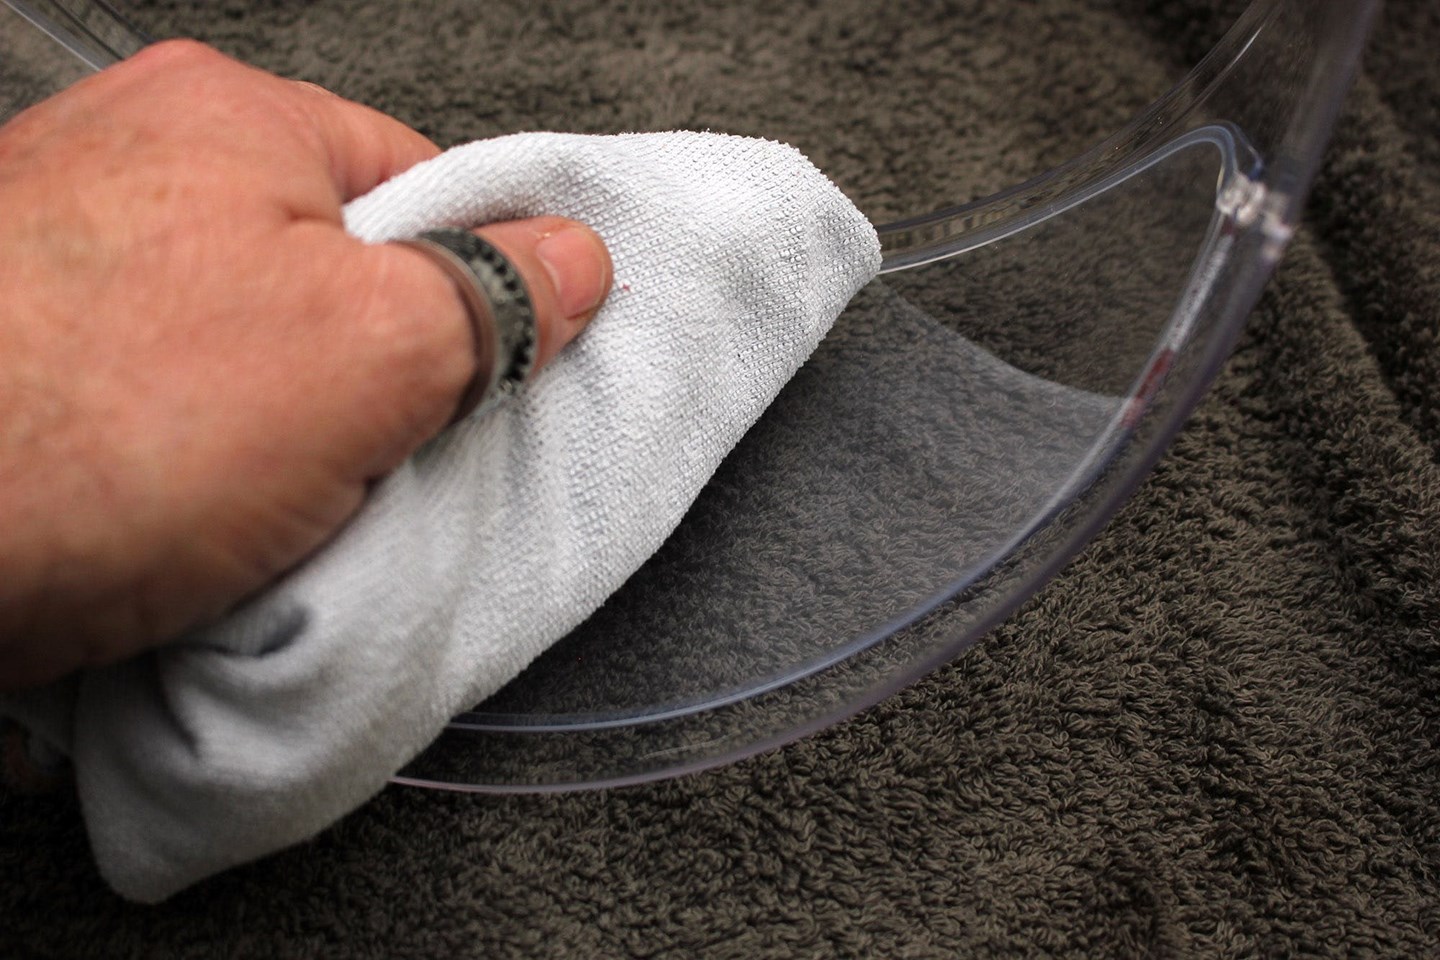
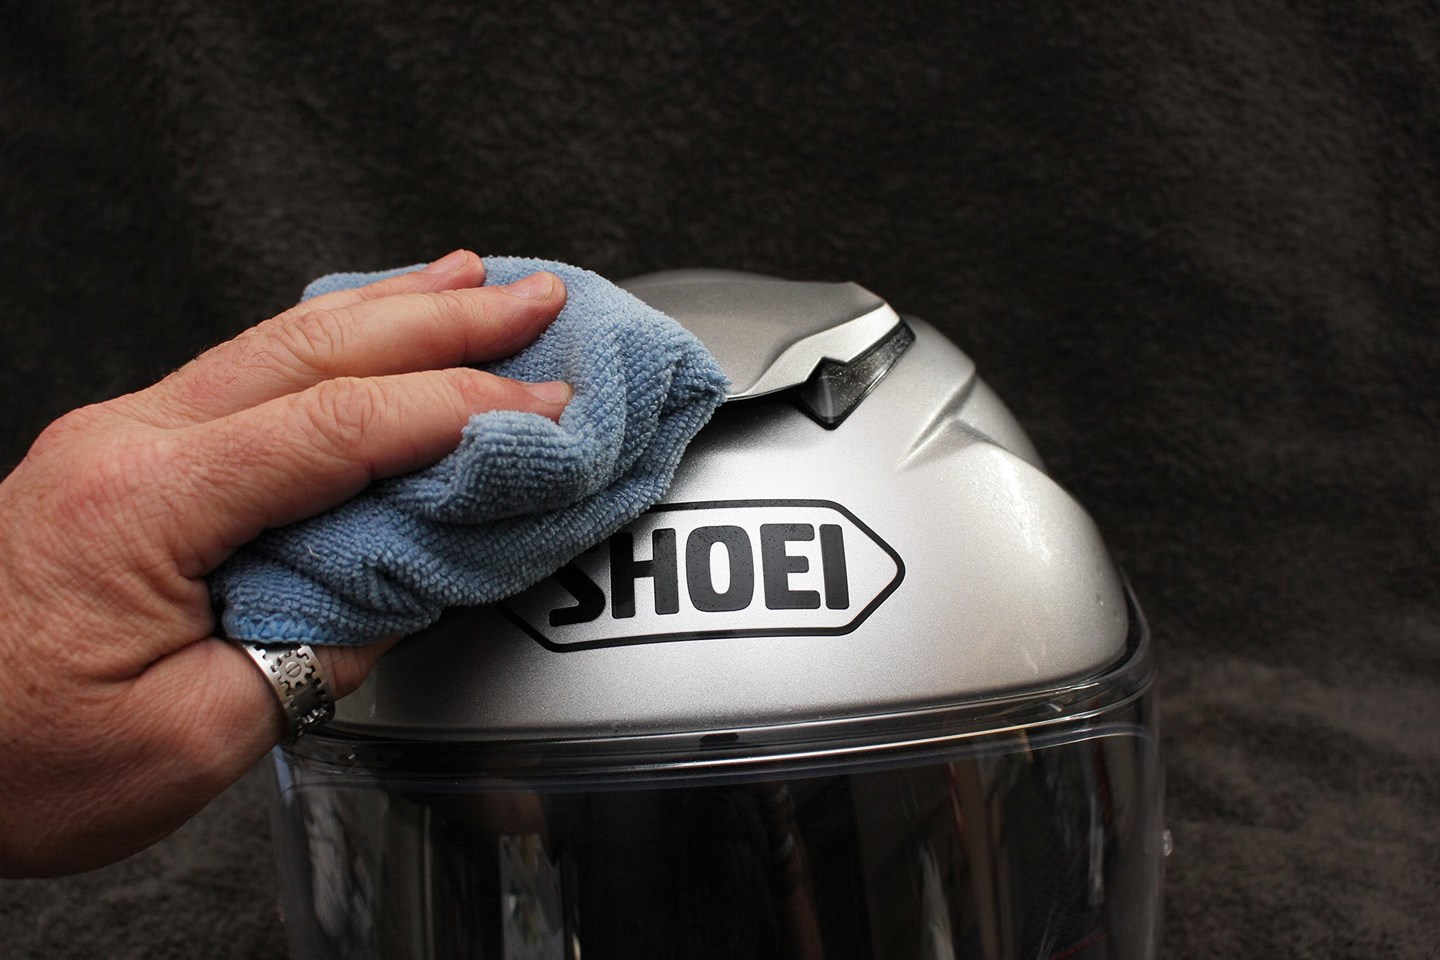
Step 5:
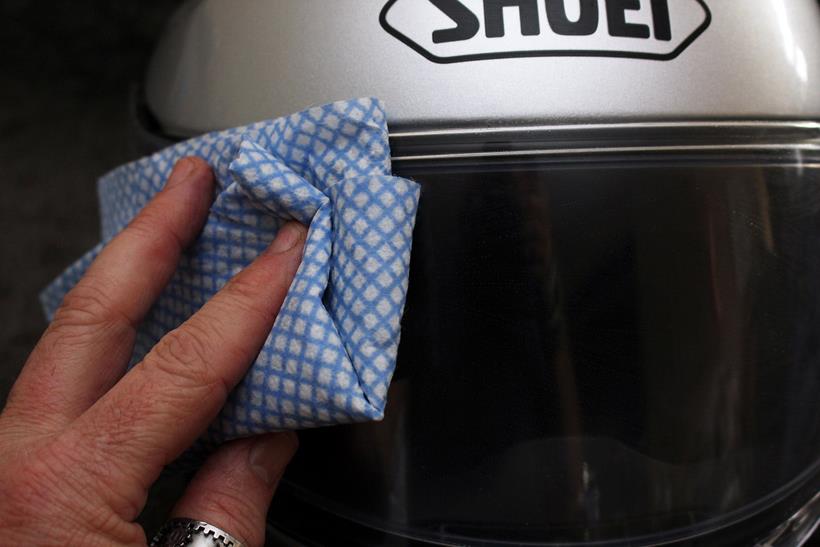
Use a clean microfibre cloth to firstly remove the road film and dirt and, once gone, reverse the cloth or use another to polish the shell clean.
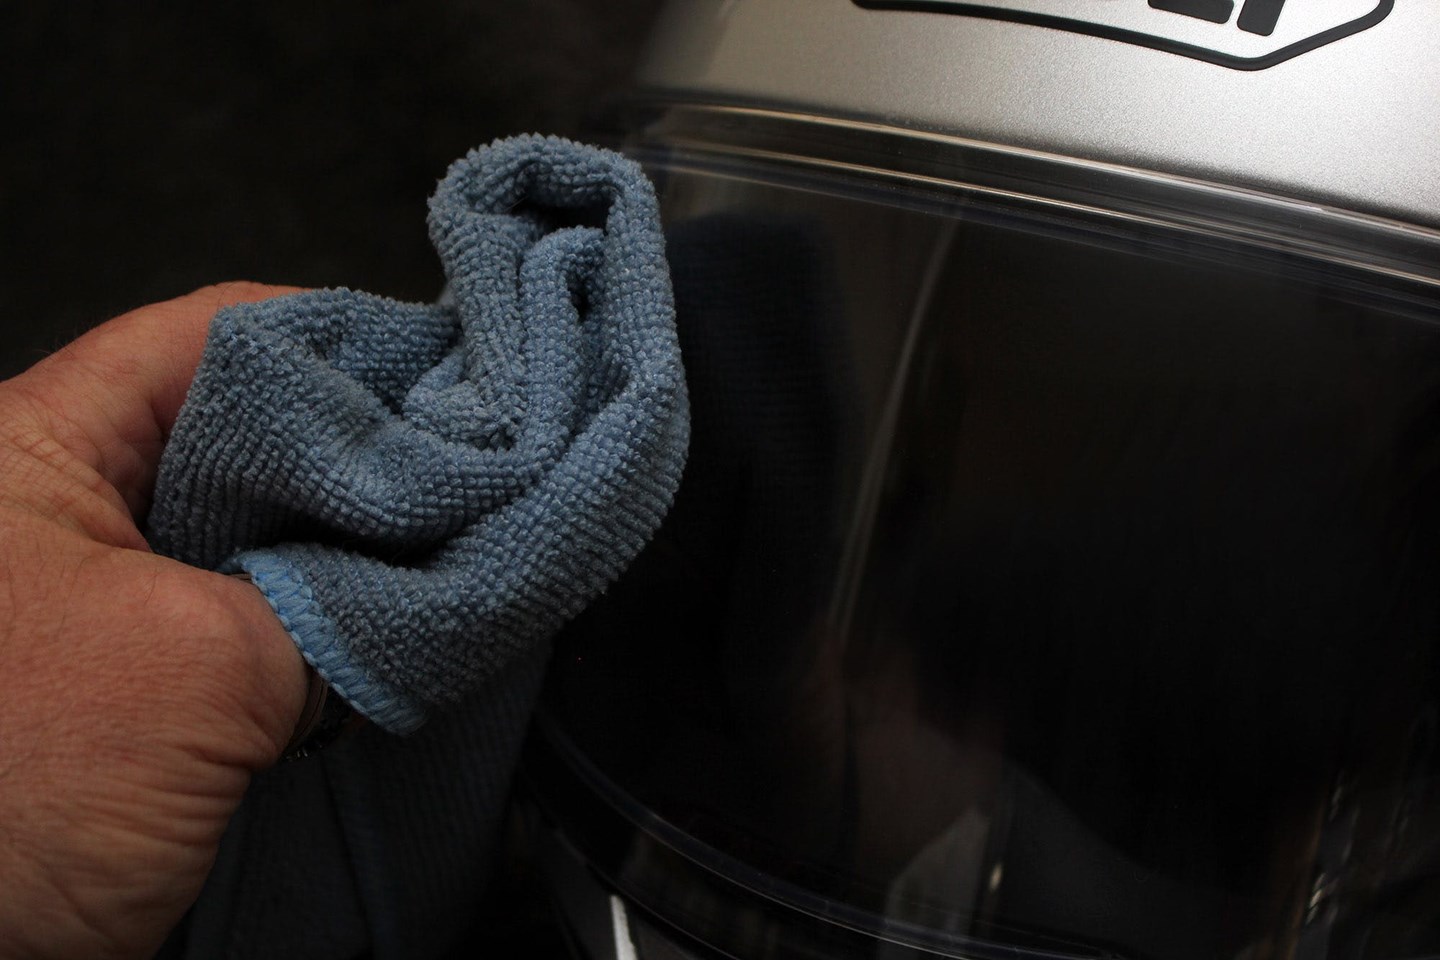
Step 6:
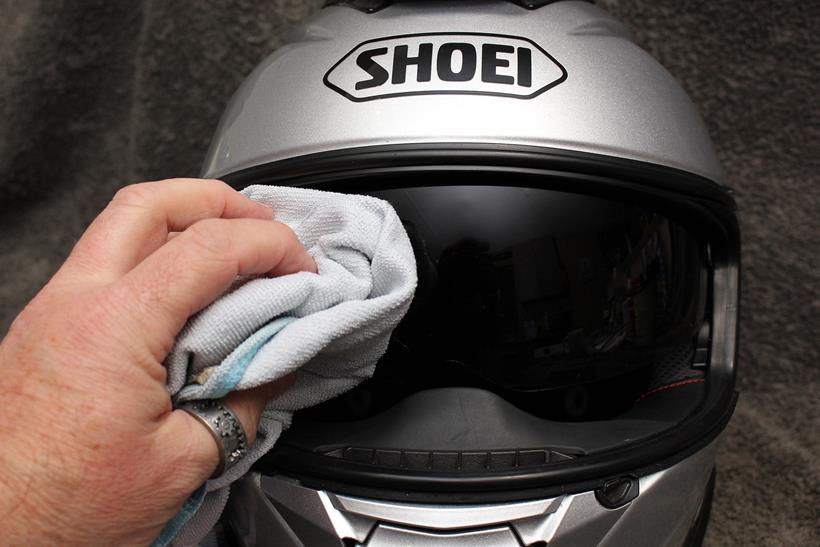
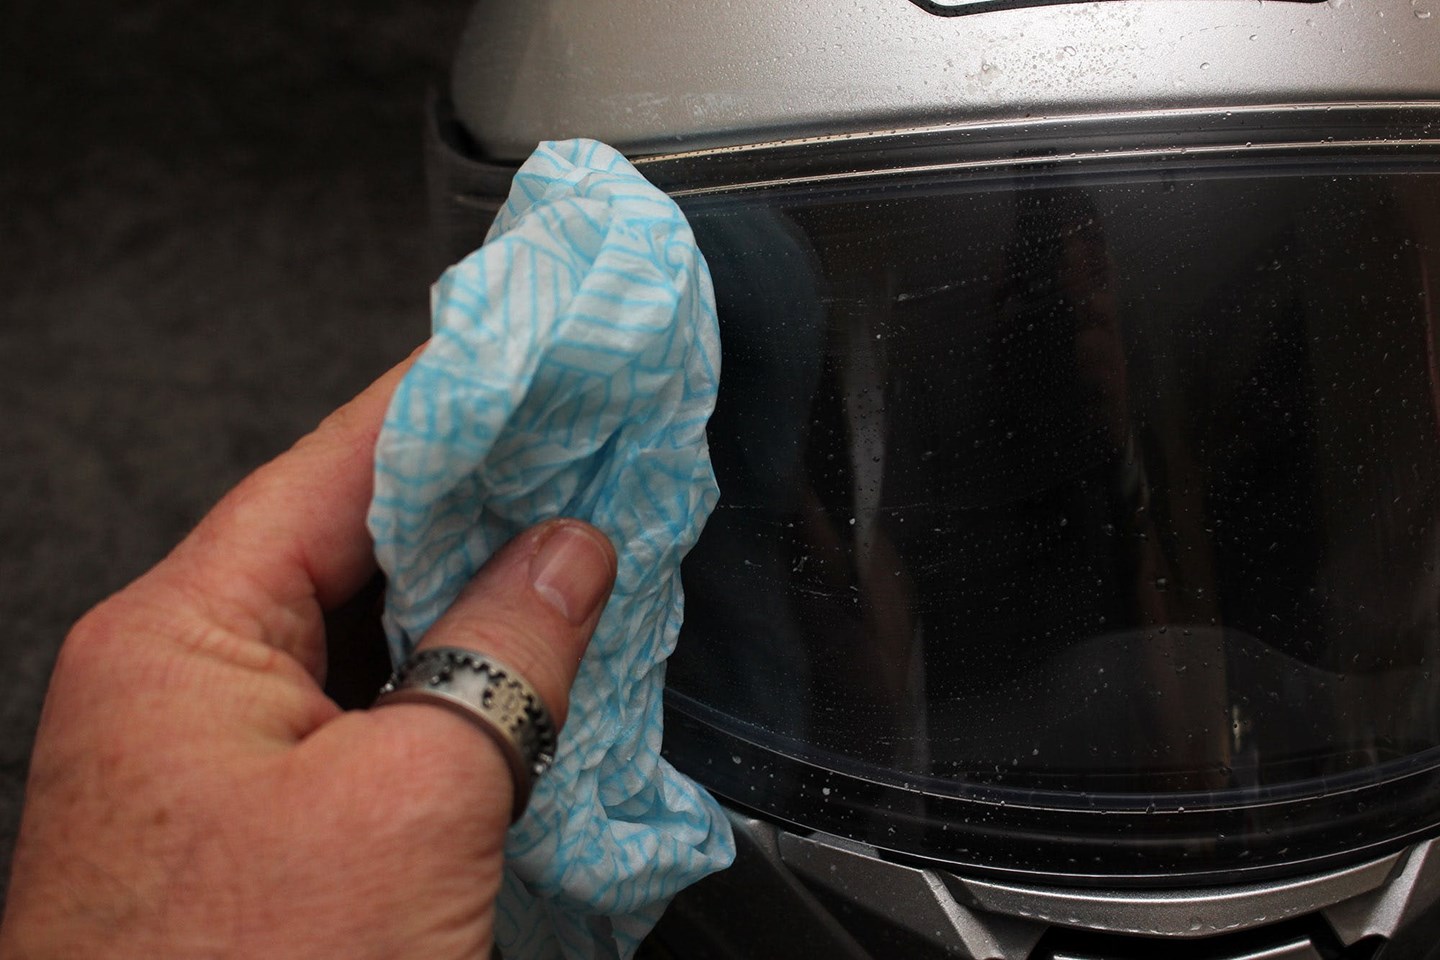
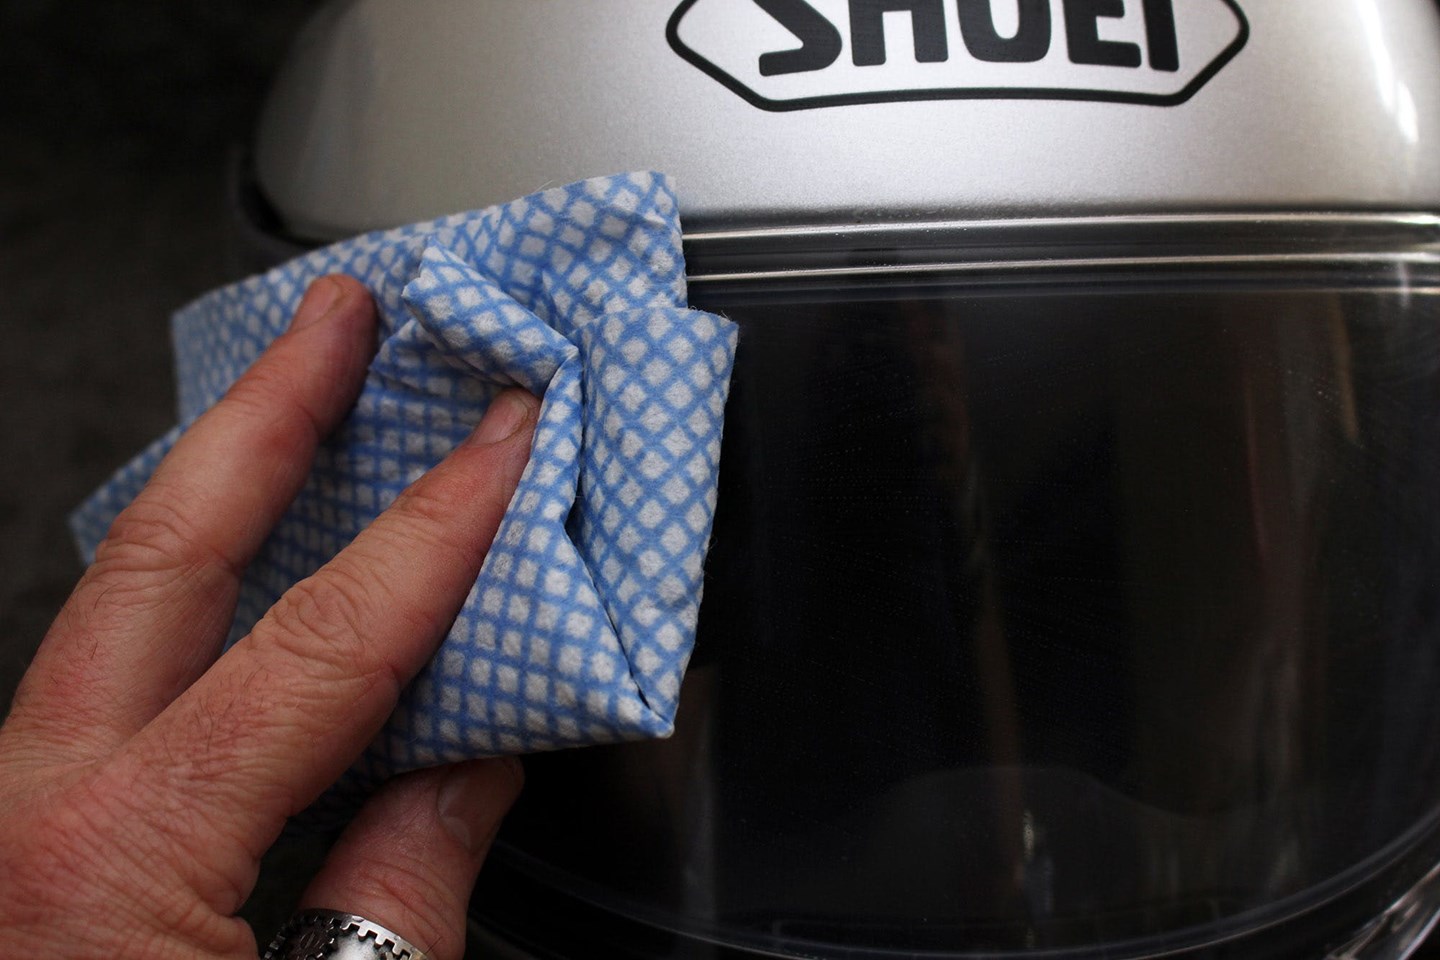
Most products will also clean the visor. Do this after the shell, as overspray from the shell can get on the visor. Again, spray directly onto the visor, wipe off the dirt, then…
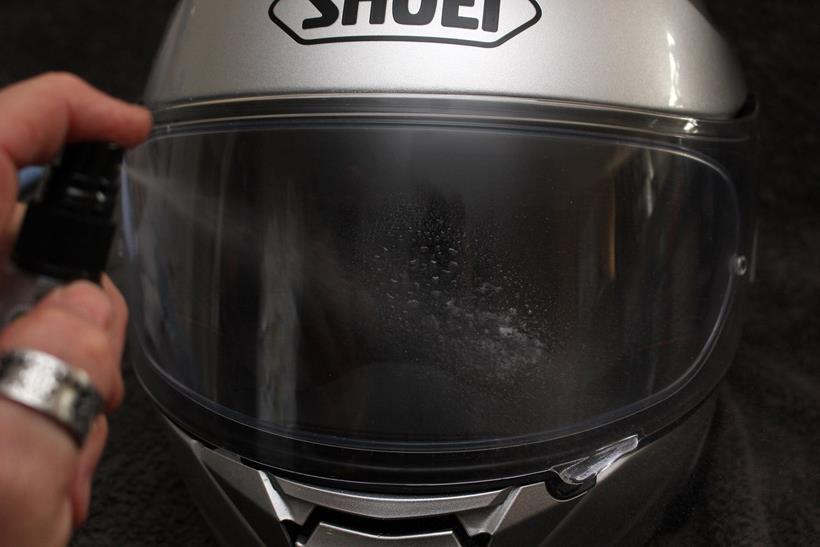
Step 7:
…finally polish the product off the visor for a sparkling finish.

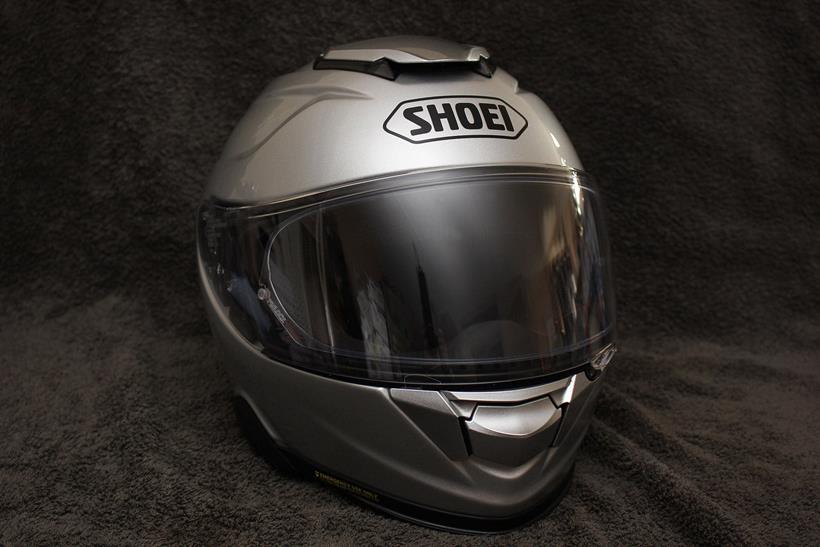
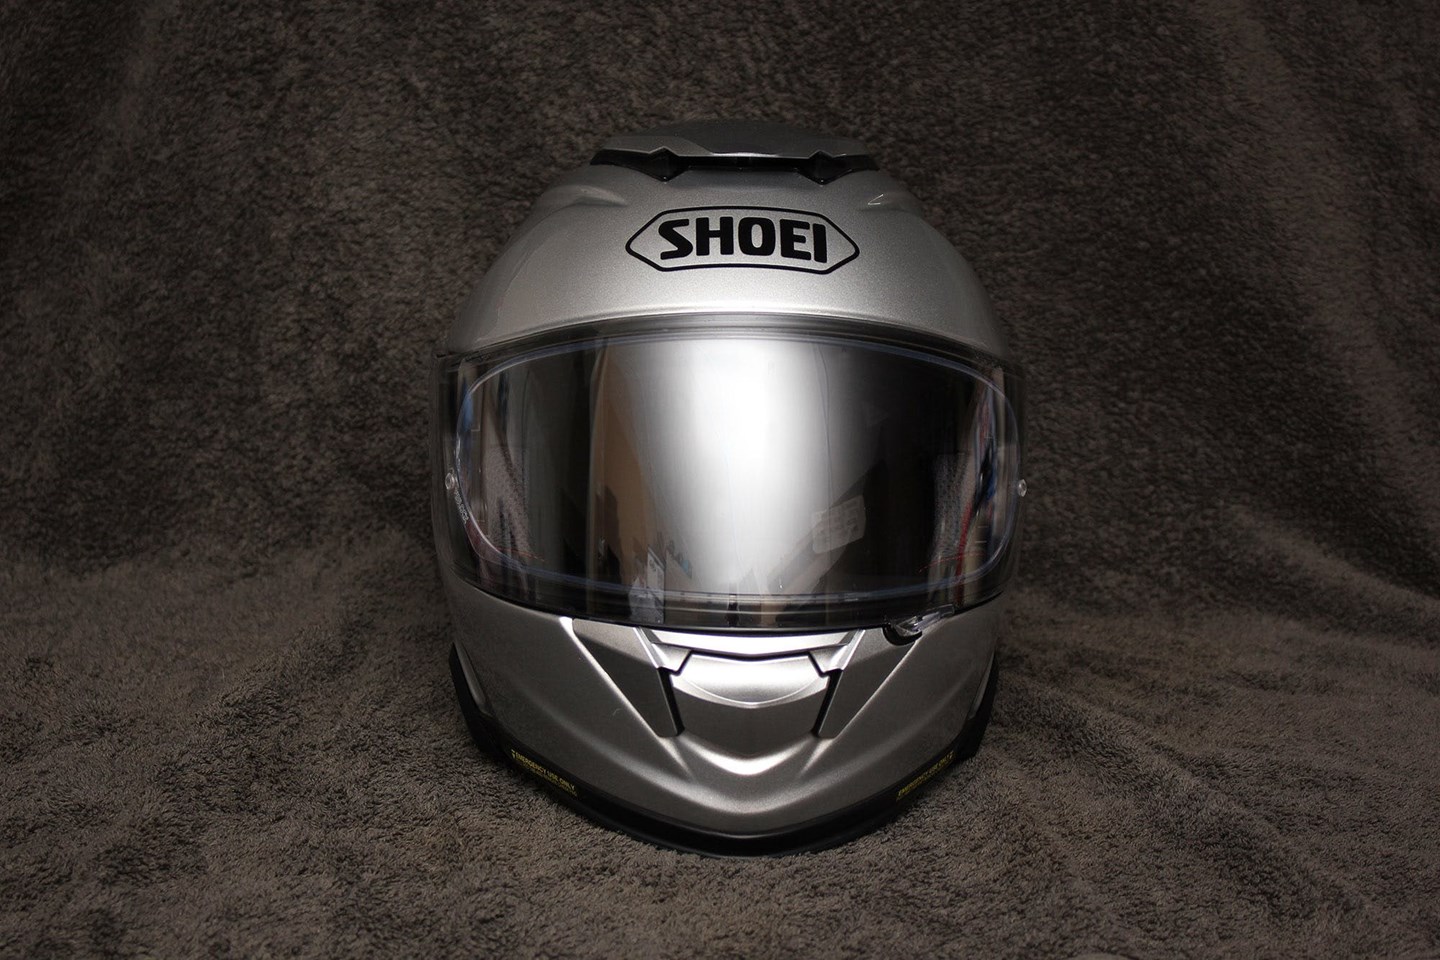
Step 8:
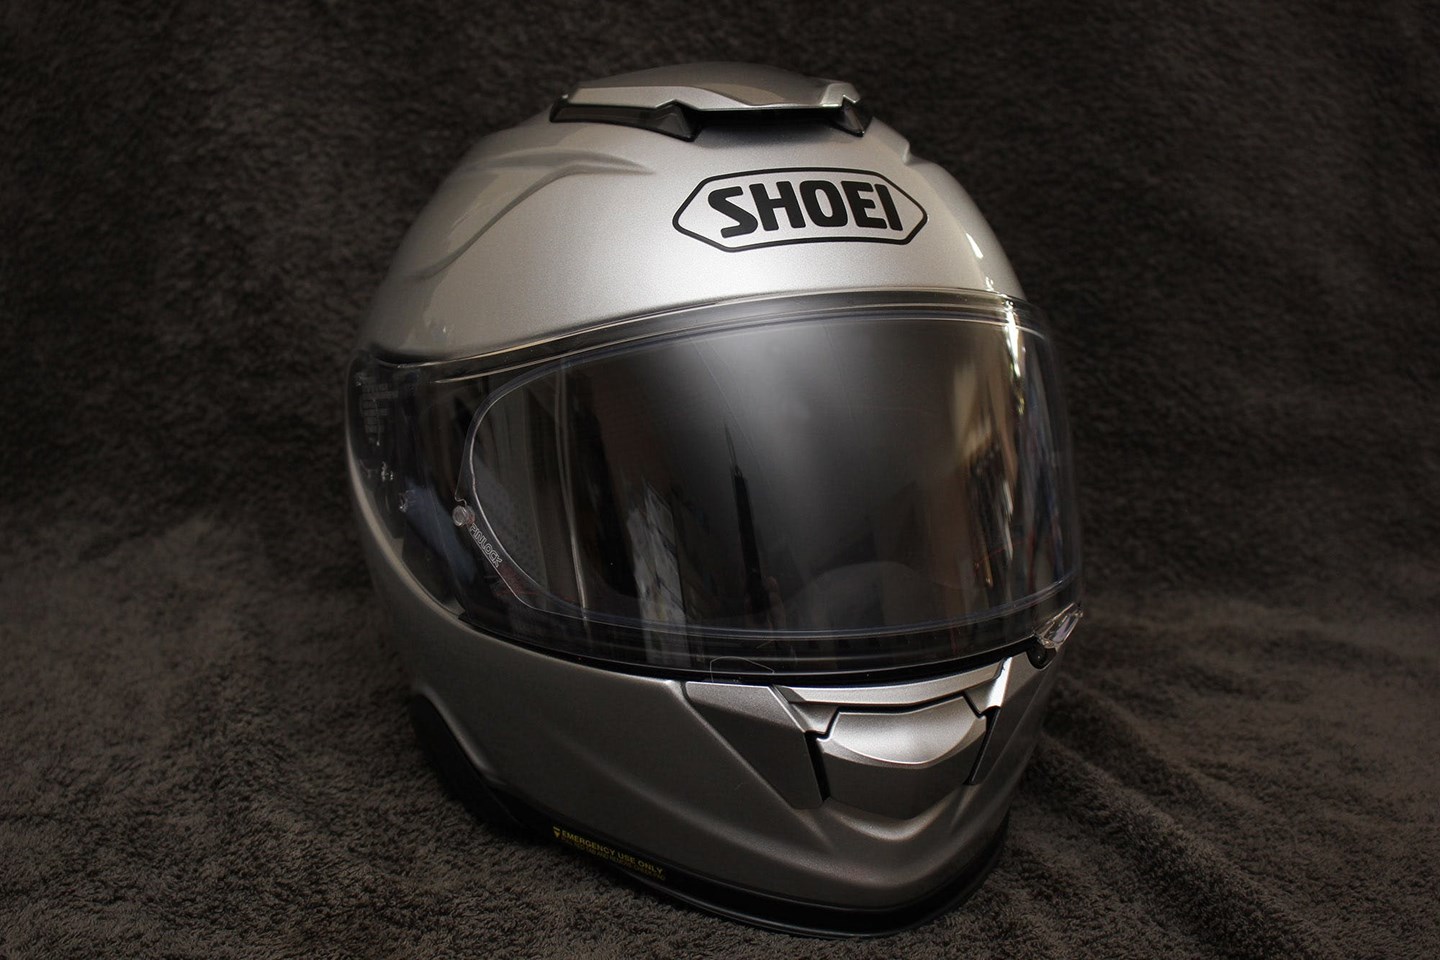
And that’s the outside of the helmet done
Cleaning the interior of the helmet
Step 1:
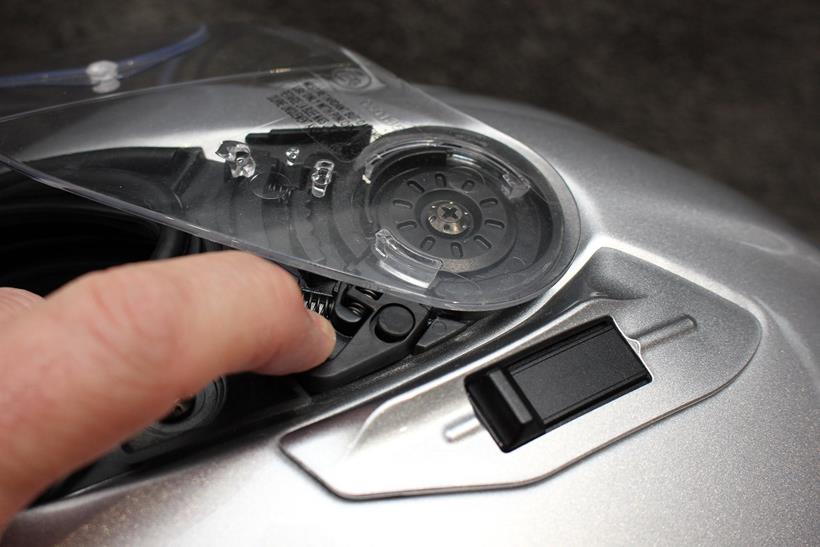
Before turning to the interior, remove the visor so you can clean the inside.
Step 2:
With the visor resting on a soft surface, clean the inside of the Pinlock insert with a soft cloth. You don’t need any products – just a soft cloth.

Step 3:
If you don’t have a proper helmet stand to hold it securely while you work on it, you can use a rolled-up towel to protect it and hold it steady.

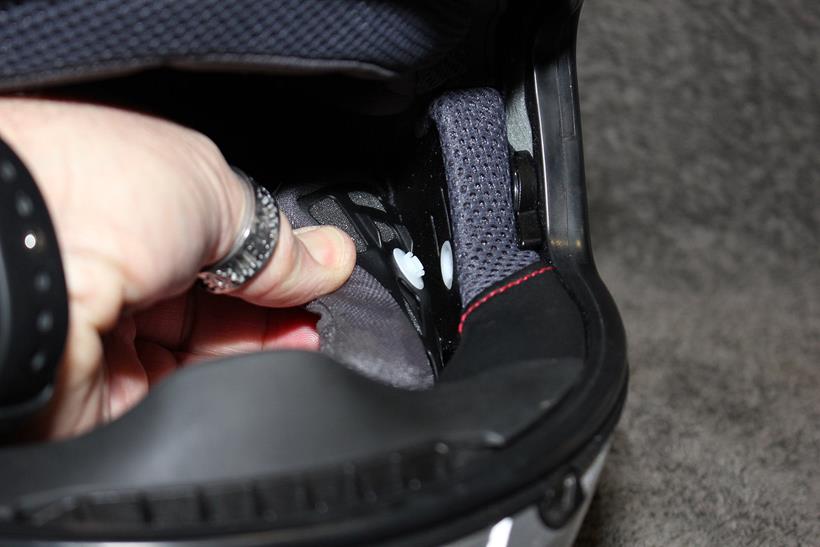
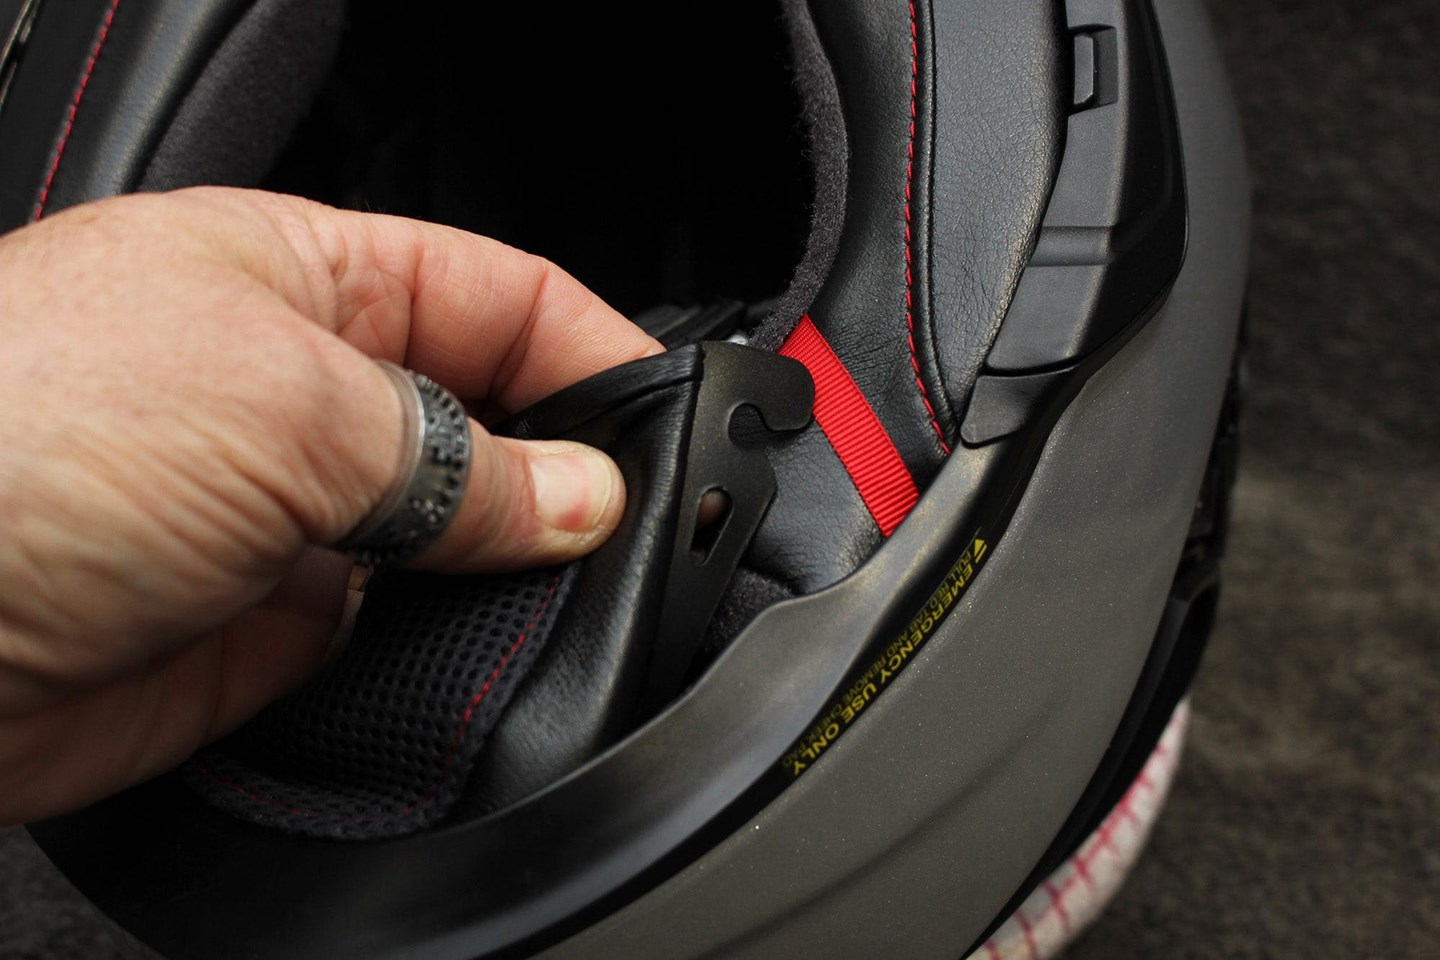
Step 4:
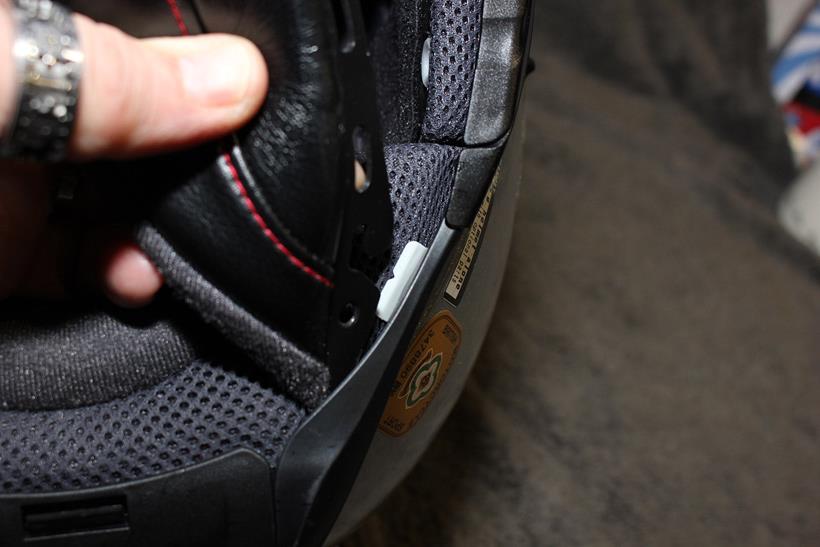
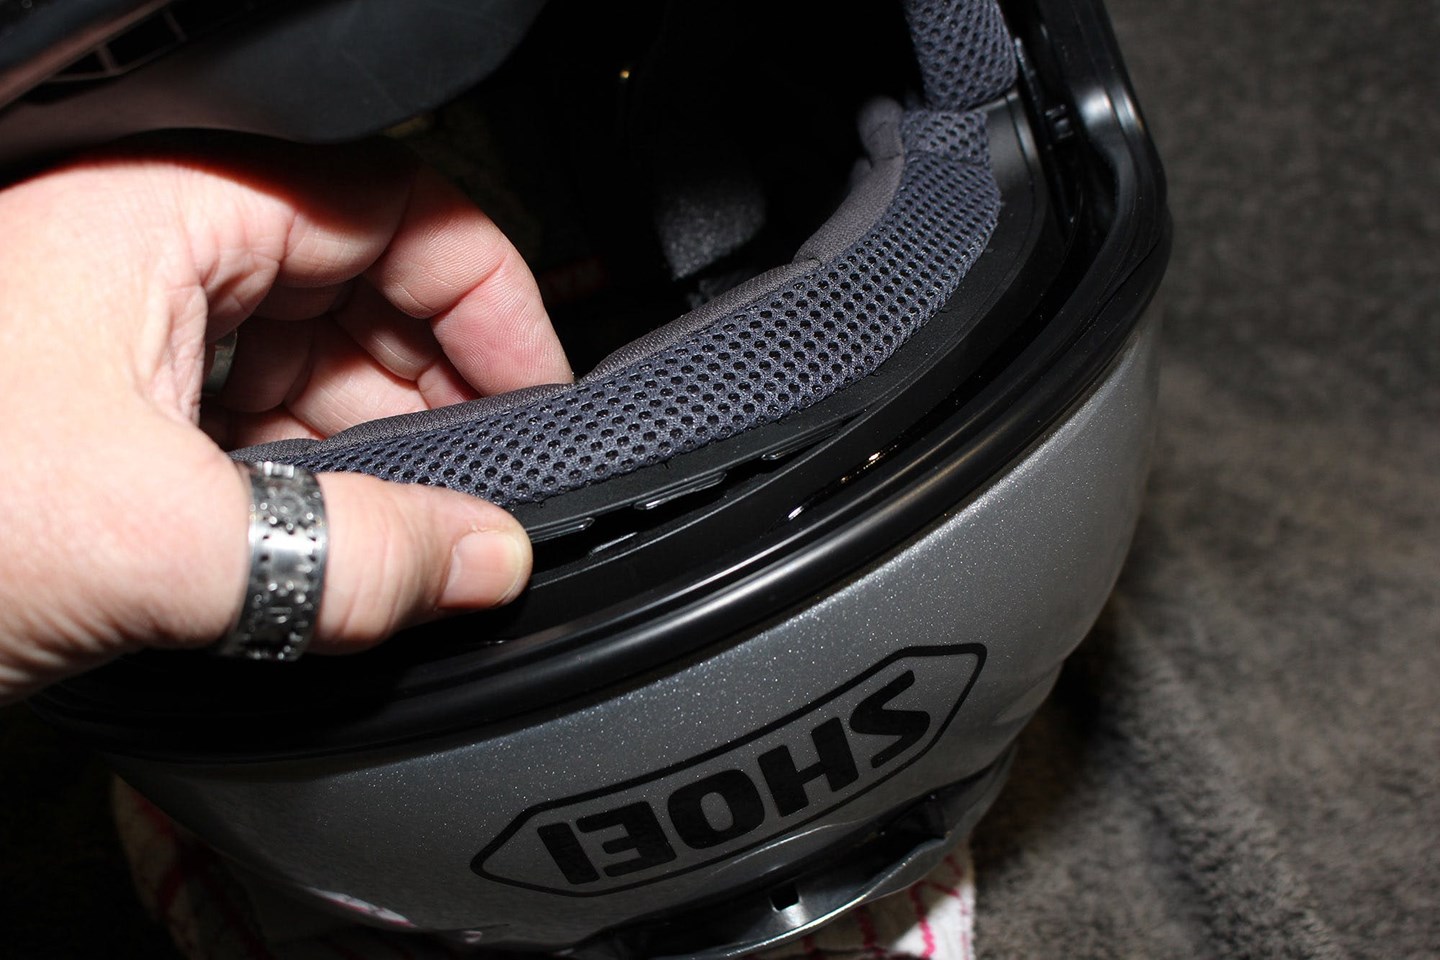
Start by removing the chin curtain if it is removable, like this one. Pull the rearmost tabs out from between the outer shell and the lining.

Step 6:

The remove the complete chin curtain. Like this helmet, you may need to release it from under the rubber lip around the bottom edge of the shell
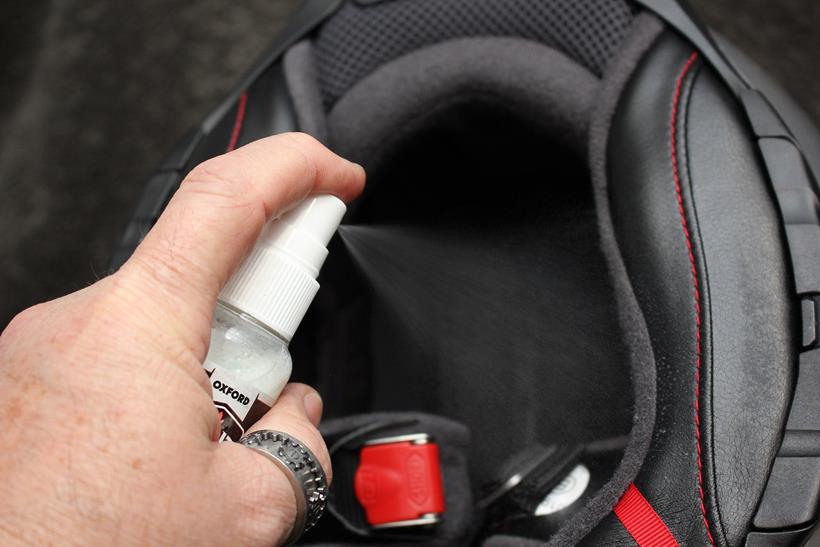
Step 7:
If you cleaned the helmet recently, then you may decide that a quick blast with an anti-bacterial freshening spray onto the inside of the comfort lining is enough. If so, spray it on and let it dry
Step 8:
If, however, you are doing a full clean and freshen, then you need to remove the interior. Start by releasing the cheek pads. On this helmet, three poppers are holding the side of the helmet.
Step 9:
Having released the three poppers, you can gently remove the chin-strap from the pads (they may pass through a hole or a cut-out, like here)
Step 10:
The red straps indicate this helmet has quick-release cheek pads, to make it easier to safely remove in the event of an accident. With the centre poppers released, pull the front of the cheek pad away from the helmet

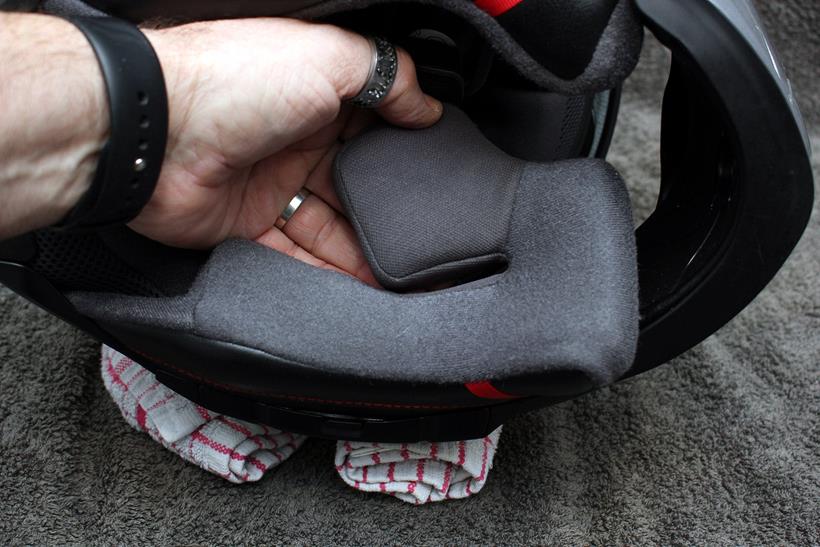
Step 11:
Do the same at the rear and the cheek pad should come out completely
Step 12:
Now the mainliner. This will generally be secured by poppers at the rear against the EPS impact-absorbing liner. Release both poppers

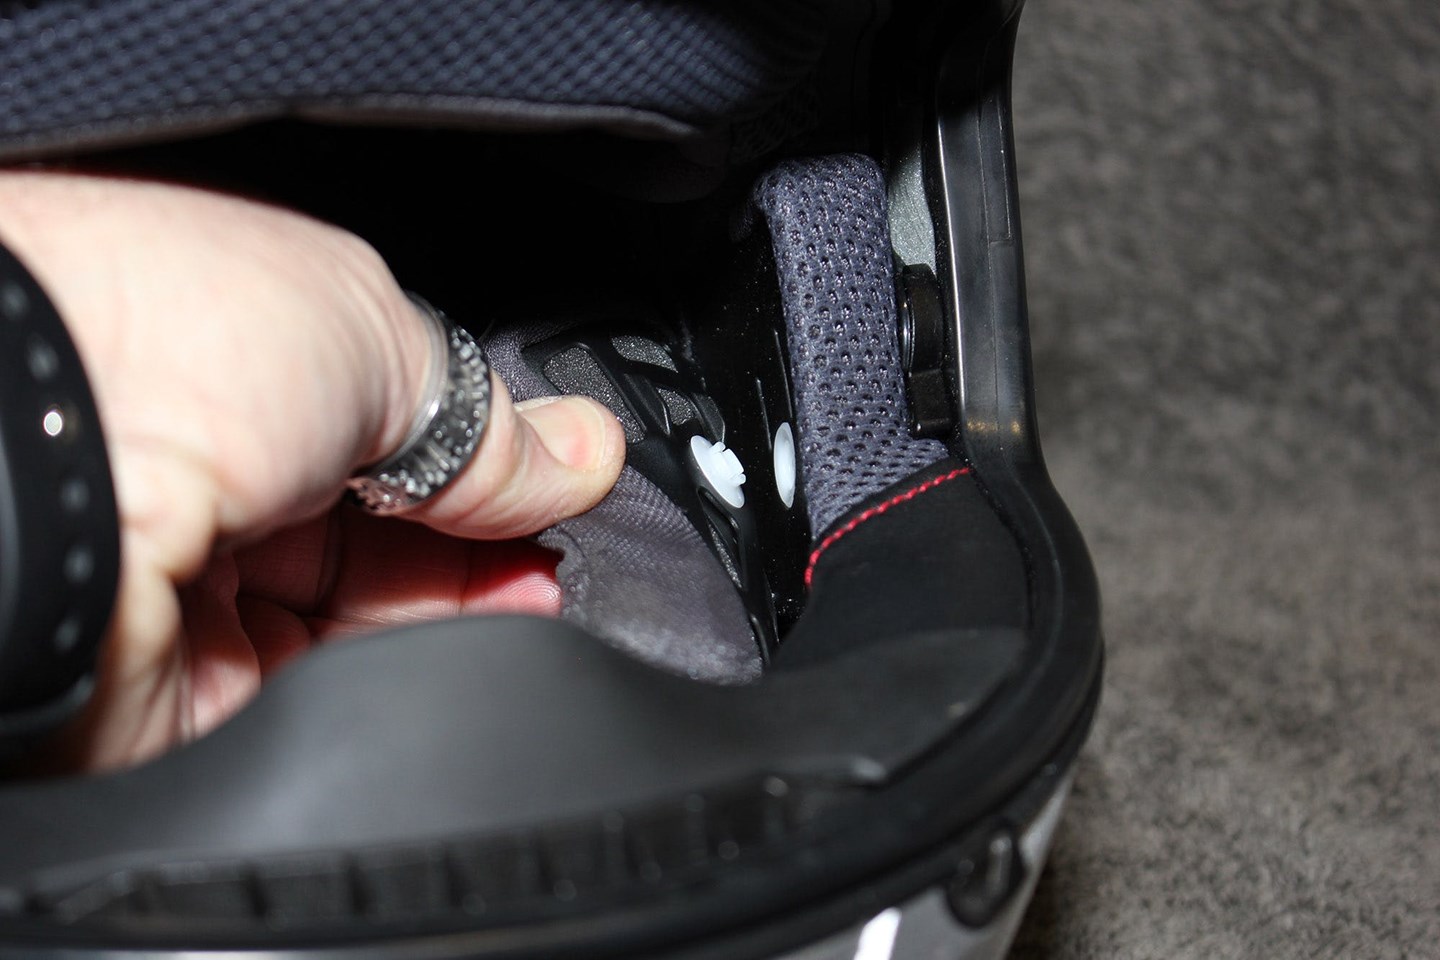
Step 13:
The liner will be secured to the front of the shell as well, at the top of the visor aperture. Release the clips from here as well, then remove the lining completely

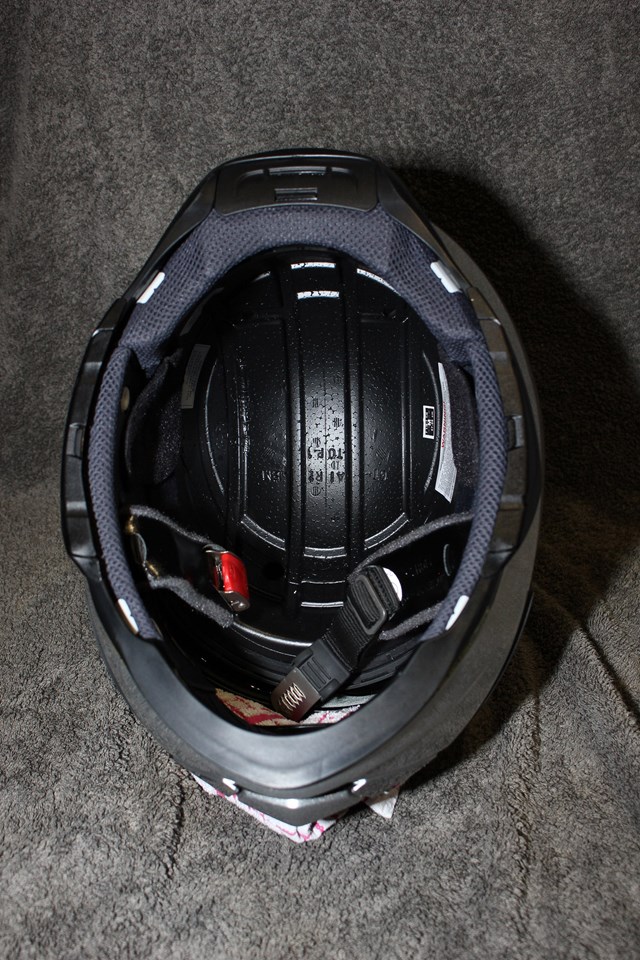
Step 14:
What you should now be left with is the main shell of the helmet with the EPS liner in place with the comfort lining and the two check-pads removed from the helmet.

Step 15:
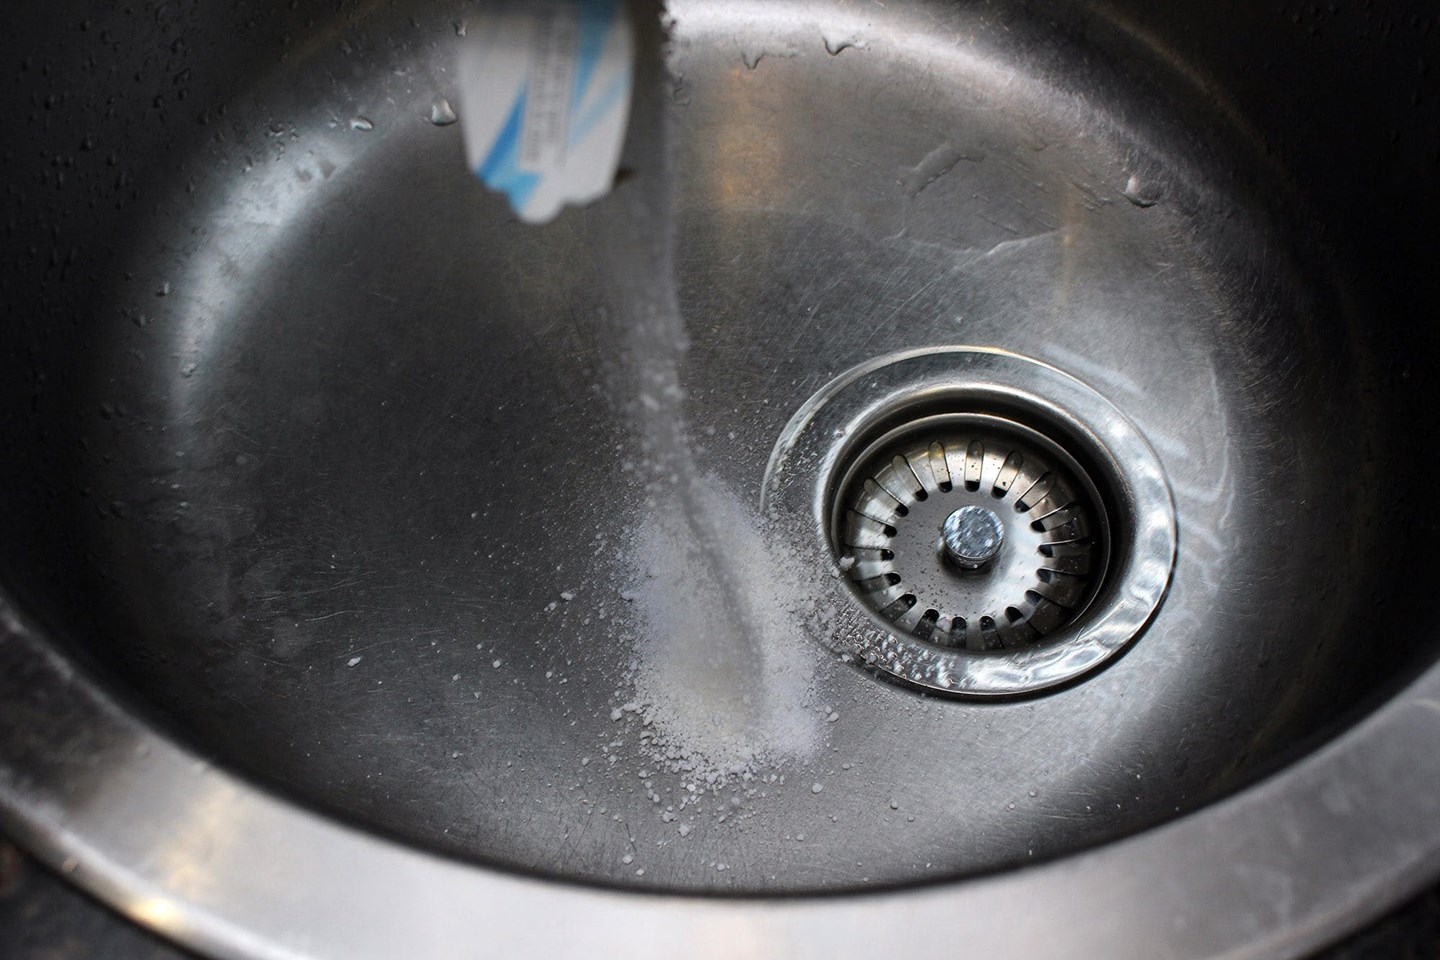
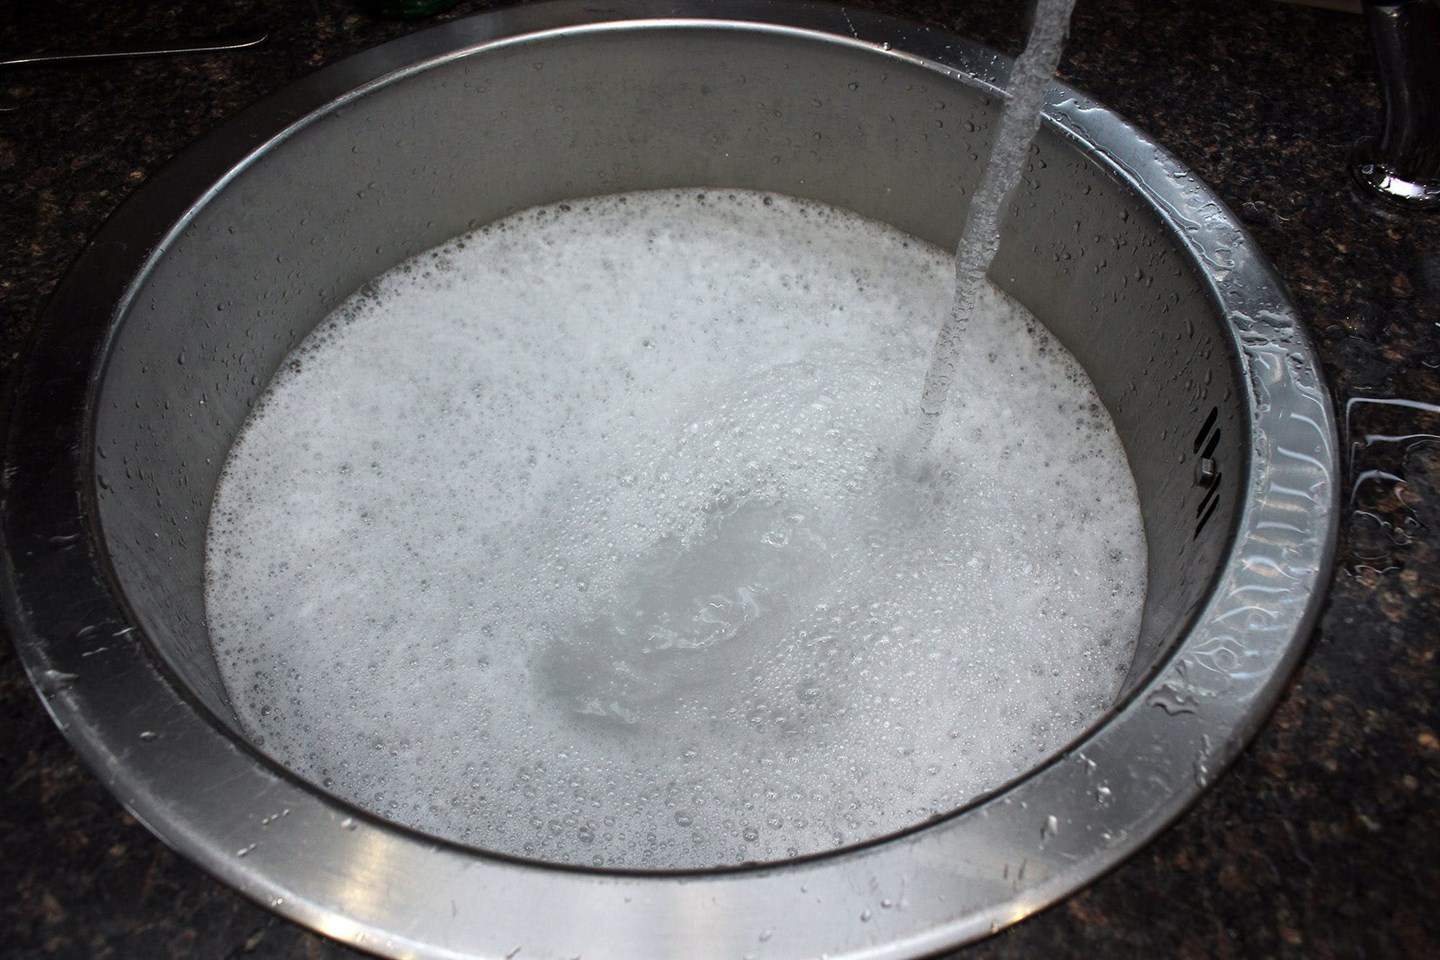
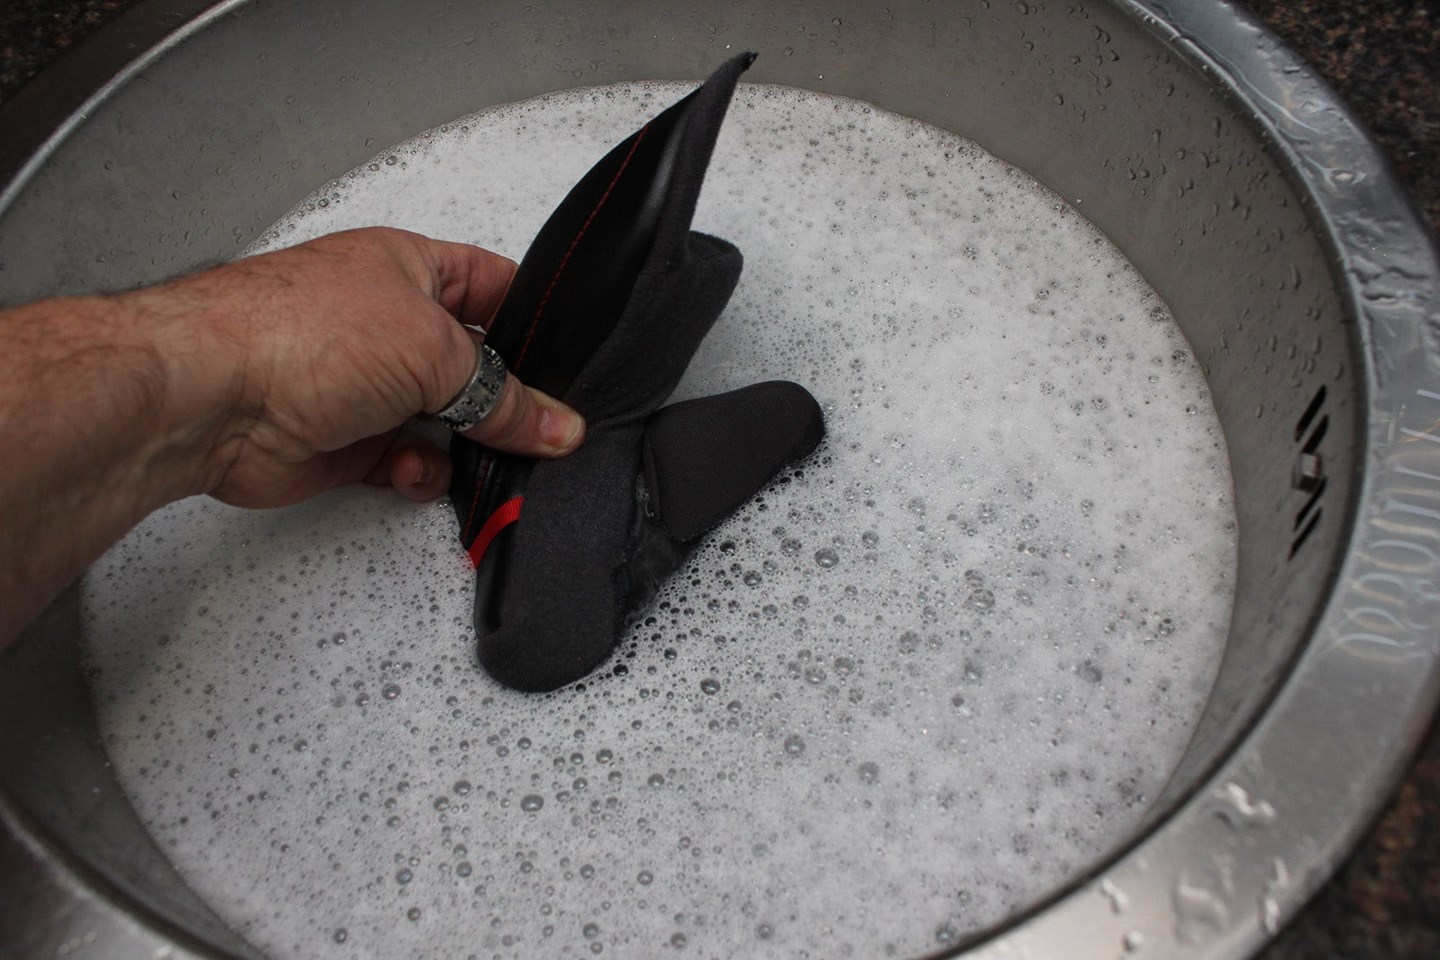
Now add a little laundry detergent to a sink or large bowl, to clean the lining and cheek pads. Run-in warm – but not hot – water to dissolve the detergent. Don’t make the mixture too strong – it isn’t washing mud-stained rugby kit, after all
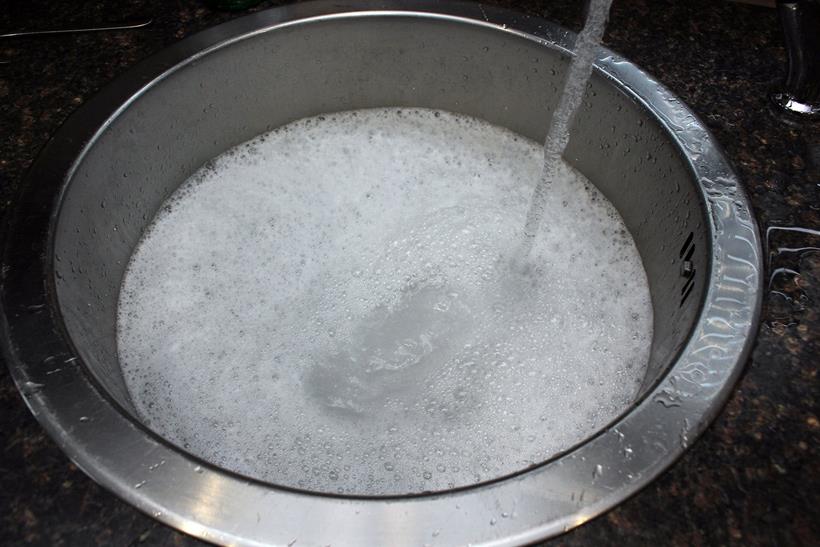
Step 16:
Wash each piece in the warm soapy water. Don’t be too aggressive with the material and the foam – just enough to thoroughly wash it

Step 17:
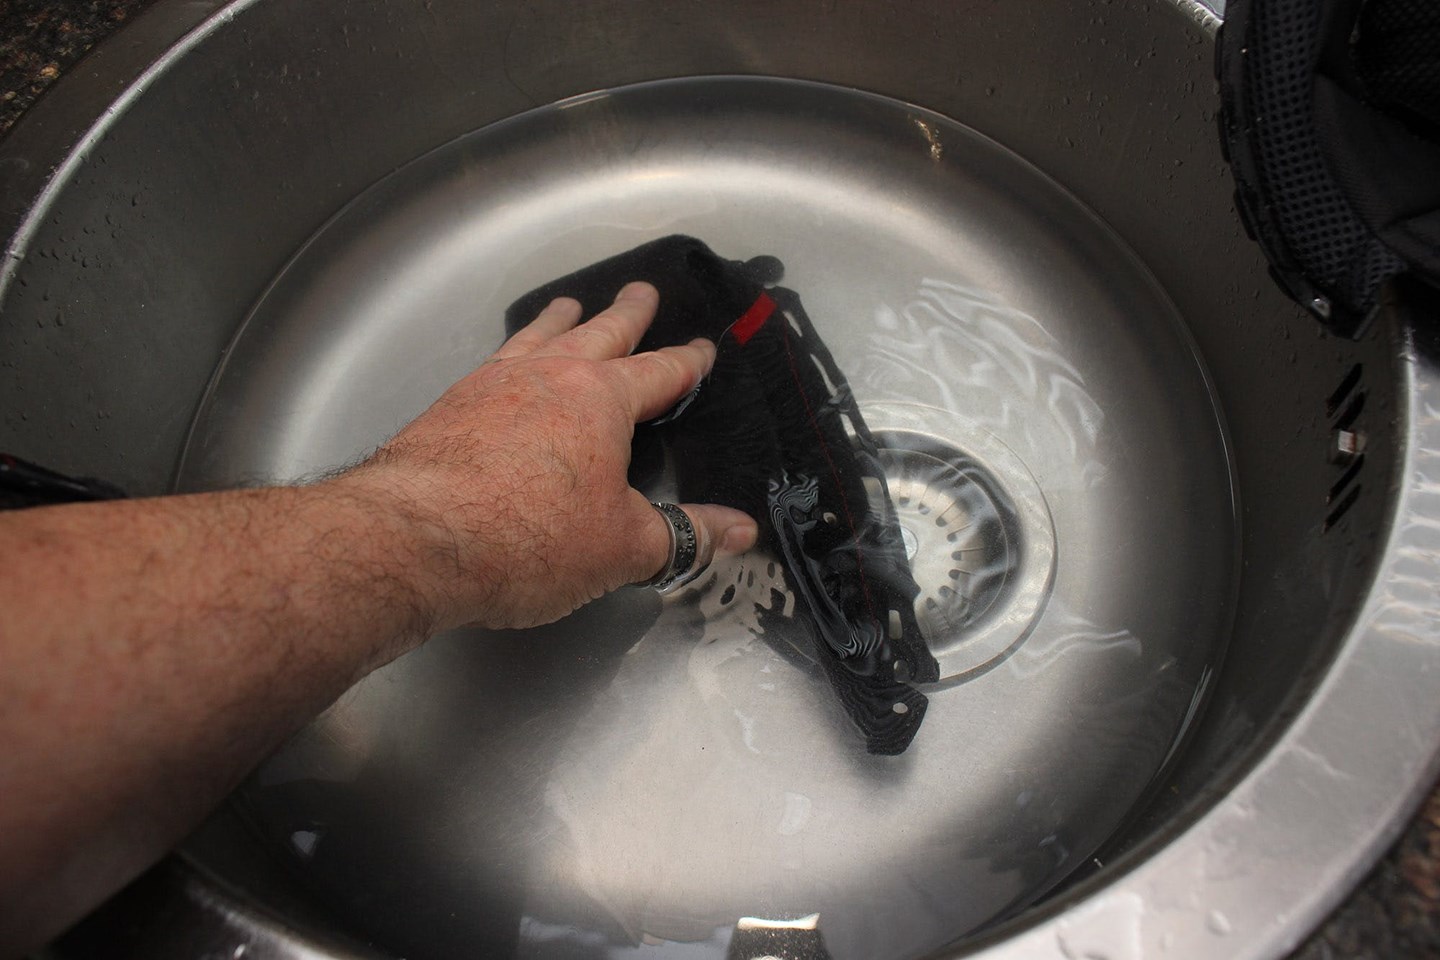
Once you’re happy each part is clean, rinse them with cold water

Step 18:
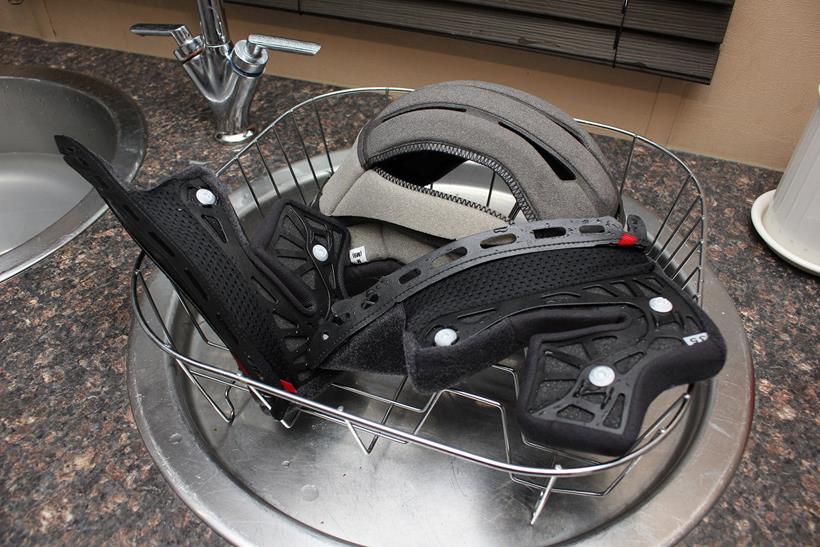
After squeezing out excess water (again be careful with the plastic fittings and cover material), lay them out somewhere to dry at room temperature. Don’t use hair dryers or put them on radiators – just at room temperature.
Step 19:
The penultimate task, before reassembling the helmet (which in the finest tradition, is the reverse of removal) is to give the drop-down sun visor, if present, a wipe with a dry cloth.
Step 20:
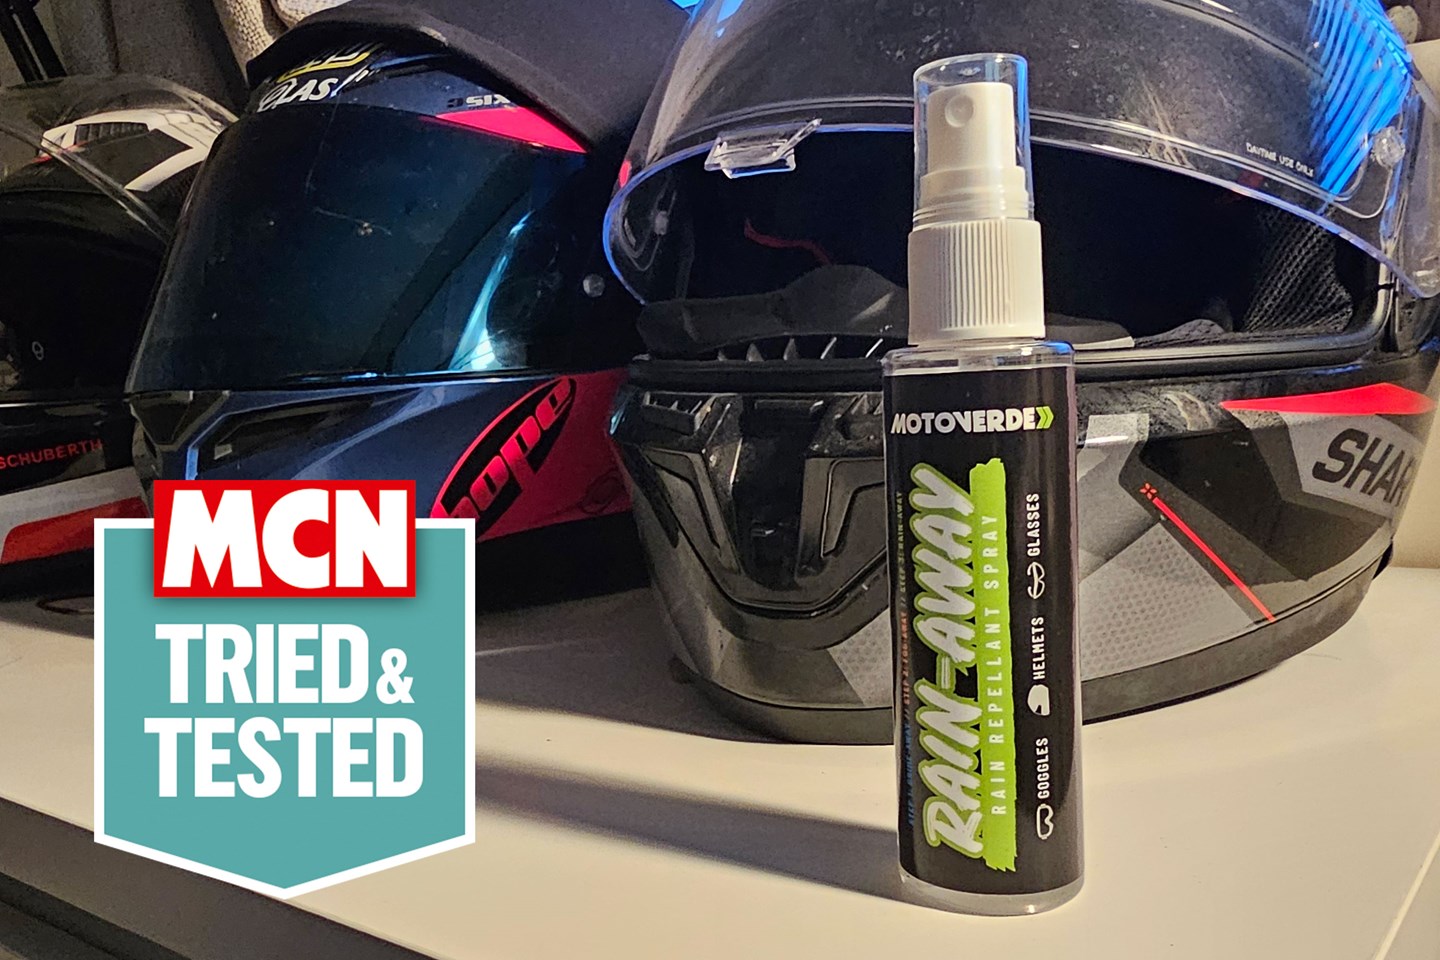
With the helmet reassembled, the last job is to treat the visor with a water repellent and you’re good to go.

"Having moved on from bing a fair weather rider into a more all weather rider, I wanted a rain repellent spray to help keep my visor clearer in wet weather. Having been offered to try one from a fellow rider, I quickly saw ow much they can help with your vision."
"I opted for the Rain-Away spray, mostly because is looked like good value for money on Amazon.com. The 75ml bottle will likely last a long time as only a spray or two seems to be enough to coat the visor well. I reapply every time I clean the visor."
"It's super easy to use, simply clean and dry your visor, spray the product on, leave for a couple of seconds and buff off. It really helps to the rain to bead and run off much more quickly, which in turn makes me feel safer in rubbish weather, not to mention how much less tiring it is when you don't feel like you are trying to see through a frosted window."
Pros
- Great value
- Really easy to use
- Works really quite well
Cons
- None I can think of
| Size of bottle | 75ml |
| Dispense type | Pump spray |
| Use on | Visor, goggles |
- Easy to use
- Not tested on animals
- Streak free
- Just so you know, we may receive a commission or other compensation from the links on this website - read why you should trust us.


 What should you use to clean visors and goggles
 What should you use to clean visors and goggles
 What should you use to clean visors and goggles
 What should you use to clean visors and goggles
 What should you use to clean visors and goggles
 What should you use to clean visors and goggles
 What should you use to clean visors and goggles
 What should you use to clean visors and goggles
 What should you use to clean visors and goggles
 What should you use to clean visors and goggles
 What should you use to clean visors and goggles
 What should you use to clean visors and goggles
 What should you use to clean visors and goggles
 What should you use to clean visors and goggles
 What should you use to clean visors and goggles
 What should you use to clean visors and goggles
 What should you use to clean visors and goggles
 What should you use to clean visors and goggles
 What should you use to clean visors and goggles
 What should you use to clean visors and goggles
 What should you use to clean visors and goggles
 What should you use to clean visors and goggles
 What should you use to clean visors and goggles
 What should you use to clean visors and goggles
 What should you use to clean visors and goggles
 What should you use to clean visors and goggles
 What should you use to clean visors and goggles
 What should you use to clean visors and goggles
