Comms away: How to fit an intercom to your motorcycle helmet

If you’re one of the many riders who like to listen to music or hear sat-nav instructions, or make or take phone calls and chat to passengers on your touring bike or other riders, then a motorcycle intercom is just the job for you.
Design to act as a Bluetooth headset for your phone as well as potentially connect to multiple other riders over a large distance, you can choose from budget or high-end, with better sound quality and features depending on your budget.
Fitting a universal intercom is easy, though it does mean a degree of dismantling a helmet’s interior. Some might find this daunting but as long as you’re careful and don’t force anything, it’s fairly straightforward.


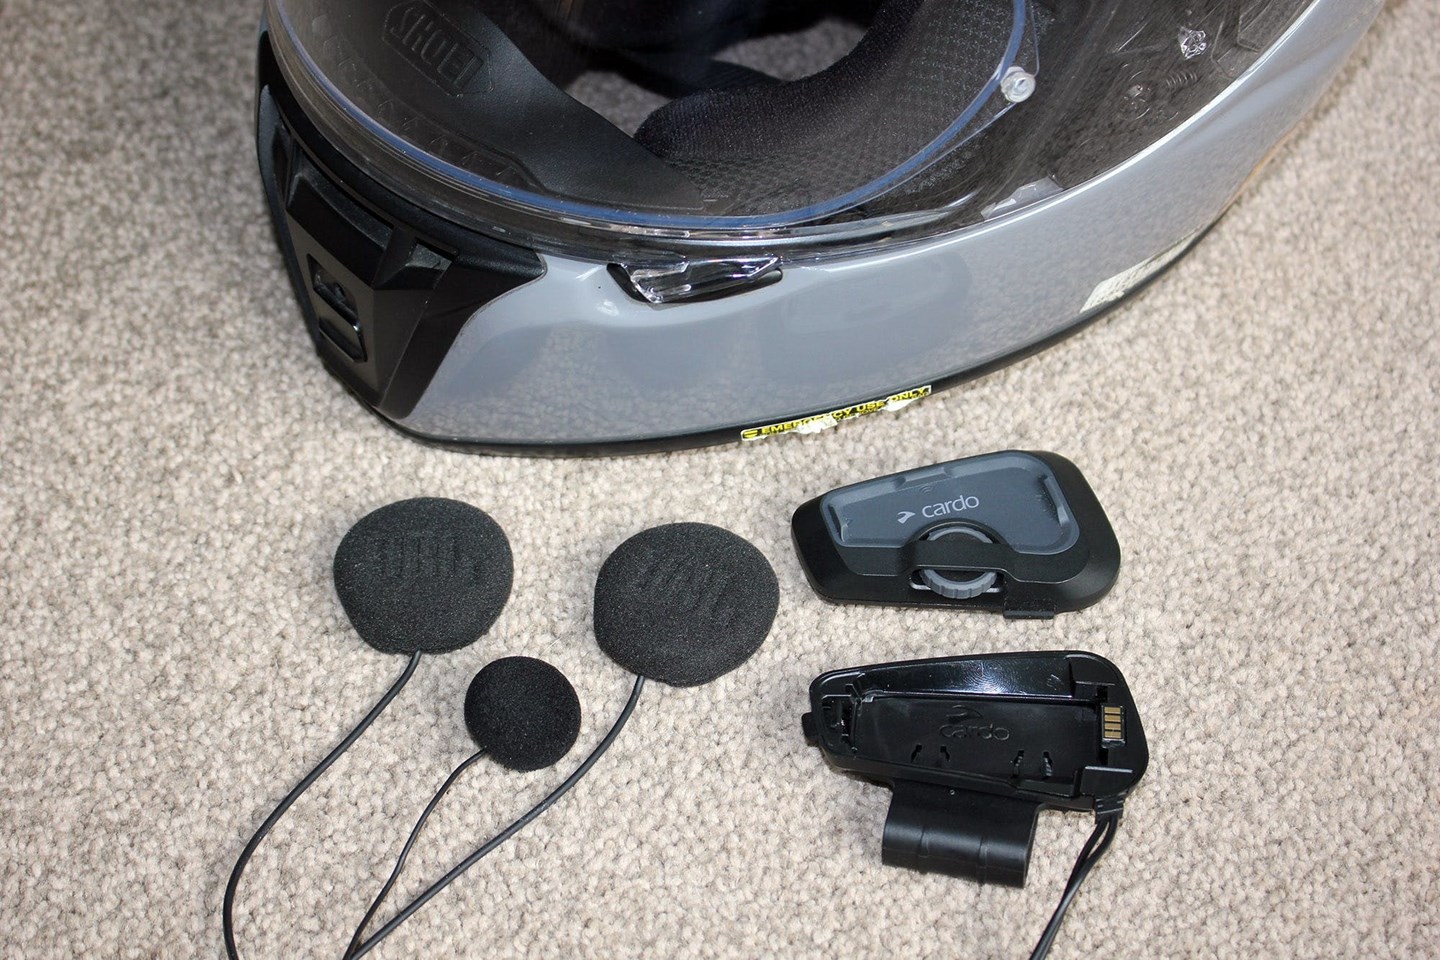
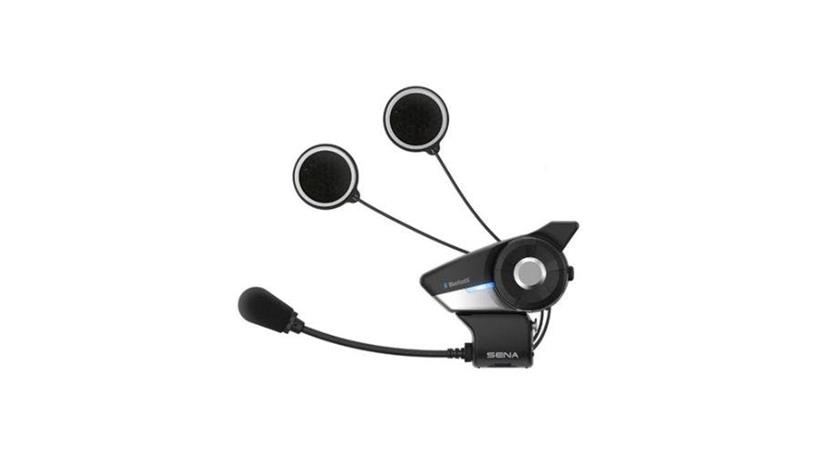
We have shown how to fit a clip-on intercom, from Cardo to a Shoei helmet. However, other manufacturers, notably Sena, use mounts for the main unit that clamps onto the outer edge of the helmet’s shell. These, of course, come with the necessary tools to fit them just as easily as this version here.
Related: Best Bluetooth motorcycle helmets
Most intercoms use push-button operation or rotating wheels or a combination of both while some also use a very good voice-control system so you barely need to take a hand off the bars.
Which you choose is ultimately down to you but here is how to fit one once you have made your choice.
Step 1:

The first step was to spin the helmet over, support it and prepare to start removing elements of the interior
Step 2:
On this Shoei RYD, the first thing to be removed was the chin curtain. We pulled out the tabs at each end of the curtain
Step 3:
We then removed the chin curtain completely
Step 4:
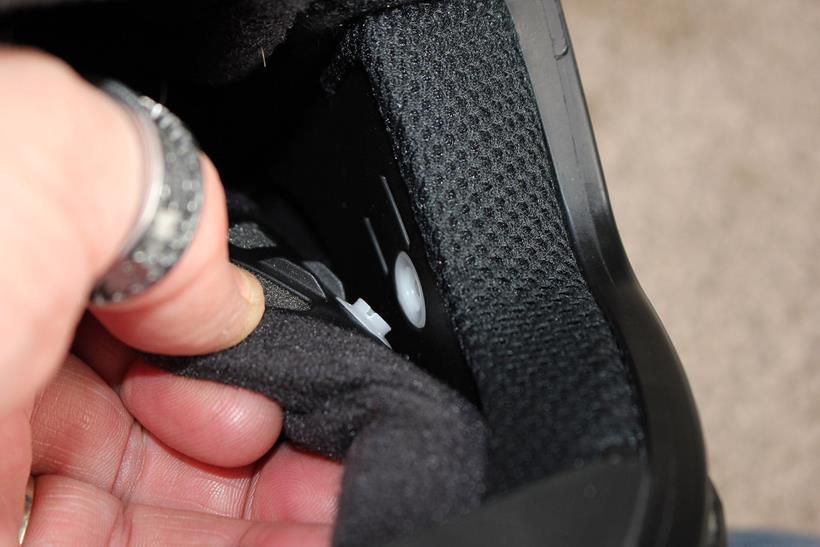
We now needed to remove the check pads. These are secured to the inside of the helmet’s EPS shock-absorbing layer with three poppers
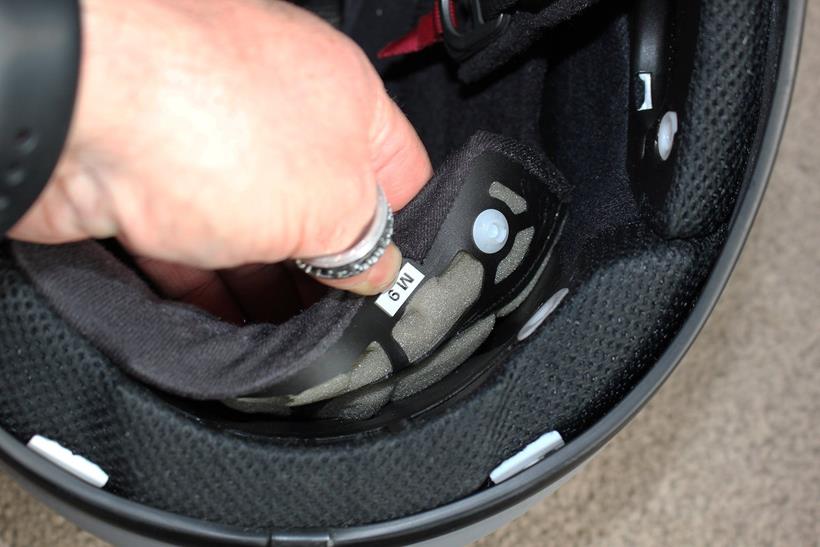
Step 5:
On the RYD, there are two poppers at the front of the cheek pad and one at the rear. All three were released
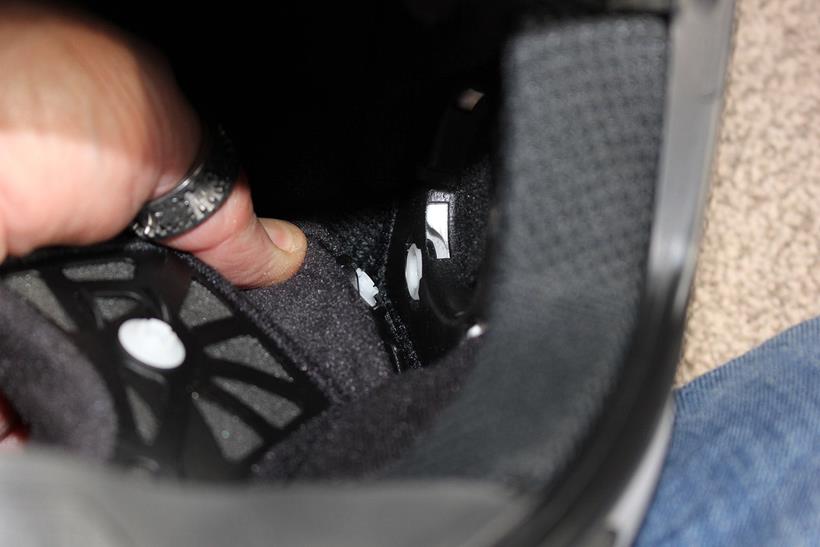
Step 6:
With the poppers released, we folded the cheek pad away from the EPS liner. We slid the chin strap out of the groove though on some helmets, you may need to remove it through a hole
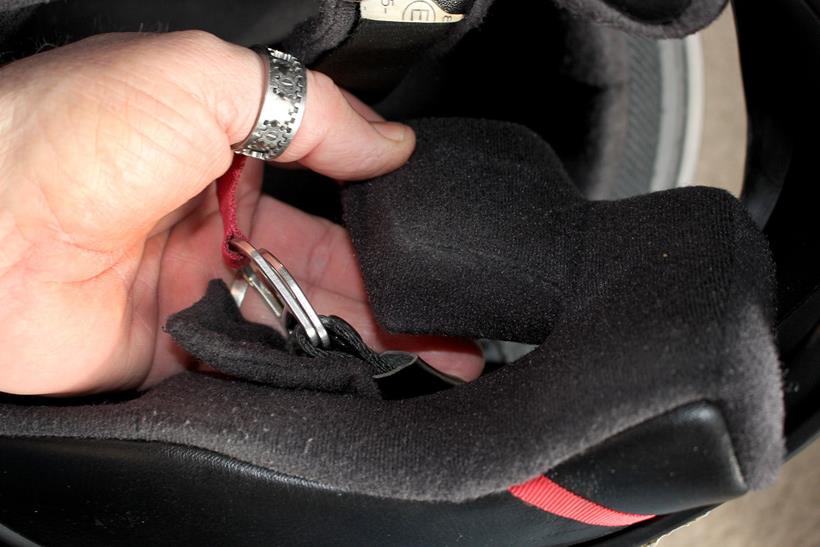
Step 7:
Like many helmets, the RYD has quick-release cheek pads for easy and safe removal in the even of an accident. Pulling the bottom edge of the front of the cheek pad away from the helmet releases it
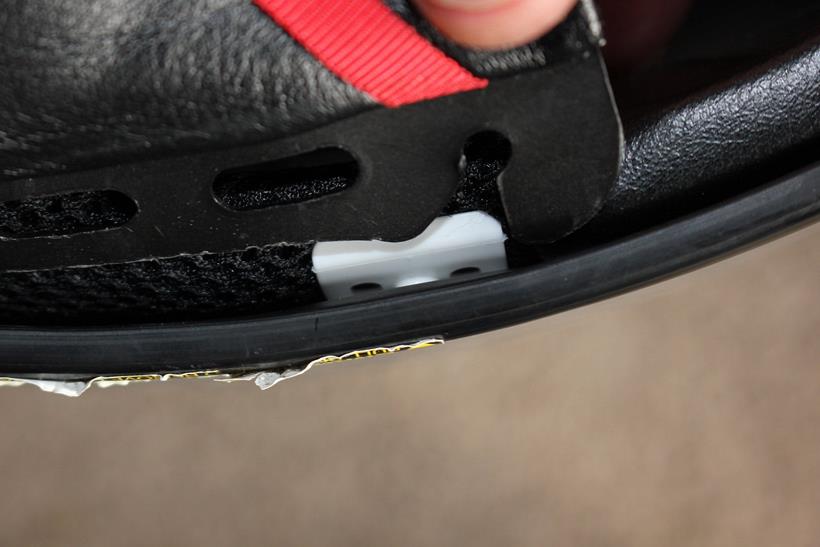
Step 8:
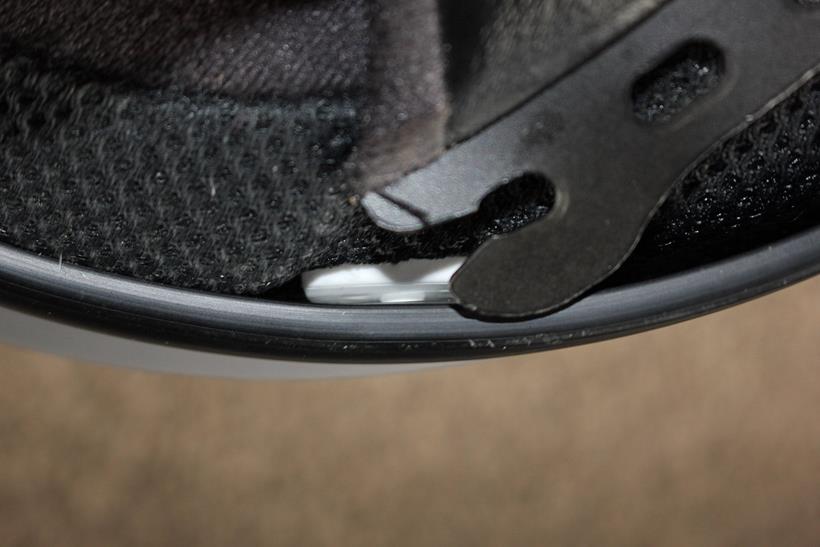
Doing the same with the fastener at the rear of the cheek pad releases it completely
Step 9:

We could then remove the cheek pad and did the same for the other side
Step 10:
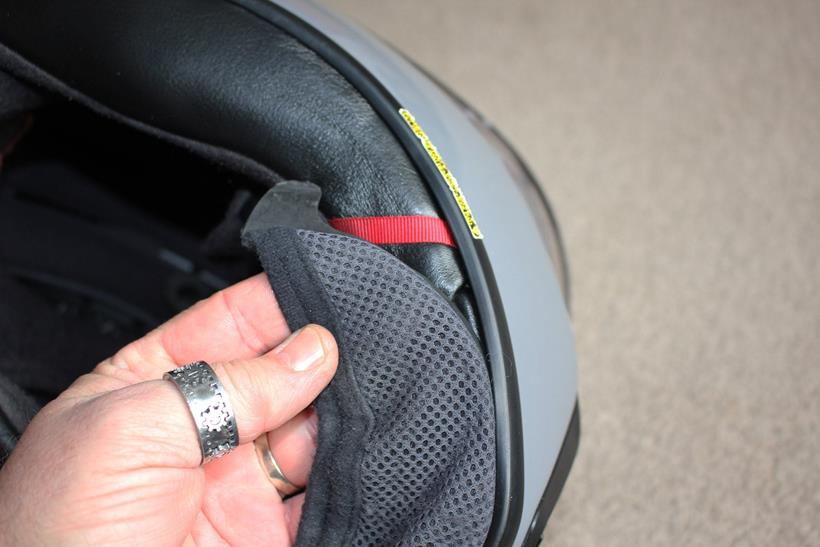
We now needed to release the back of the comfort lining that goes over the top of the head. It doesn’t need to be removed completely – just the rear section loosened
Step 11:
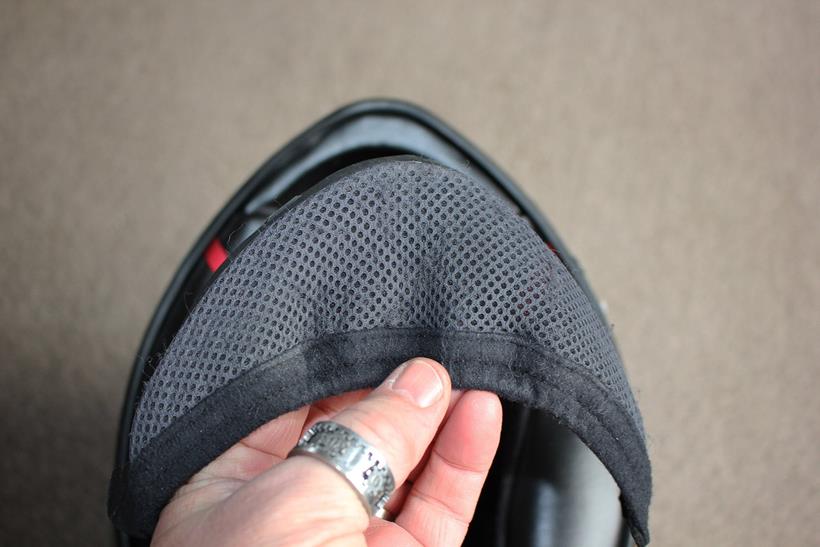
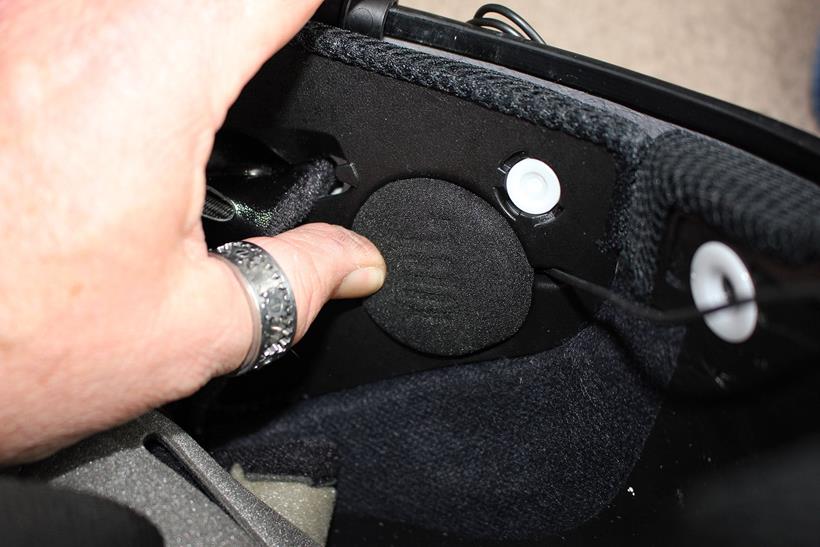
By now, the speaker-locating holes and the covers that are generally fitted from the factory were exposed
Step 12:
The blanking plugs needed removing to give room to fit the speakers. These ones clip in and come out easily
Step 13:

The helmet was now as disassembled as it needs to be and we could begin fitting the intercom itself
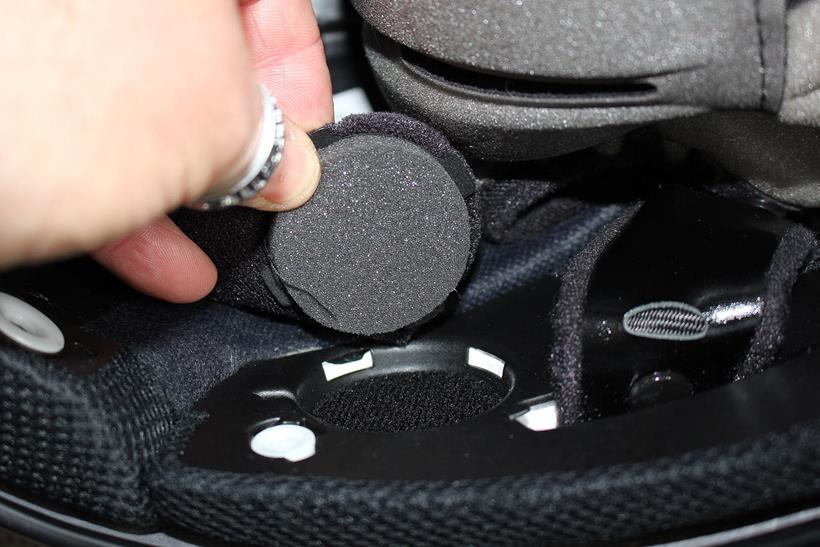
Step 14:
Most intercoms, including this Cardo example, will come with a selection of hook-and-loop pads to hold the speakers and microphone in place. We started by making sure the speaker versions were the right size, as here
Step 15:
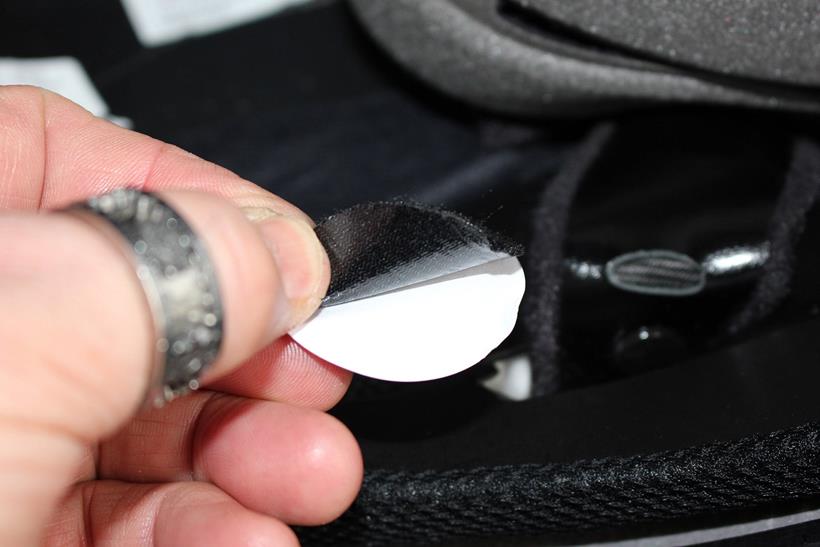
They are self-adhesive so the backing was peeled off, ready to stick them in place
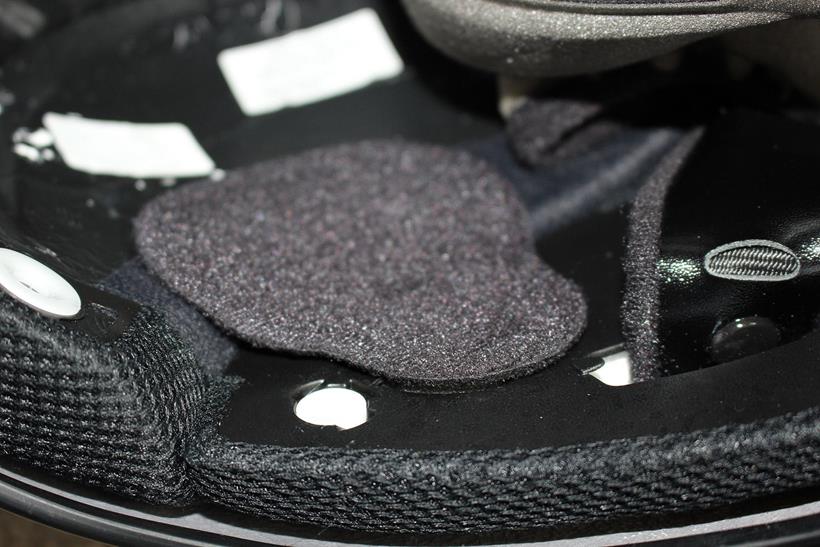
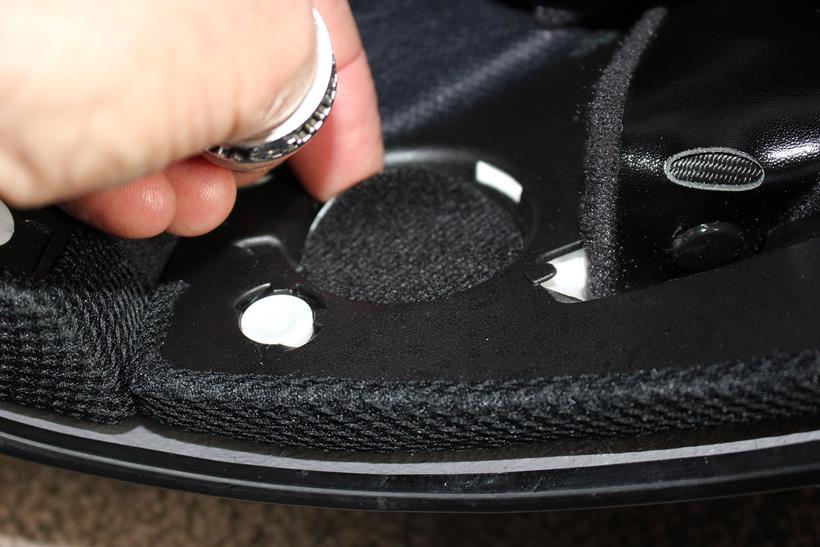
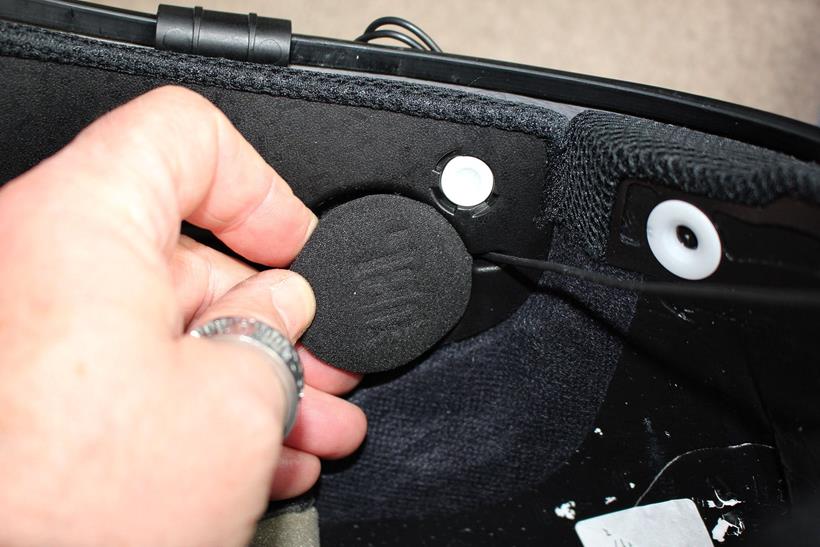
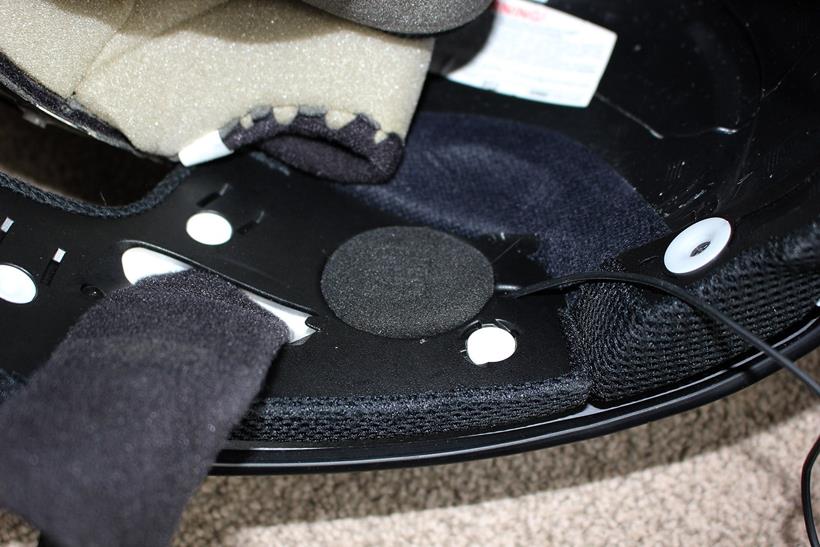
Step 16:
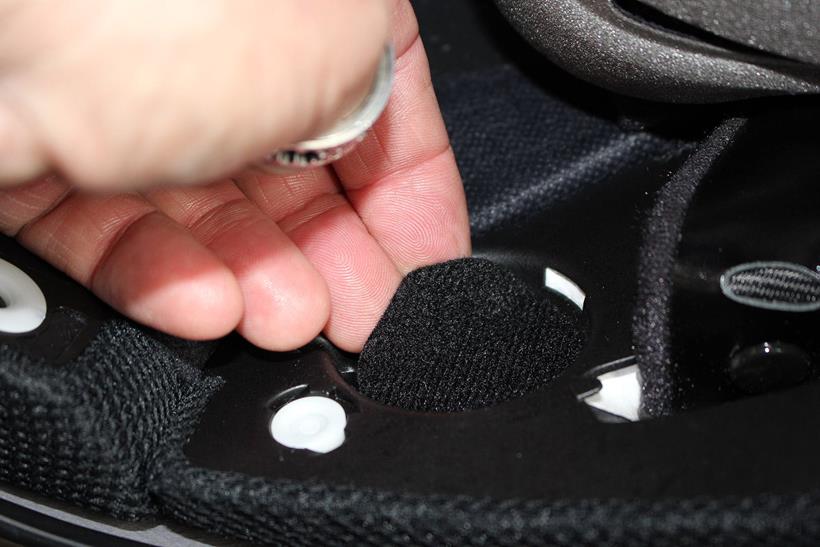
We carefully stuck the pad into the aperture for the speakers. Make sure you get it central and when in the right place, flatten it down
Step 17:
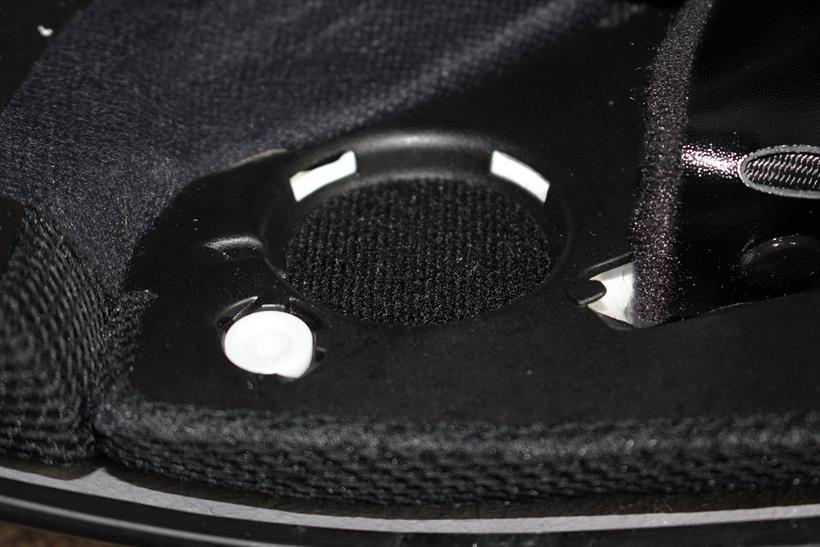
The pad was then ready to accept the speaker
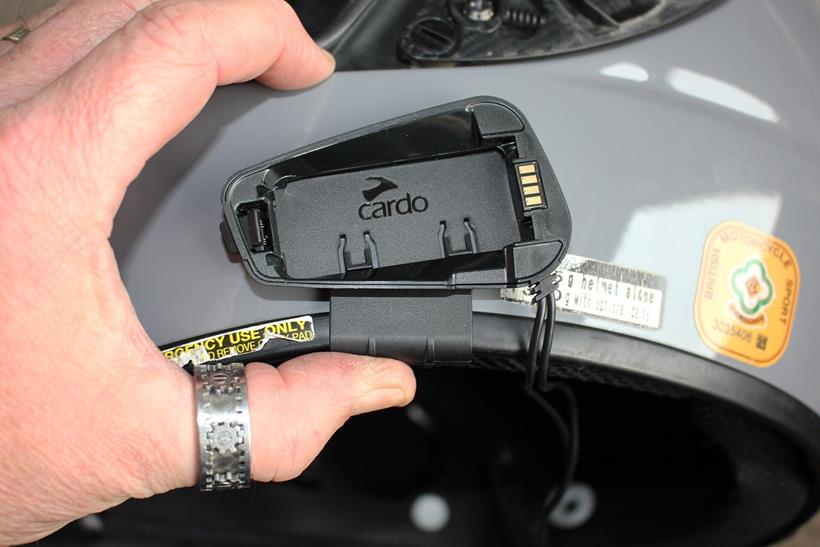
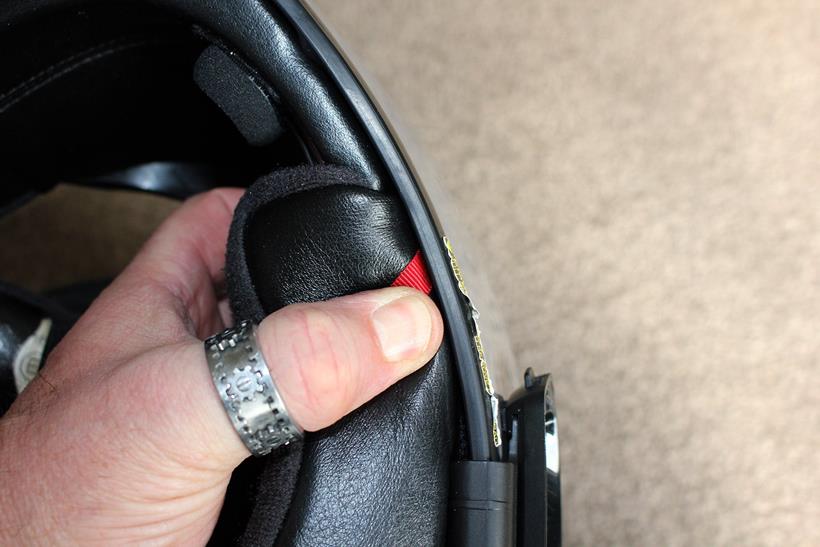
Step 18:
Before fitting the speakers, we needed to fit the mounting bracket for the intercom itself. You need to choose the right position that you can access it easily enough but it doesn’t get in the way of any chin curtain or drop-down sun-visor sliders, for example
Step 19:

We briefly refitted the chin curtain to make sure the mount didn’t interfere with it. The RYD doesn’t have a sun visor, so no issues there
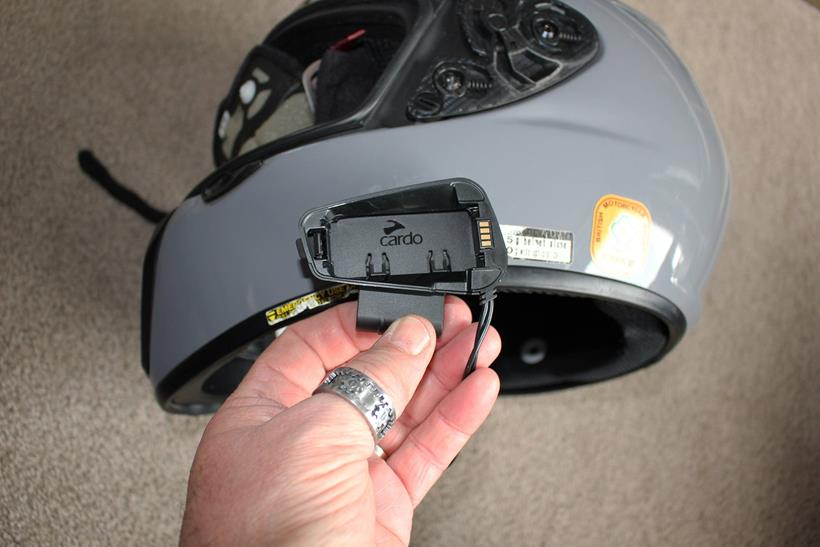
Step 20:
This Cardo clip simply slides over the outer shell of the helmet though some may feature bolted clamps but they do effectively the same thing
Step 21:
Once happy with the position, we slid the mount into place firmly and checked it was secure – it was
Step 22:
We now fitted the speakers. This unit uses JBL speakers for excellent sound quality. We fitted the cables into the entry cut-out first to ensure the speakers were in the right position
Step 23:
The speakers (40mm in diameter) are a snug fit into the aperture, so they needed a firm push to get them to fit snugly
Step 24:
We repeated the process on both side, ensuring both speakers sat as flush as possible so they didn’t contact the ears
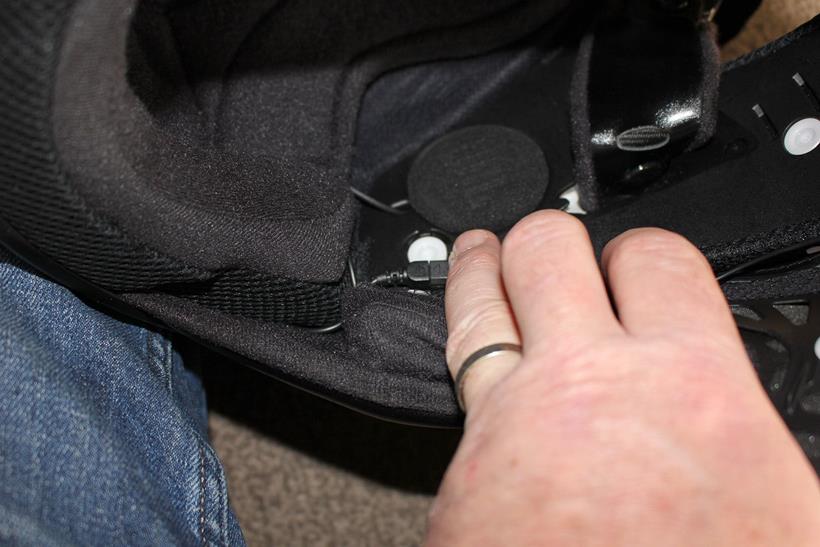
Step 25:
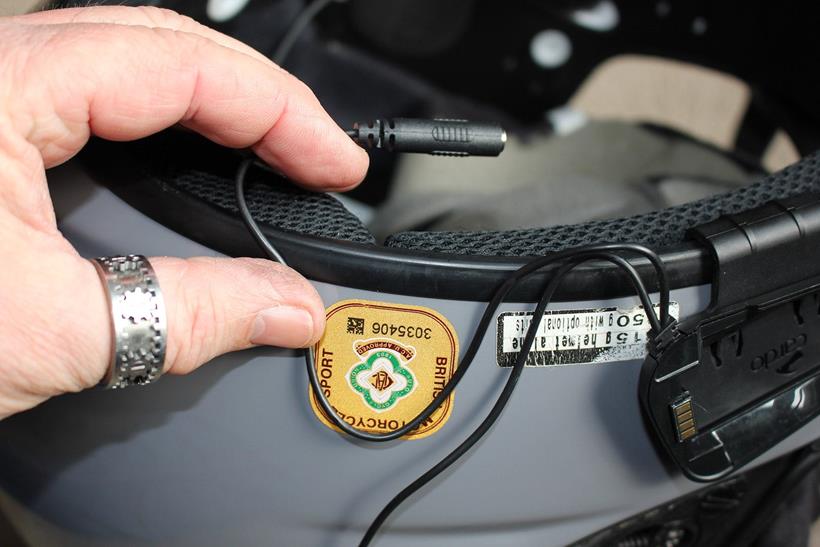
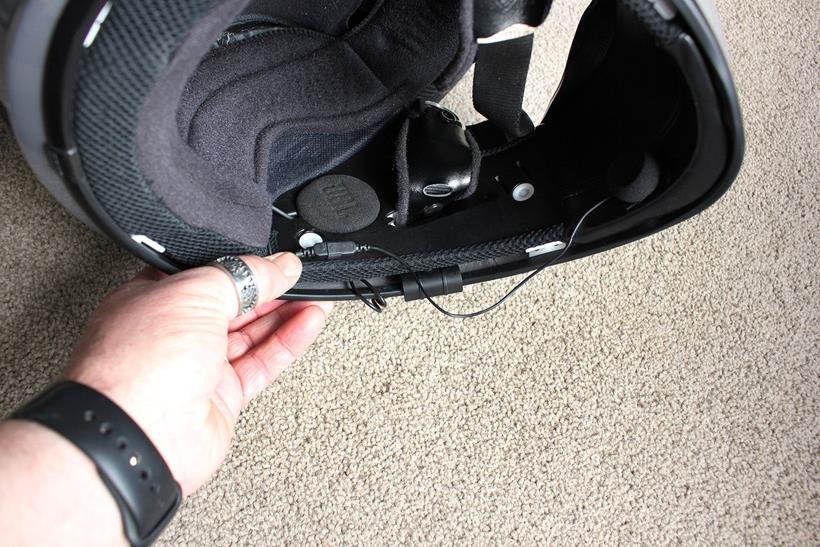
We next started to consider the wiring. This is the speak connection – there is another for the microphone and both spare lengths of cable run inside the helmet, between the outer shell and the EPS liner
Step 26:
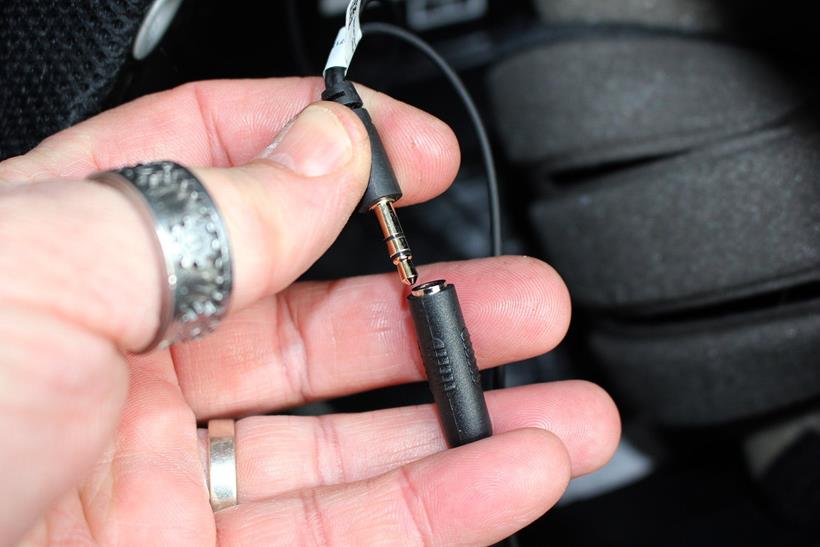
Next we connected the speakers to the socket coming out of the mount
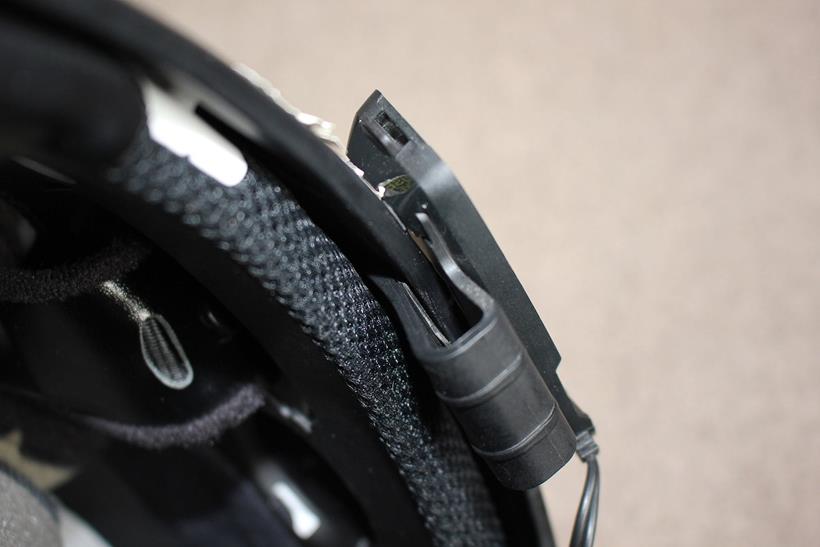
Step 27:
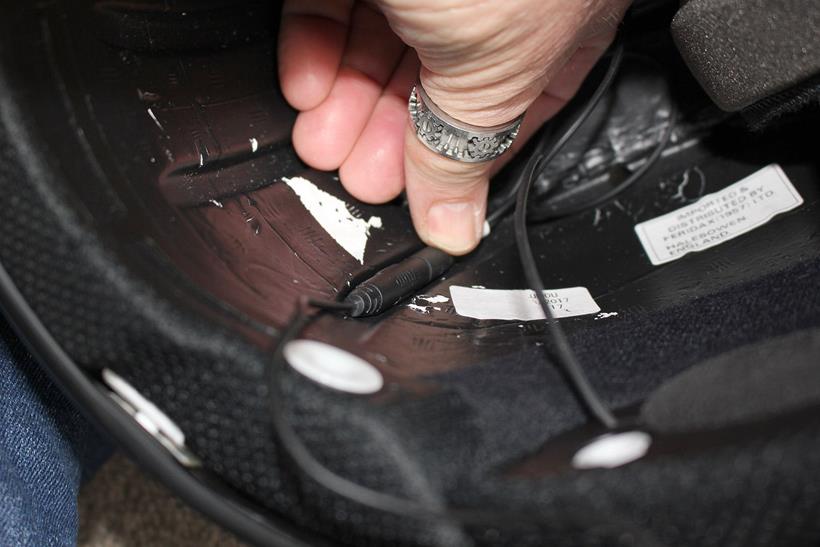
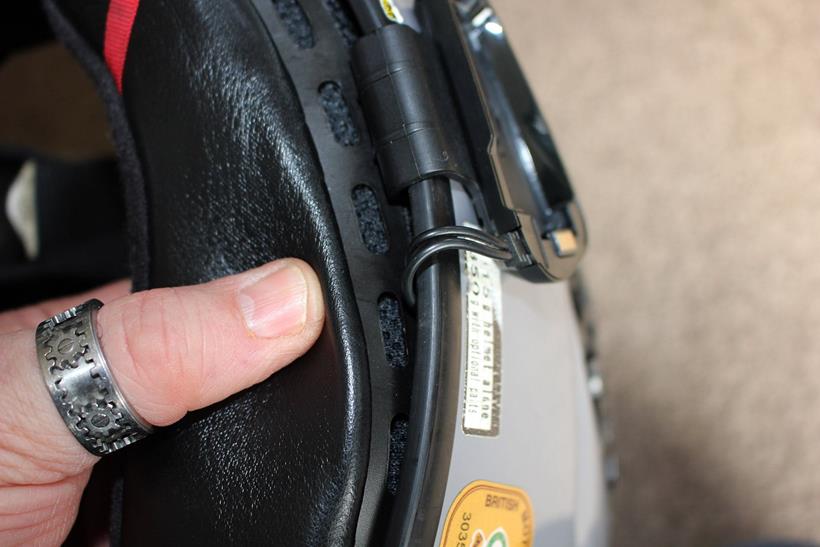
The connectors are fairly large – they use a 3.5mm phono plug and socket – and unless they are tucked way, history shows they can cause some discomfort. So we mounted the connector in one of the liner’s air-flow channels
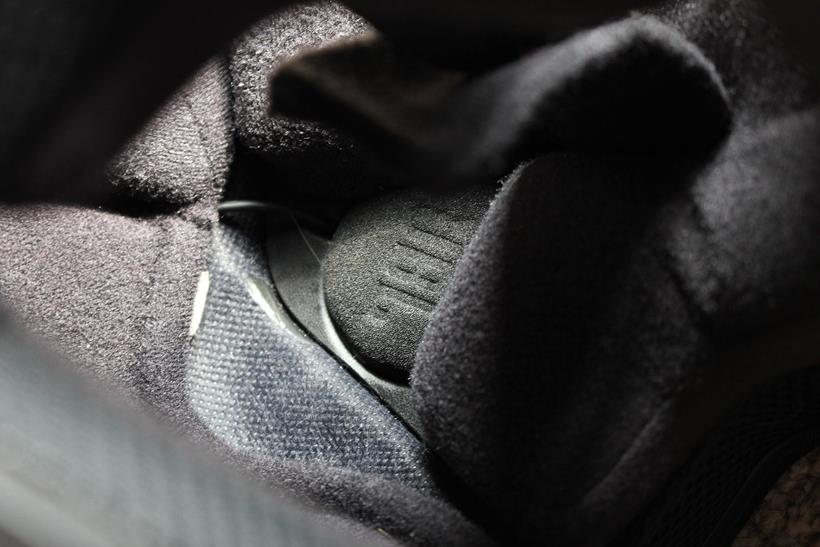
Step 28:
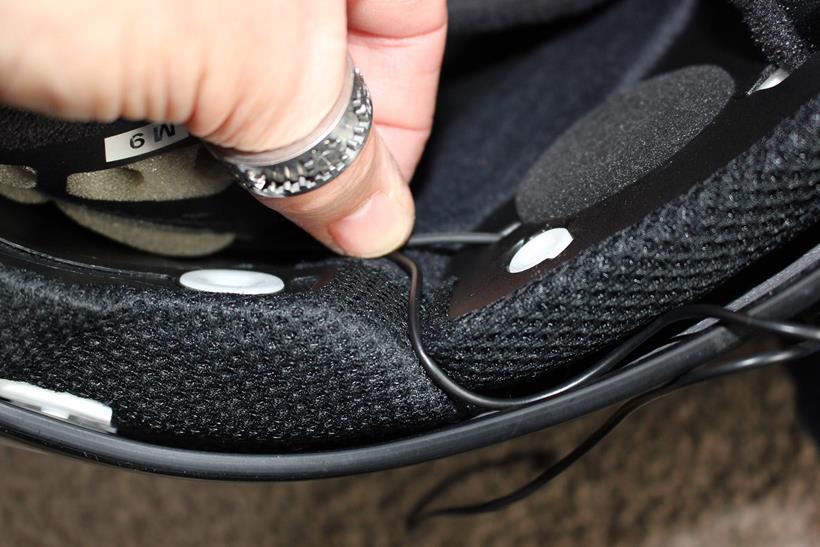
We ran the cable from the mount between the EPS liner and shell and between these two sections of the liner. We tucked the excess speaker cabling inside the main comfort liner
Step 29:
With the speaker cabling sorted, we replaced the rear of the main conform liner, as the microphone cabling isn’t long enough to go in here
Step 30:
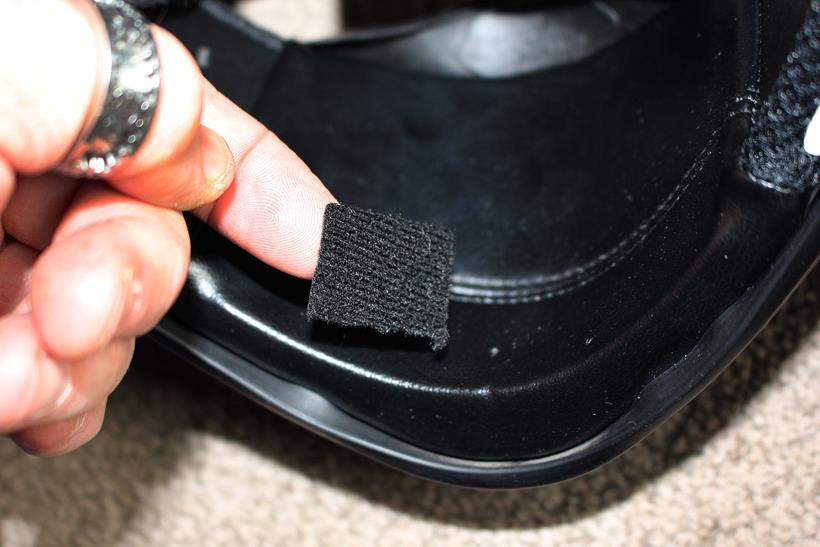
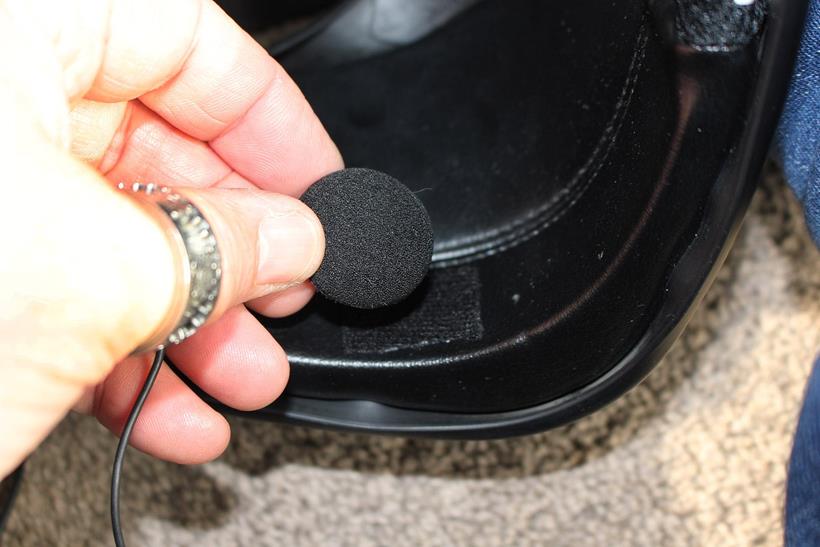
Another piece of self-adhesive hook-and-loop mounts the microphone in the chin-piece
Step 31:
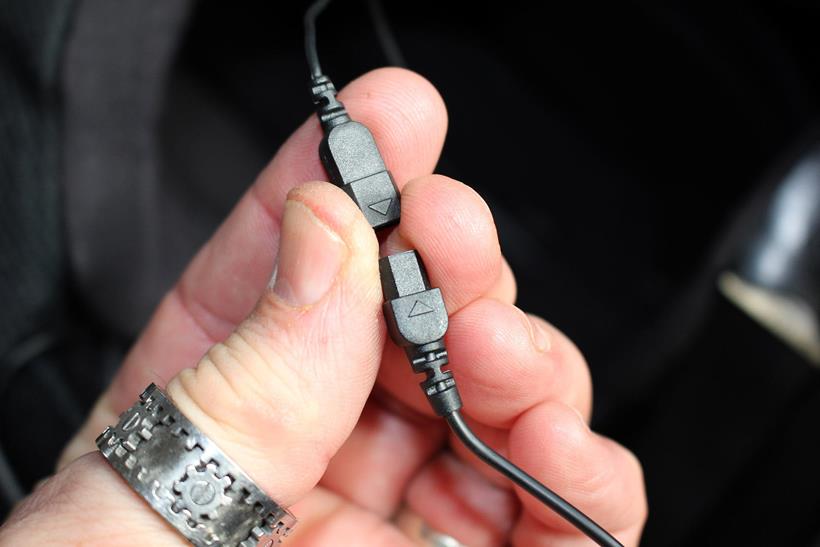
Before physically mounting the microphone, we connected it to the mount using the handed connection
Step 32:
We then mounted the microphone on the hook-and-loop pad. Experience has shown us that mounting the mike low-down means it is less affected by moisture if you produce a lot of breath inside your helmet
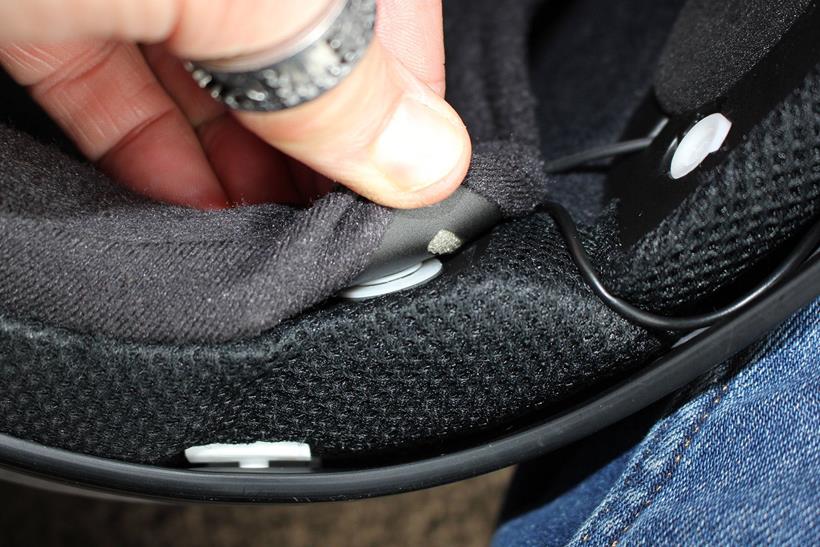
Step 33:
There’s not quite enough cable to tuck the mic connector away behind the comfort liner so it sits behind the cheek pad
Step 34:
We then started to reassemble the helmet. We carefully refitted the left-hand cheek pad (the one against the intercom mount) while making sure that there was enough slack in the cables to sit below the tabs of the cheek pad
Step 35:
We secured the front of the cheek pad as well, making sure that the cabling was not stretched or crimped in the process
Step 36:
The connector for the microphone was tucked inside the cheek pad, at the bottom between the edge of the shell and the pad so that it wouldn’t be felt in use
Step 37:
We then replaced the rest of the interior components and put the helmet on to check we could not feel the speakers or any of the components
Step 38:
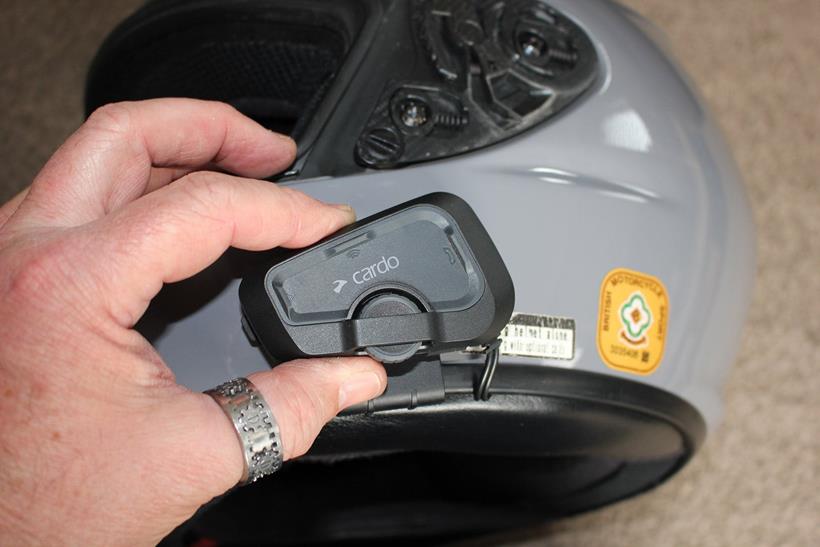
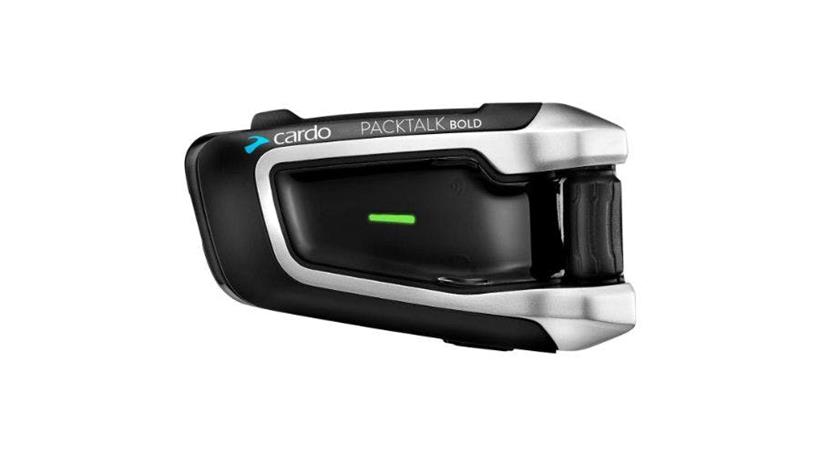
The final step was fitting the intercom unit itself – fully charged, of course. We followed its instructions to pair it with our phone and were soon ready to enjoy music on the go.
Related products:
- Just so you know, we may receive a commission or other compensation from the links on this website - read why you should trust us.