Shock therapy: How to set up your motorbike’s suspension
-
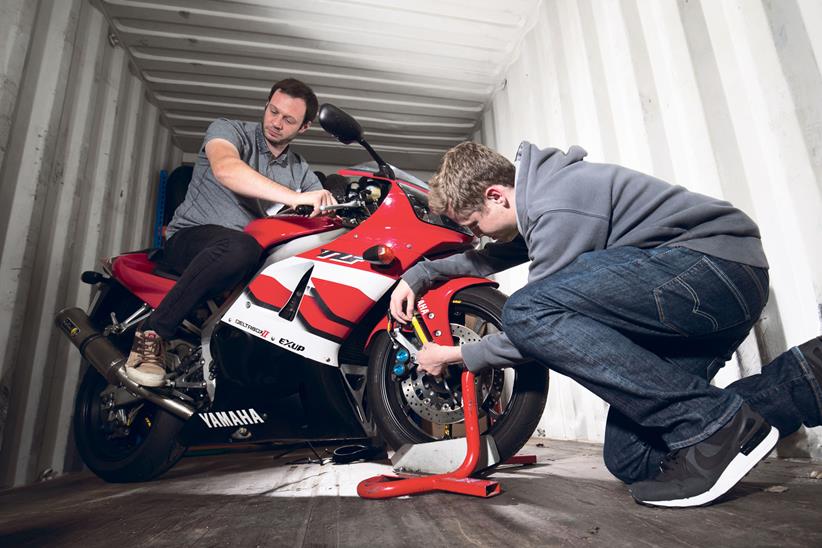
Setting up your bike's ride and handling yourself can be highly fulfilling -

Write everything down before you start adjusting your suspension -
Set the sag on your forks -
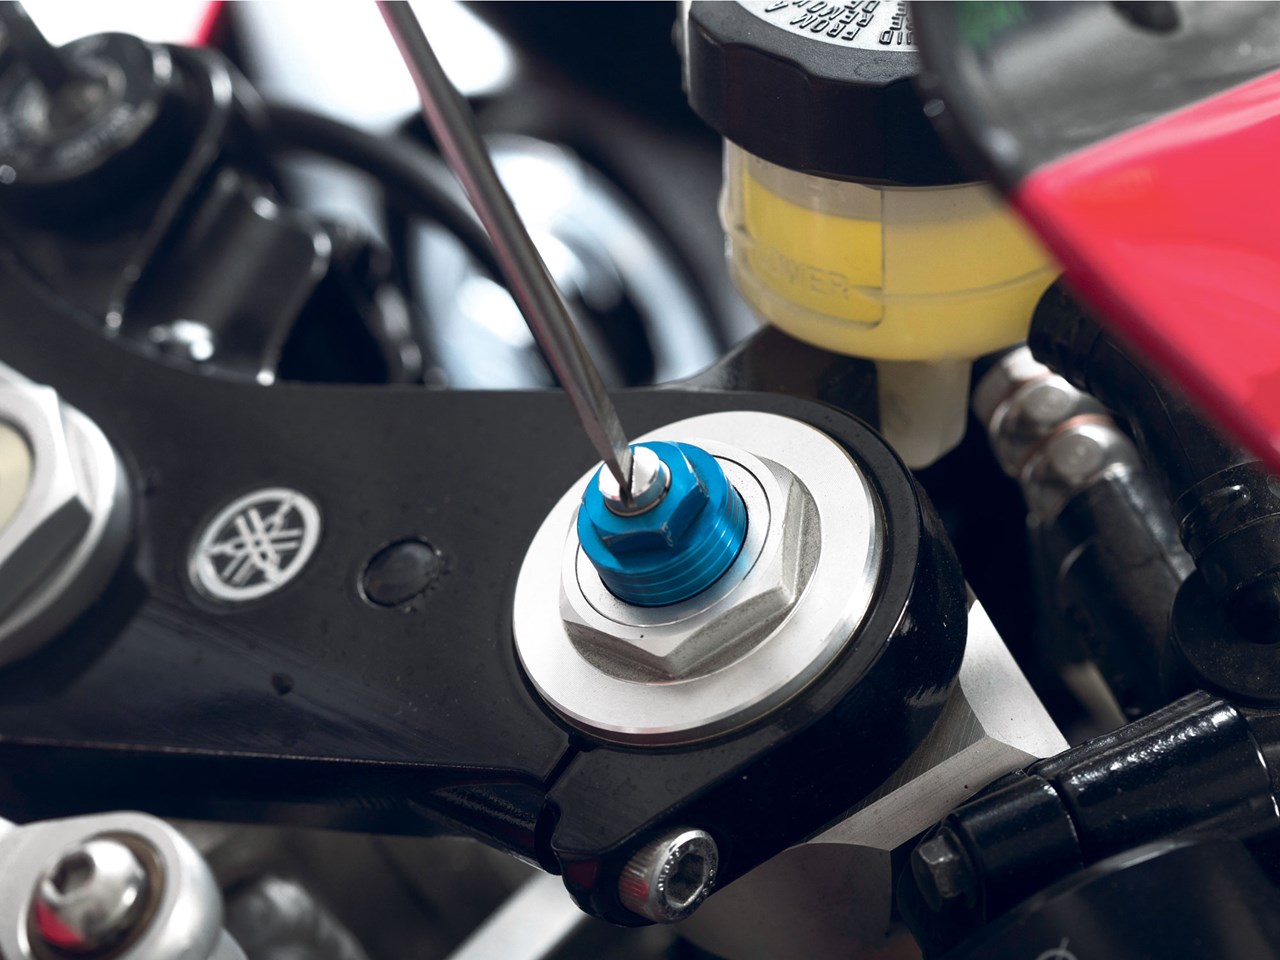
Adjusting front preload on suspension fork -
Adjusting compression on fork shock absorber -
Adjusting front rebound on a motorbike -

Set the sag on your rear shock -
Adjusting your rear rebound on shock -
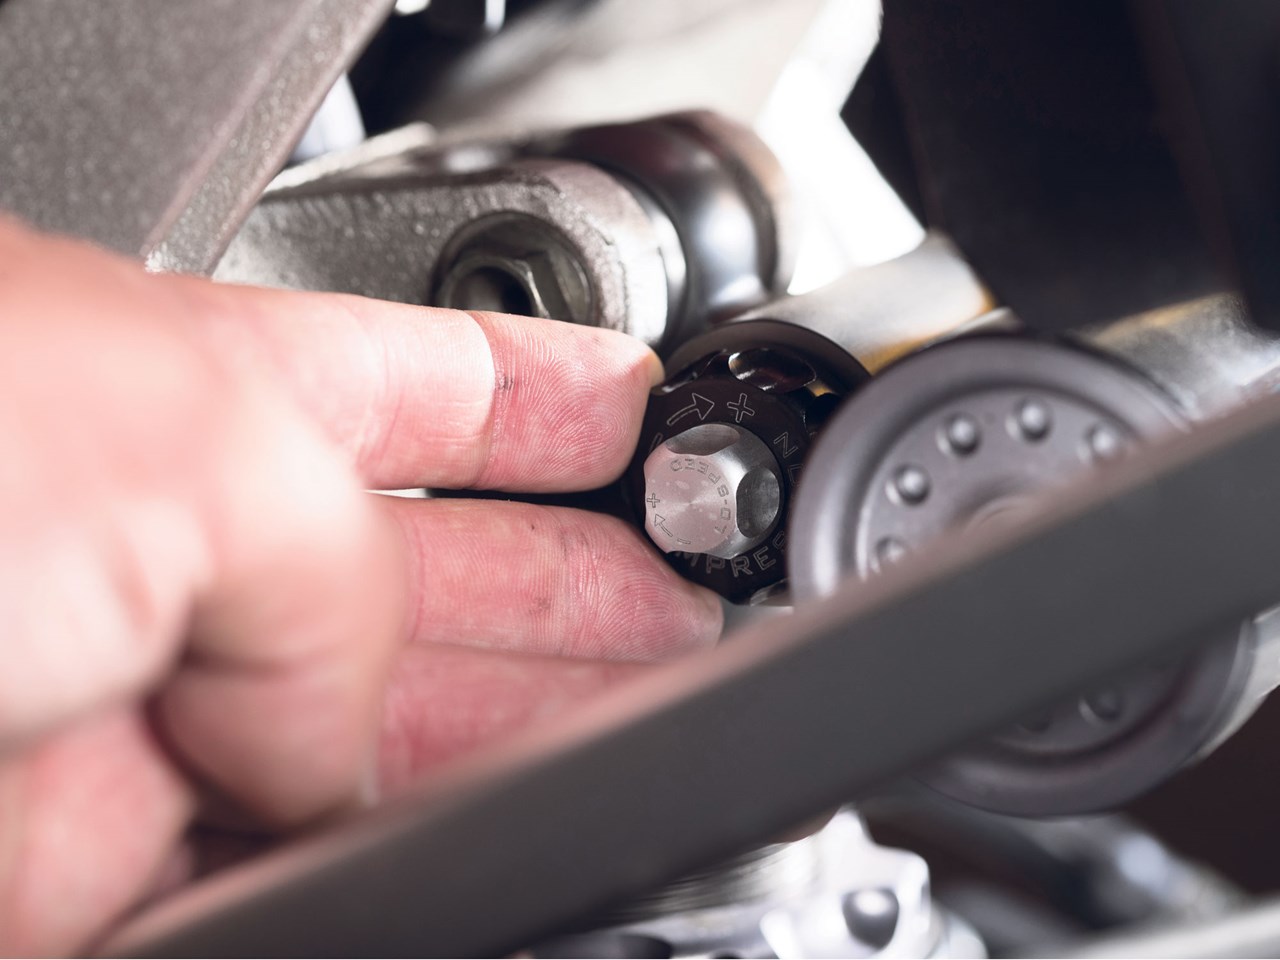
High and low-speed compression adjustment -

A trackday is a great situation in which to test your new suspension setup
Your motorbike’s suspension can seem a daunting thing to take some spanners to, but do it right and you’ll almost certainly transform your bike’s ride and handling.
The standard suspension settings for a new bike are based on averages for all riders, so optimising it for your weight and riding style is naturally going to improve your experience. Don’t listen to so-called experts telling you their settings are the one you should be using – follow this guide instead, find your own ideal configuration – taking into account suspension sag, compression and rebound – and then get out and have fun on your newly personalised motorcycle.
Related articles on MCN
- Get a professional suspension set up
- How to pass your motorbike MoT test the first time
- Neevesy’s bike hacks: How to set up your bike like a road test pro
You can expect improved ride quality as well as cornering performance in most situations, and all without having to worry about changing fork spring rates or shock absorbers.
On newer bikes with active suspension technology the bike is able to do this for you, allowing the rider to simply hop on and go, no matter their riding position or style.
Tools to adjust suspension
- Spanner for front preload
- Spanner for rear preload
- Tape measure
- Flat-blade screwdriver
- Cable-tie
Step-by-step bike suspension setup
1. Write everything down

Before you start adjusting, the best thing to do is to make notes of all your bike suspension settings as they stand – that way, if you feel that you’ve made the bike worse you can go always go back to your previous settings. Your manual will also have the factory settings. Rebound and compression figures are usually noted as how many turns or clicks (it varies bike-to-bike) from fully in.
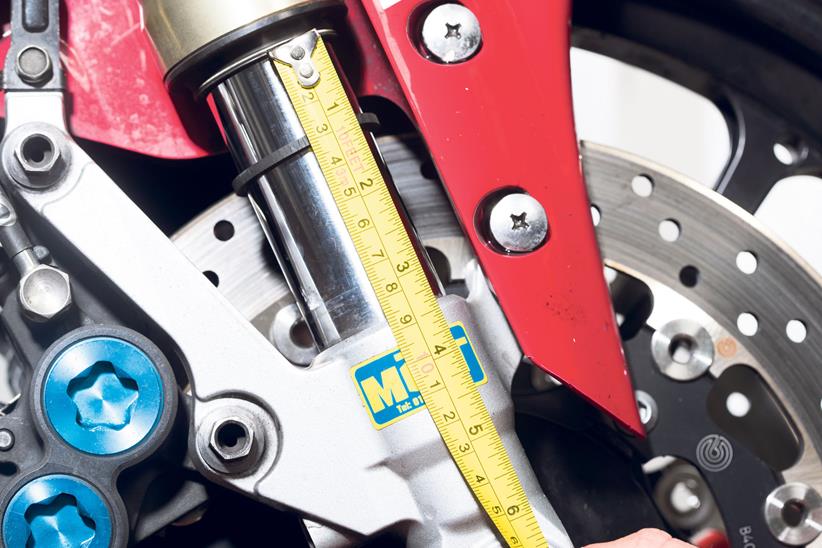
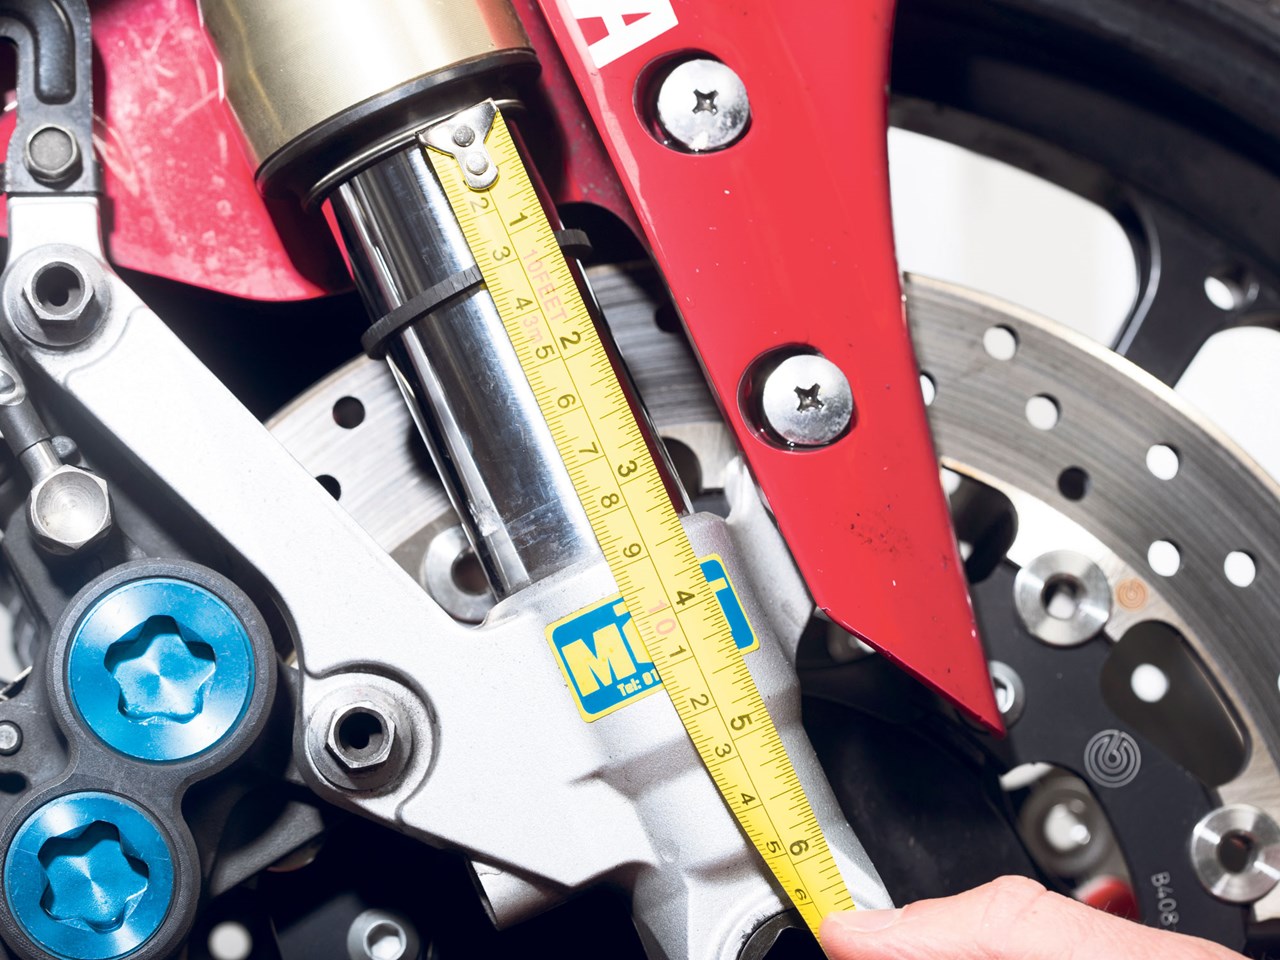
2. Set sag on front forks

The position the suspension sits in relation to the top of the stroke is called sag. For bikes with 120mm of front suspension travel, you want around 40mm of rider sag. To measure this, put the bike in a chock or have a mate hold it steady. Use a cable-tie, compress the forks, let them settle and push the cable tie up to the outer dust seal. Get off, and take the weight off the front so the forks are fully extended. The sag is the distance it’s travelled.
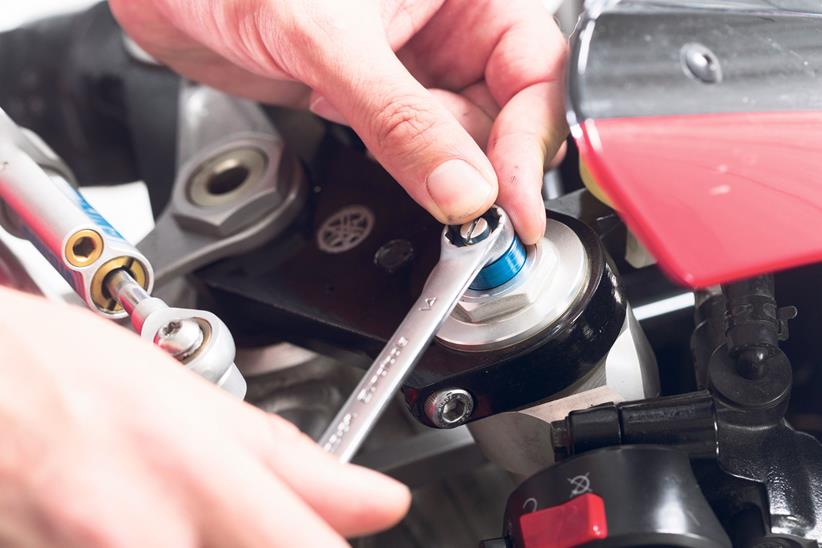
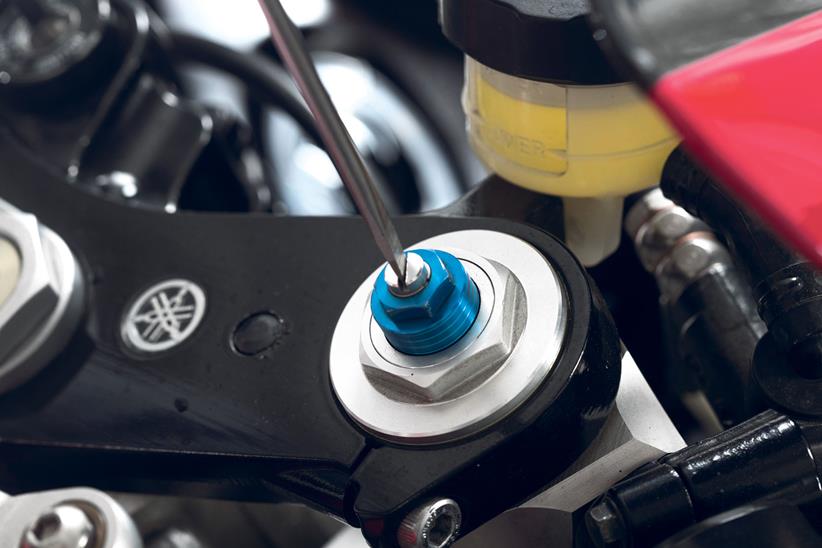
3. Adjusting the front preload

To reach to that rule-of-thumb 40mm figure, you may need to adjust the preload. On this R1, you adjust it via the 14mm blue anodised adjuster on the fork top. To raise the ride height (which will reduce the sag figure), wind the adjuster in. To increase sag, wind the adjuster out. Please note, on some forks, such as early Showa BPF, the adjusters are at the bottom.
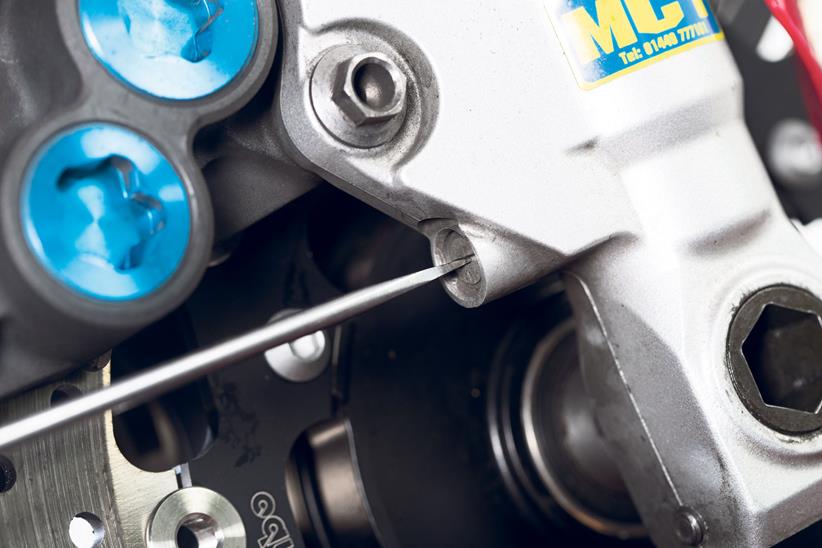
4. Adjusting your front compression

Your compression damping helps control the rate that the fork compresses over bumps and when the bike is under load, such as during braking. If you feel the front dives too quickly on the brakes you’d increase the compression damping. If you wanted more movement, you’d reduce the compression damping. Reducing it can improve ride quality.
5. Adjusting your front rebound

This controls how quickly the fork settles back after it’s been compressed. If the bike feels ‘loose’ on the brakes at the front or wallows too much you’ll need more rebound. A good rule of thumb is to compress the front end by bouncing it. If the forks don’t settle straight away you may need more rebound. Dial in the same settings to both fork legs.
6. Set sag on rear shock

The shock needs to be in the correct ballpark to work best. Aim for 30-35mm of rider sag. Use two reference points. We took one point on the edge of the swingarm and one on the bottom of the R1 sticker on the tail piece. Measure with the suspension topped-out and then with a rider on, and adjust the preload until you get the required numbers.
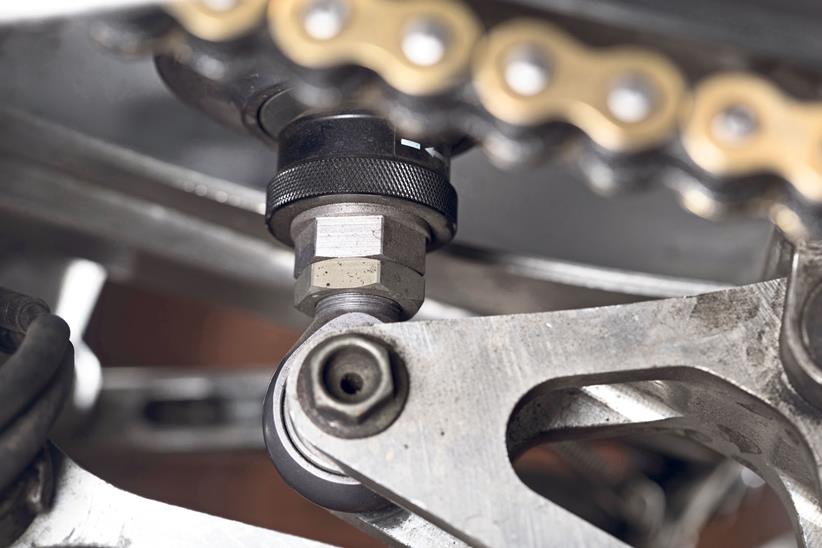
7. Adjusting your rear rebound

This controls the speed that the shock extends after it has compressed. If the bike feels wallowy in corners, winding in some rebound can help. But if the bike packs down over undulations in a corner or feels harsh over bumps, reducing the rear rebound damping could help, too. The adjuster is at the bottom of the shock.
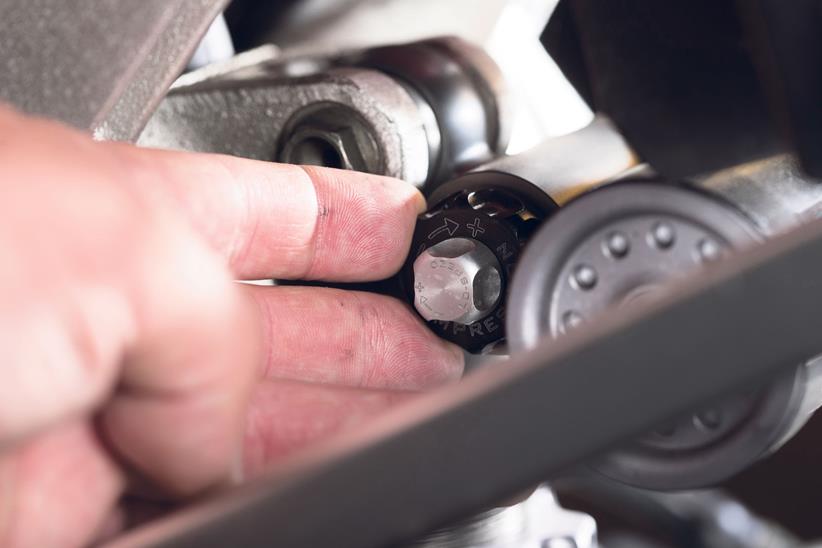
8. High/low-speed compression

If you have a modern sportsbike or an aftermarket shock, you may have high and low-speed compression damping. This separates low-speed movements of the shock with high-speed movements – such as when you hit a bump. The idea is to have compression that is stiff enough to support the bike, while still delivering good ride quality. Adjust low-speed to affect support in a corner and high-speed for bump issues.
9. One step at a time

The best way to find out what the changes do is to try the bike in repeatable conditions, such as a trackday. Alter one aspect at a time, pay attention to how the bike feels, and make notes. It isn’t a bad idea to get a base set-up from a suspension specialist and then work from there. Please remember to build up your pace slowly – your bike will feel different with each change and may need some getting used to.
Promoted: Get all the parts, tools and consumables you need for this job from https://www.mandp.co.uk/

 Write everything down before you start adjusting your suspension
 Set the sag on your forks
 Adjusting front preload on suspension fork
 Adjusting compression on fork shock absorber
 Adjusting front rebound on a motorbike
 Set the sag on your rear shock
 Adjusting your rear rebound on shock
 High and low-speed compression adjustment
 A trackday is a great situation in which to test your new suspension setup