Discography: How to change your brake discs
Changing your brake discs yourself can save you a good chunk of cash and give you that warm fuzzy feeling inside as you complete a job well done.
In this article we’re going to take you through the process of removal and reinstalling your brake discs. If you’re feeling adventurous, it could be worth setting a day aside and servicing your calipers at the same time.
Tools you’ll need to change your brake discs:
- 3/8 drive socket
- Ratchet
- Breaker bar
- Heat gun
- Hammer
- Thread lock
- Brake cleaner
- Torque wrench
- Tap
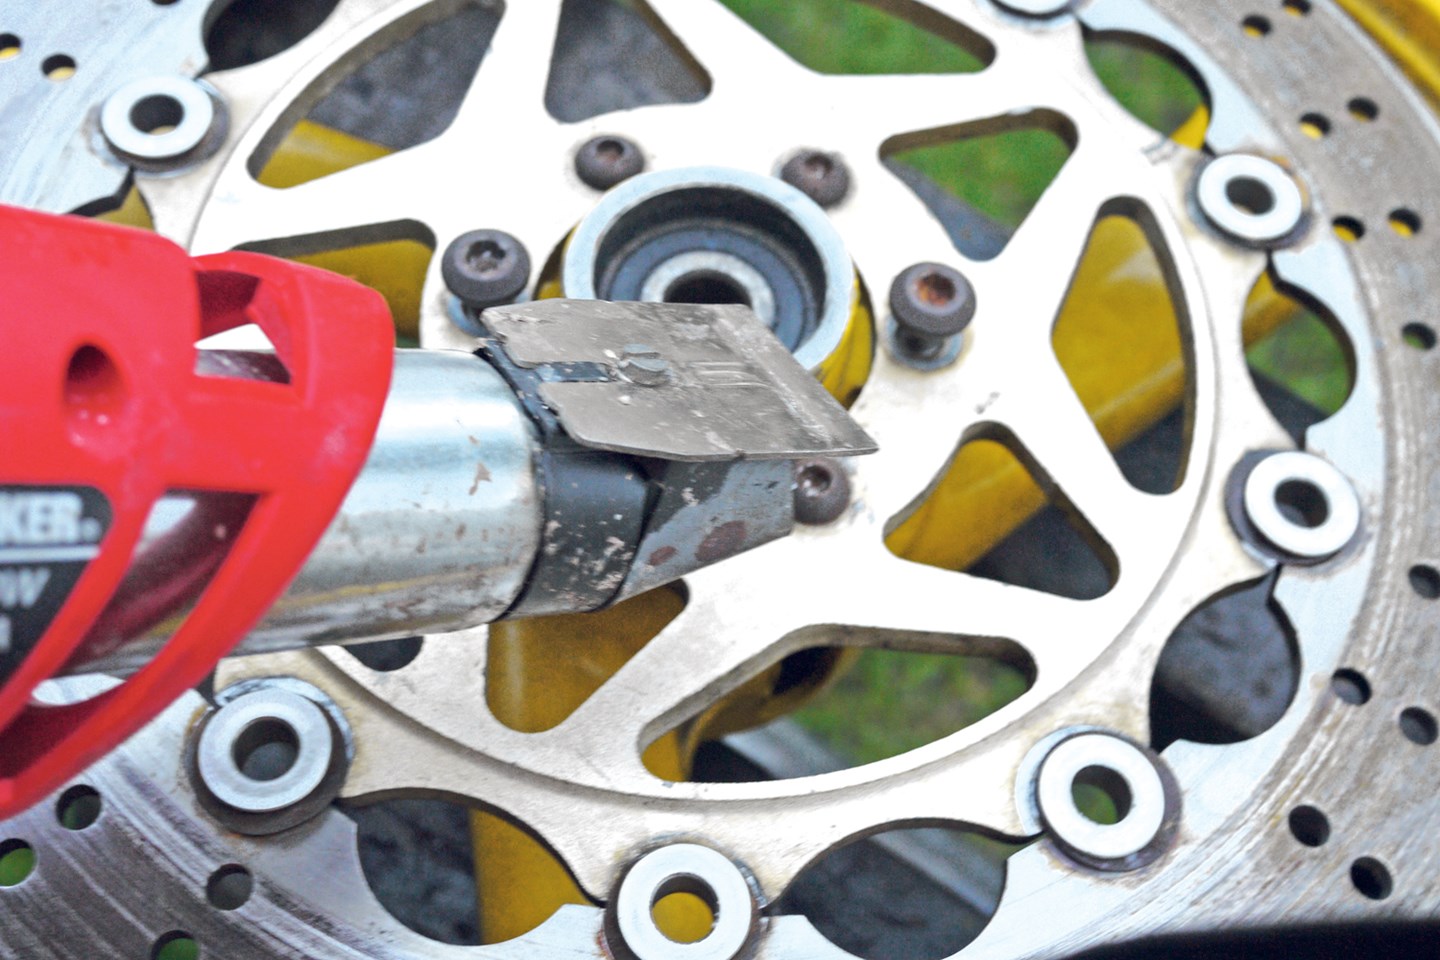
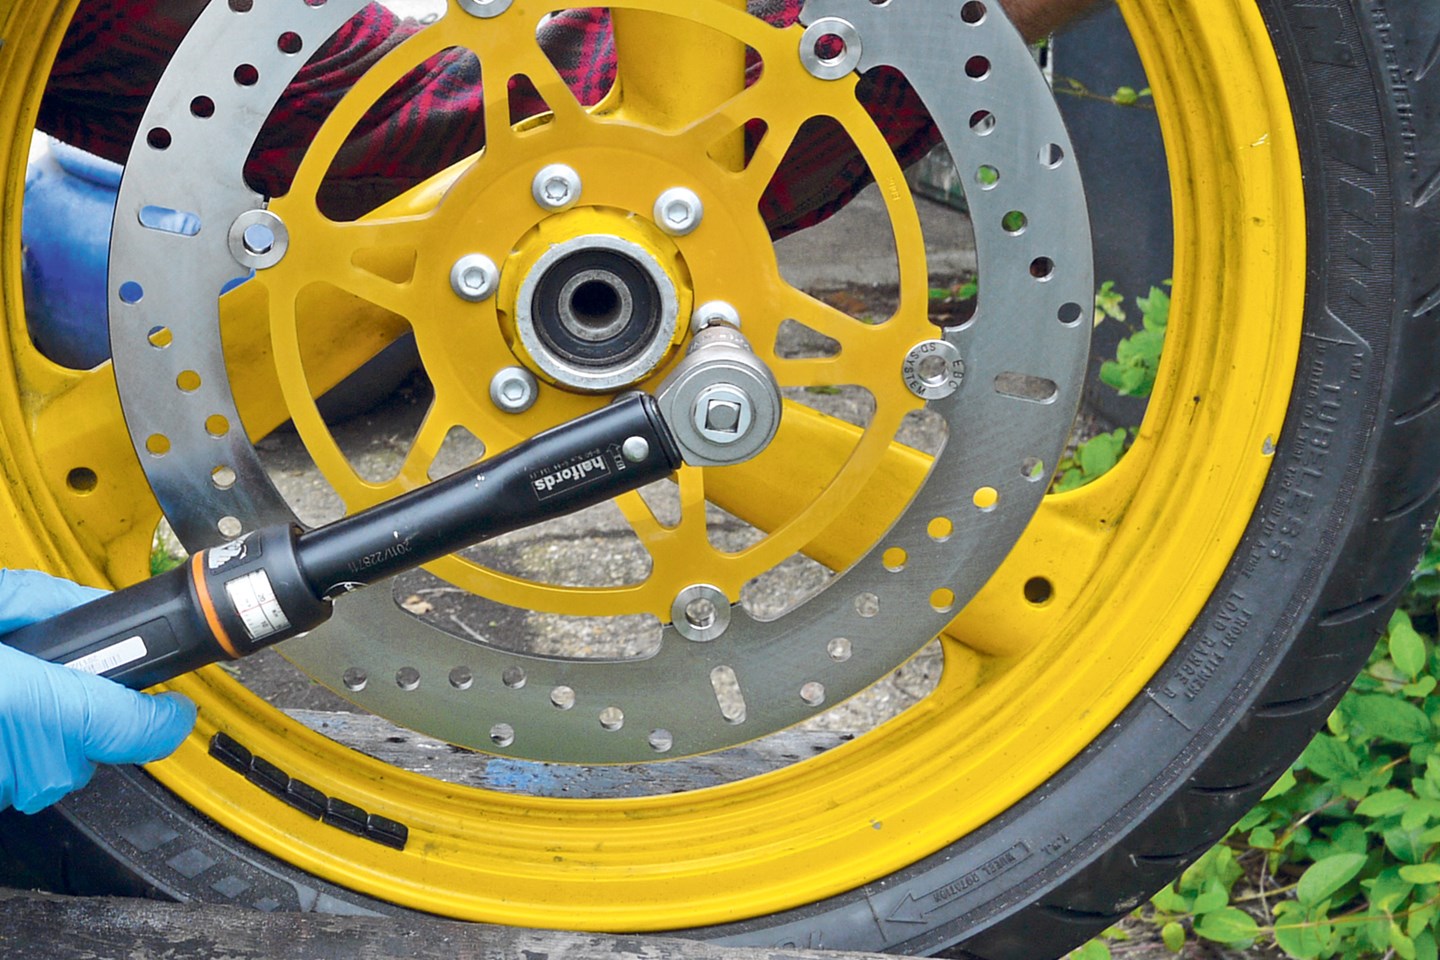
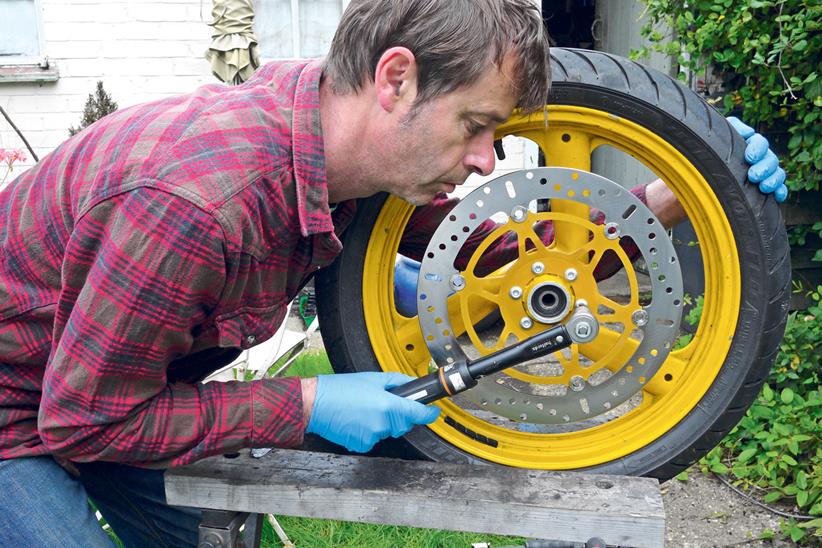
1. Tight-fitting tool

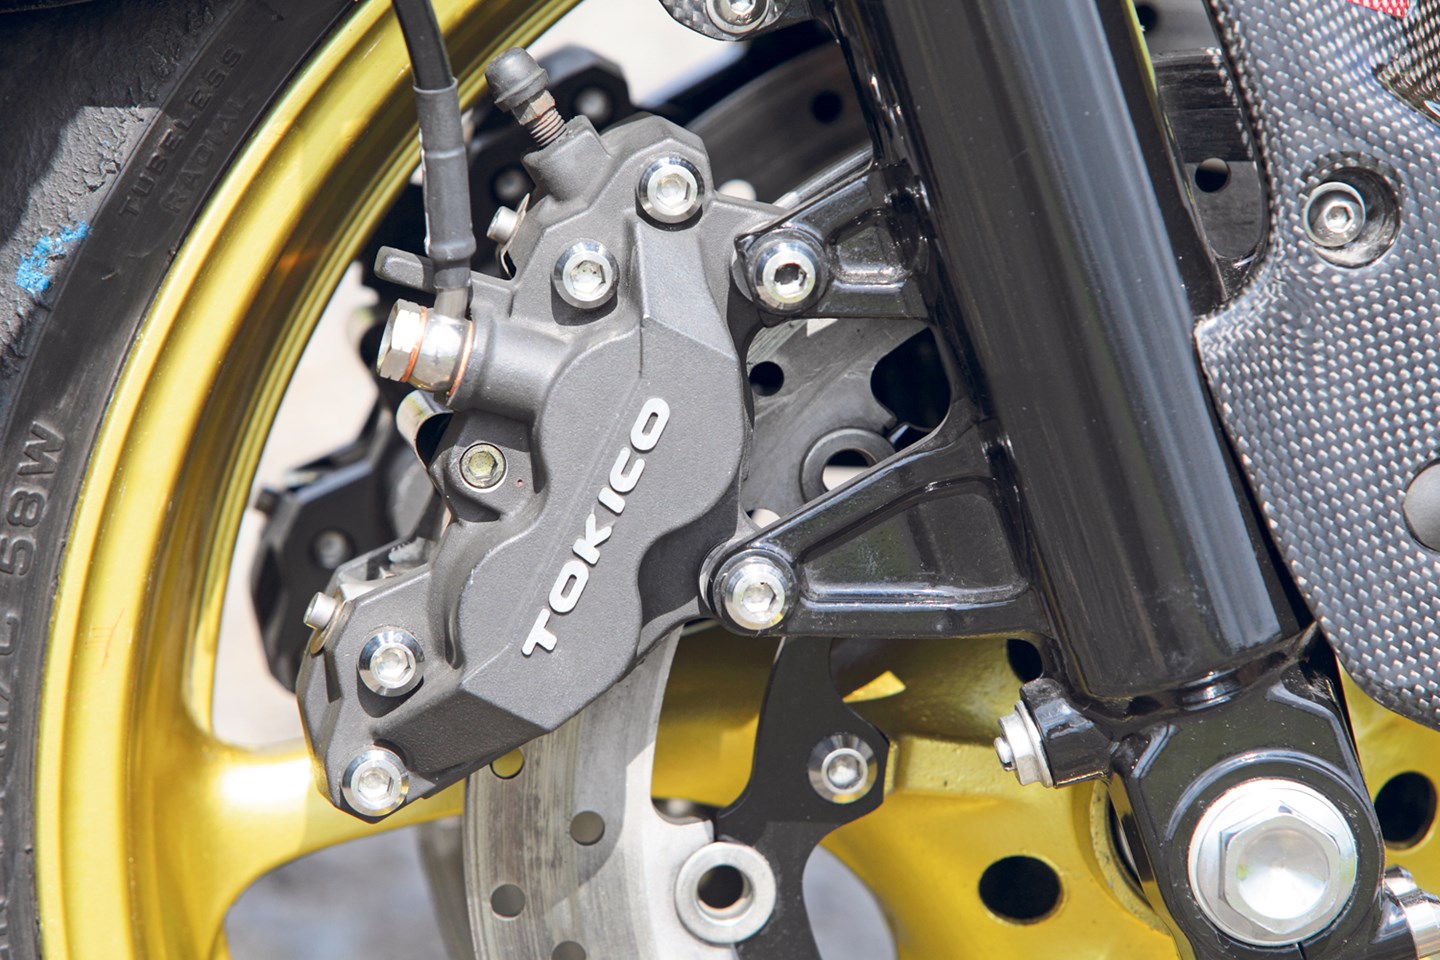
You’ll need to remove the wheel from the bike, which means unbolting calipers for access. When it comes to removing disc bolts, you’ll need a quality, snug-fitting tool – usually a hex-key or a Torx bit. A 3/8 drive socket and ratchet (or breaker bar) for leverage, and you’ll need the socket for your torque wrench later. Bolts are typically reluctant to come out, so you’ll need good purchase to overcome the thread’s traction.
2. Easy does it

Fit your socket into the first bolt. Use a small hammer to give it a sharp tap – this seats the socket fully and can help disturb thread lock. Fit the ratchet, and make sure the socket/ratchet doesn’t slip sideways – you should be pulling the arm parallel to the wheel to the socket remains seated. Gradually apply pressure – if it doesn’t yield, try pushing it in the opposite direction, then try untightening again.
3. Turn up the heat

No luck? If you’re struggling, gentle application of heat may be required – but we mean, GENTLE. Strong locking fluid on bolts can be reluctant to move – gently warming the bolt and wheel with a blowtorch allows the metal to expand, soften the locking fluid and release the grip. For seriously seized bolts, you may need to seek help from a mechanic or engineer.
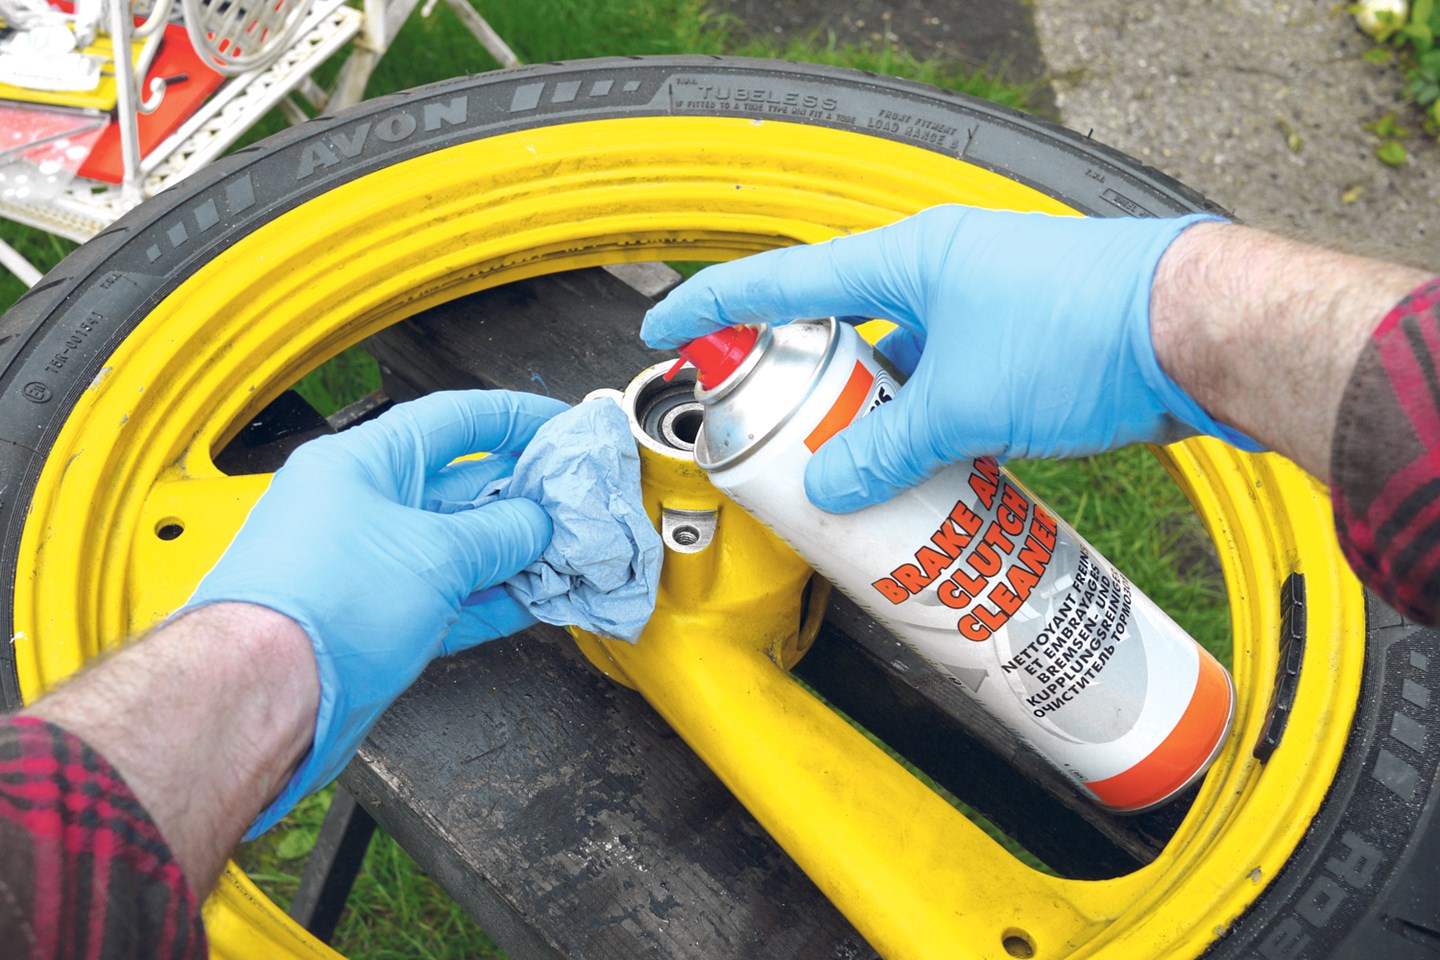
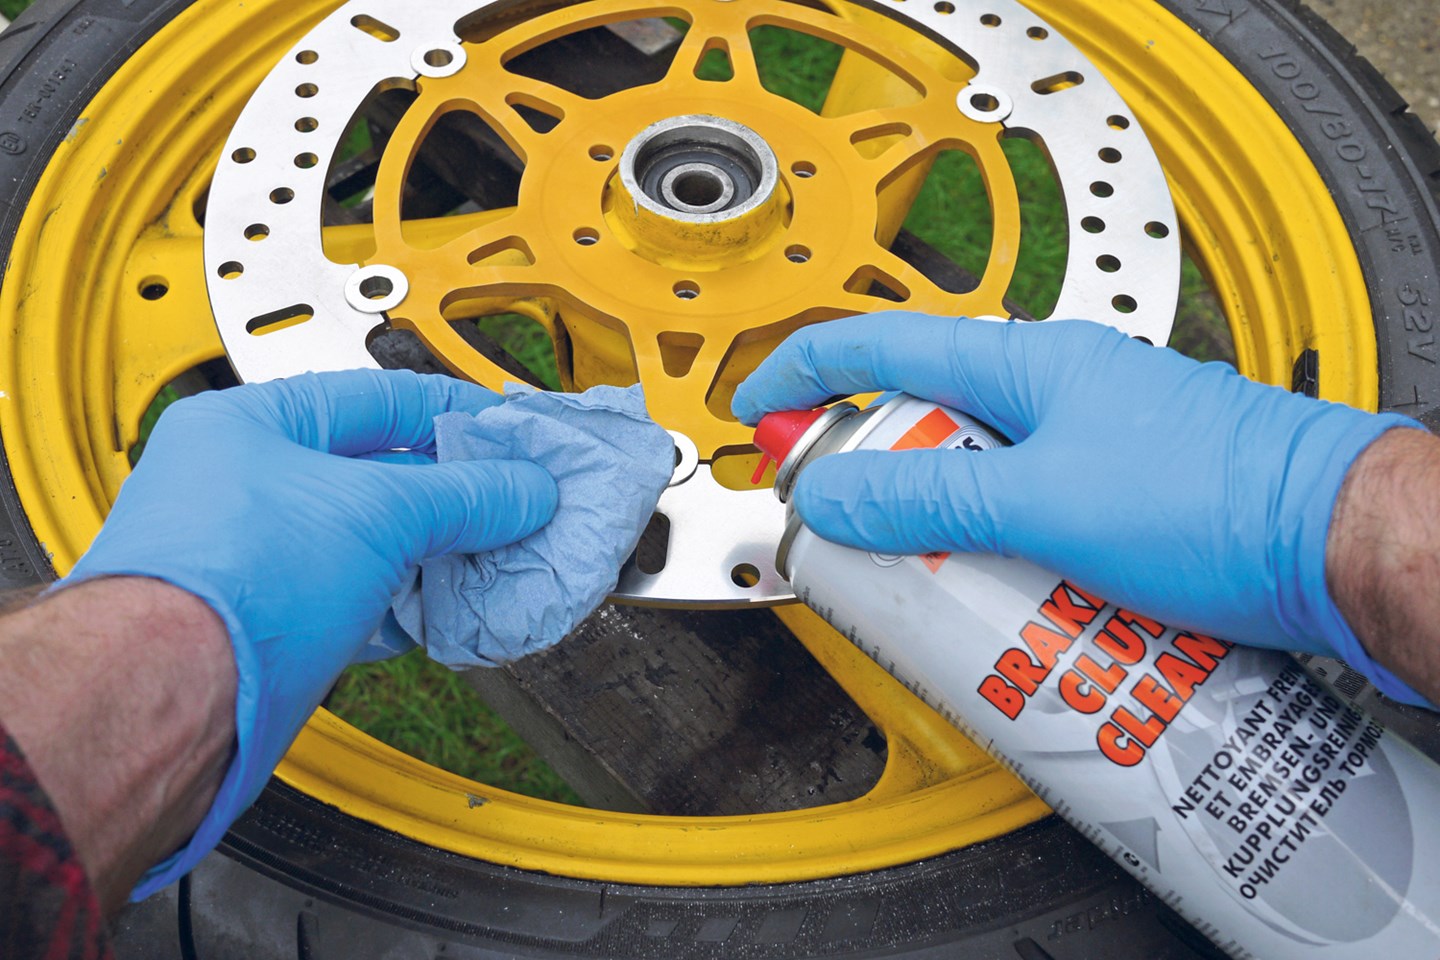
4. Clean the hubs

Perfectly clean disc mating faces are a must. Even small amounts of dirt between the disc and hub can cause alignment problems. Getting hubs completely clean without damaging the aluminium is difficult. A light abrasive pad to remove corrosion, then a wipe with a rag and brake cleaner on both faces should take care of things.
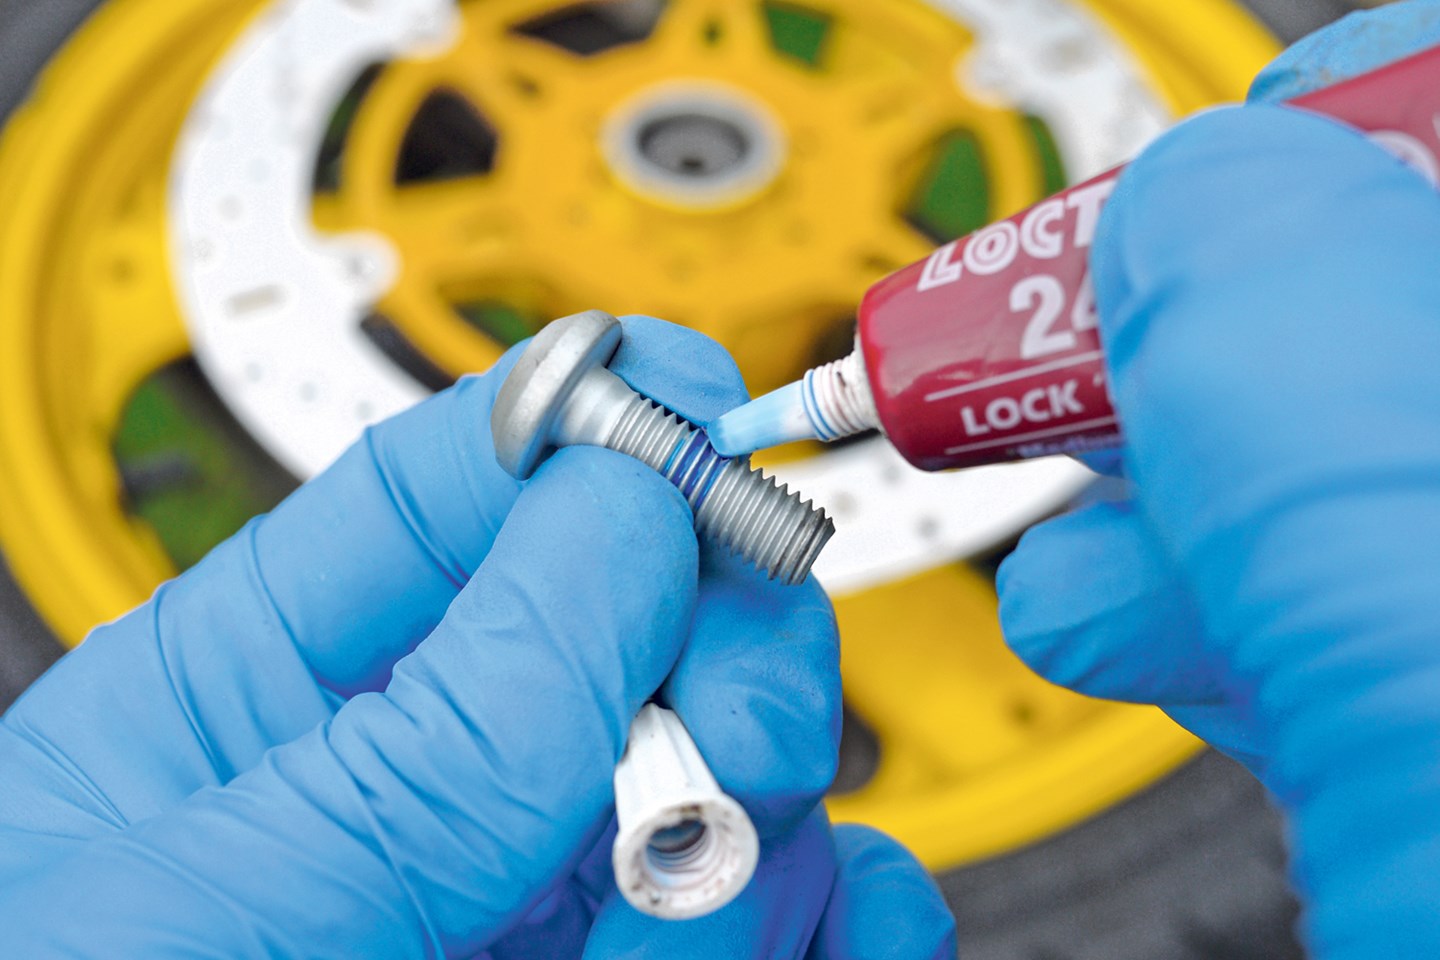
5. Don’t use the same old bolts

The effort of removing bolts often damages the heads, and some manufacturers deem them single-use. If you plan to reuse bolts, be sure the heads are in good enough condition to torque up, and remove later. Thoroughly clean the threads and apply threadlock. It’s also good practice to run a tap and brake cleaner through the hub threads.
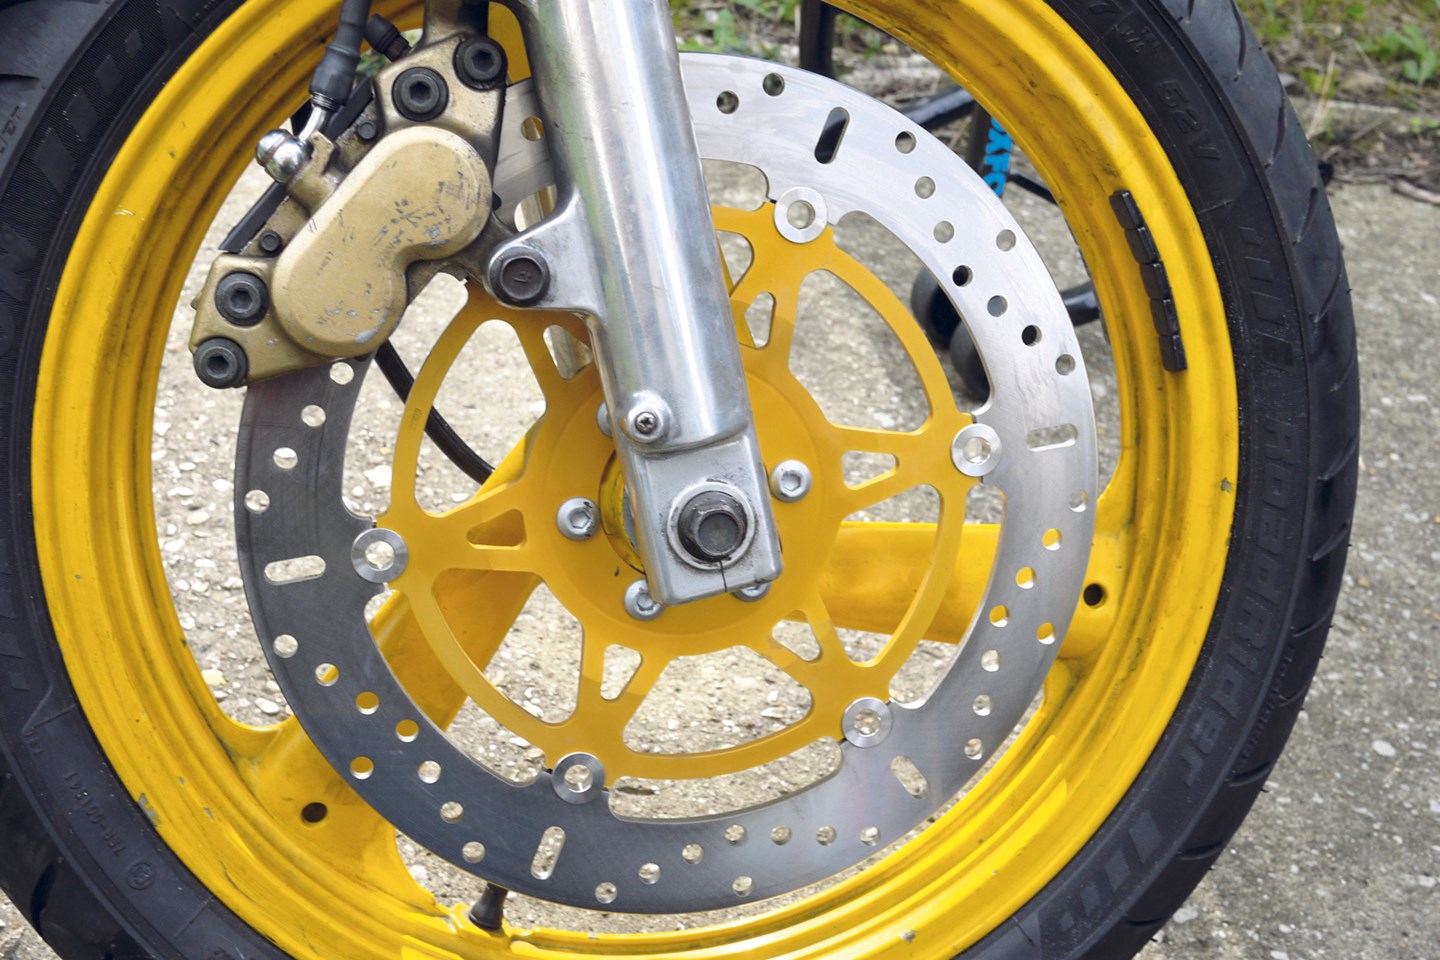
6. Clean rotors

Use some brake cleaner to clean the rotor surfaces of your new discs, removing any oils applied to prevent corrosion in storage. Team your new discs with new pads of the correct compound for the disc material (generally, sintered on stainless discs, organic materials for cast iron). Note that some wave-style discs only work in one direction.
7. Even pressure

Thread the bolts in by hand so you don’t run the risk of crossthreading. Then wind the bolts down, but only tighten them to the point you start to feel them clamping down tight on the disc. Move from one bolt to the one opposite (or as near as) so pressure is applied evenly. For twin-disc wheels, an old tyre should be used to support the wheel.
8. Torque settings

Consult a workshop manual for your bike for torque settings. If you have aftermarket wheels, check with the manufacturer of your rims. It’s good practice to torque in stages – set the torque wrench to 2/3s of the final setting, going across the wheel again to spread the loading. Then do another round at the correct torque setting. A final spot-check of all the bolts when you’re finished never does any harm either.
9. Bedding in

Refit the wheel and calipers, remembering to fit new pads. The first time you use them, they might do nothing at all – so be very careful at the first corner or junction, and ride accordingly. Gradually apply the brakes for longer periods and apply more pressure. The aim is to positively mate the pads to the discs without creating extreme heat early on – avoid hard braking or coming to a dead stop from high speeds.