Ready to Ride: Fix a roadside flat
READY TO RIDE WITH AMAZON

In this week’s how-to, we show you how to get going again after a puncture while on the move.
These types of repairs can really get you out of a spot. The Gryp kit that we deployed here is really easy to use. The type of repair that the Gryp kit can make is limited to a small round hole, often caused by a nail or screw.

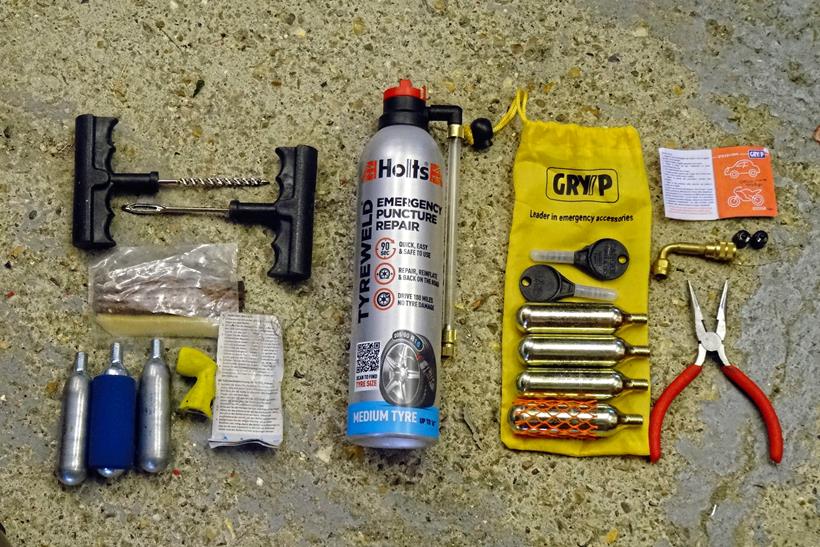
If the puncture is more of a slash, then other kits work better. The kits comprise of: glue, a slug of repair material, a reemer and insert tool and CO2 inflation canisters.
There is an alternative type of system which is the aerosol tyre weld type. First find the puncture and remove the foreign object.
Turn the wheel so the puncture is on the ground and then fill the tyre up via the inflation valve.
The foam expands and leaks out of the puncture hole, and cures when it meets the outside air. Then ride the bike to distribute the foam evenly around the tyre.
- It’s a quick fix

A tubeless repair kit will get you going again very quickly. When using a kit like this, it is essential that you follow the kit’s instructions to the letter. Equally important is to make sure you get the temporary repair looked at by your dealer or an authorised tyre specialist as soon as possible.
2. Hunt the hole

Find the cause of the puncture. If you’re on the roadside then chances are you’ve stopped because you felt the bike’s handling dramatically change as the tyre deflated. Get down to ground level and listen carefully for a tell-tale hiss of air escaping, locate it and see if there is something like a screw or nail in the tyre.
3. Get a Gryp

The Gryp kit is quick and easy to use. In the kit you get CO2 gas cylinders, plastic repair plugs, valve adaptor, chalk and a pair of pliers. This type of repair is temporary and only to be used as a ‘get-you-home fix’. Find the cause of the puncture and circle it with the chalk, then use the pliers remove the screw or sharp object.
4. Plugging on

The Gryp-type kit has no glue or compound, simply twist the coarsethreaded plastic plug into the tyre. It needs to be screwed into the tyre until it reaches the shoulder of the insert. These type of repairs usually work on punctures/damage that have caused small round holes, typically by a screw or nail.
5. Break and blow

With the plastic plug screwed into the tyre up to its shoulder, the top needs to be broken off. It is designed with a weak spot that will break when sideways force is applied. The next step is to fit the valve adaptor. This needs to fitted
so you can screw a CO2 canister on, so it might be necessary to move the wheel round.
6. Proceed with caution

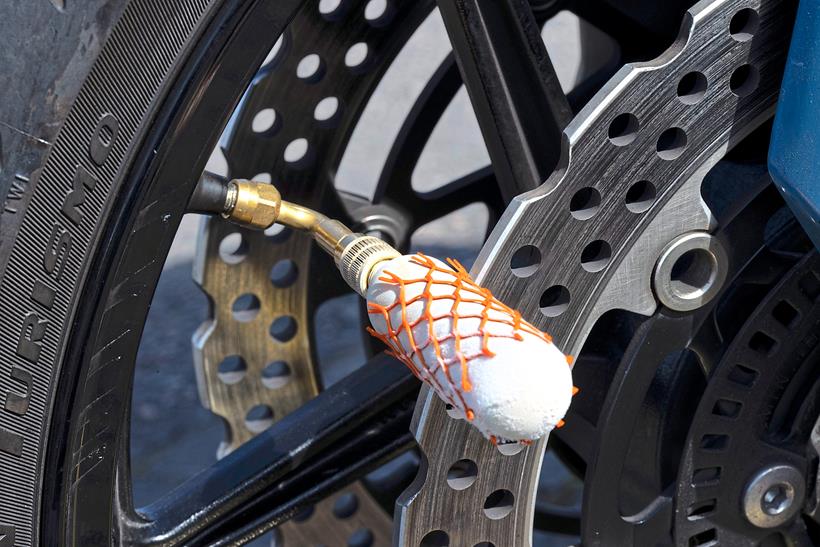
Attach the valve adaptor and make sure the CO2 bottle has the plastic gauze around it to prevent the extreme cold of the emptied canister freezing to your fingers. You will probably have to use four to six canisters to inflate a 180-size rear tyre. This is a temporary fix and you must not exceed the speeds suggested in the kit’s instructions.
Garage essentials

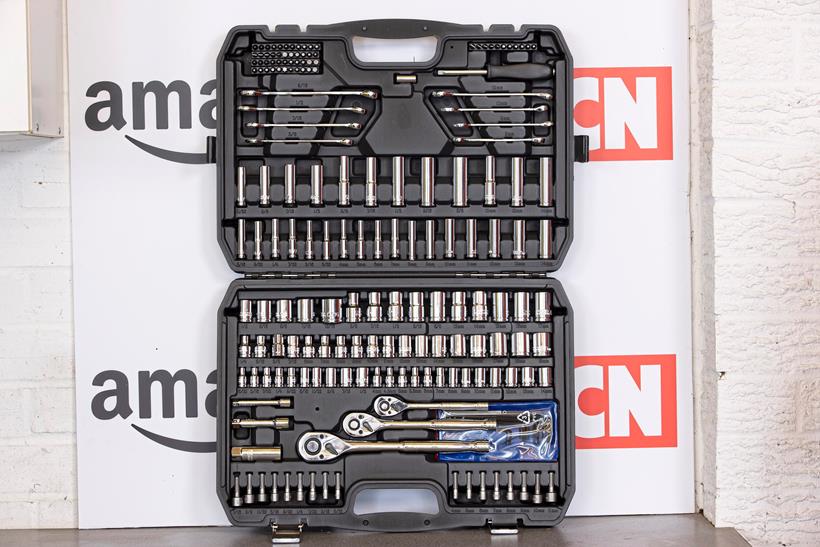
This 201-piece socket set can help with almost any job. The large single hexagon drive ½ inch drive sockets and ratchet are strong and durable enough to make light work of undoing the front and rear wheel spindles.
Ready to Ride advertising feature with:

The Ready to Ride video series and related content provides practical sports and performance bikes information for use as general information or for educational purposes. We do not know your particular vehicle or circumstances
and the information we provide may not meet your motorbike repair, maintenance and/or health and safety requirements. It is up to you to contact a motorbike mechanic professional if you are concerned about the repairs, maintenance and health and safety of your motorbike. MCN and Amazon do not give mechanic advice in relation to an
individual case or motorbike, nor do we provide mechanical or diagnostic services, and this information should not be relied upon as such.
Please note that some of the products and equipment featured in this article may carry health and safety warnings. Please see the product and equipment details page or handbooks to check for possible health and safety hazards and for more information about each product and item of equipment.


