Ready to Ride: Service your brakes and change pads
READY TO RIDE WITH AMAZON
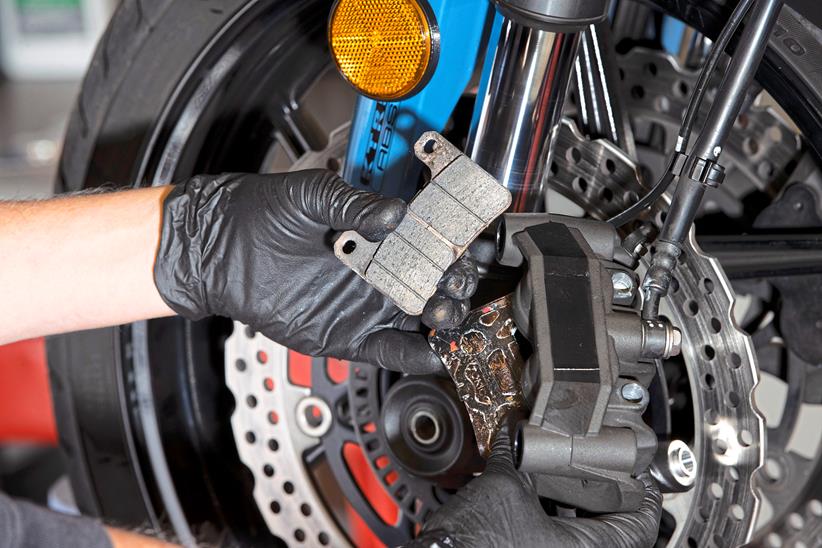
When it comes to changing the brake pads on your bike it’s worth checking out what type of brake pad is available, as there will be a dizzying array on offer, each one claiming different benefits.
There is, of course, the option of going for the original spec pad, and this will always be a good choice, but in most cases they cost a bit more.
We used these good quality EBC pads for this job and managed to save a few quid. It is worth checking out what is available at www.amazon.co.uk to see what choices there are.
When it comes to changing brake fluid, the typical scheduled interval that is listed in most workshop manuals is every two years.
It’s usually a very simple job, as seen here with our Kawasaki Z1000SX, however you do need to check the specific procedure for your bike in a workshop manual, particularly if it’s fitted with an ABS system.
Please note that some of the products and equipment featured in this article may carry health and safety warnings.
Please see the product and/or equipment details page to check for possible health and safety hazards and for more
information about each product and item of equipment used.
- Remove one caliper at a time
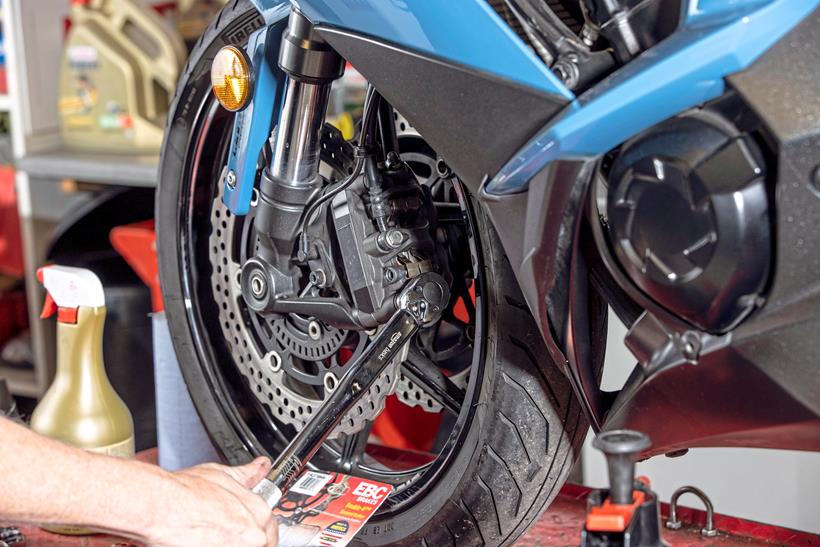
If you’re changing the front brake pads on a twin-disc set-up remove one caliper first. Before you undo the mounting bolts loosen the pad retaining pins/bolts by one turn, then undo the mounting bolts and gently twist and slide them off the disc. Sometimes the caliper gets close to the wheel rim as you’re removing them, so use some gaffer tape on the rim to protect it.
2. Pull out the pads

Undo the already loose retaining brake pad pin/s and then remove the brake pads. At this stage, place the old pads alongside the new ones to make sure that they are the same shape and fitment. Give the retaining pins a good clean with Scotchbrite or a stiff nylon brush and a squirt of brake cleaner before starting the replacement process.
3. Clean the caliper
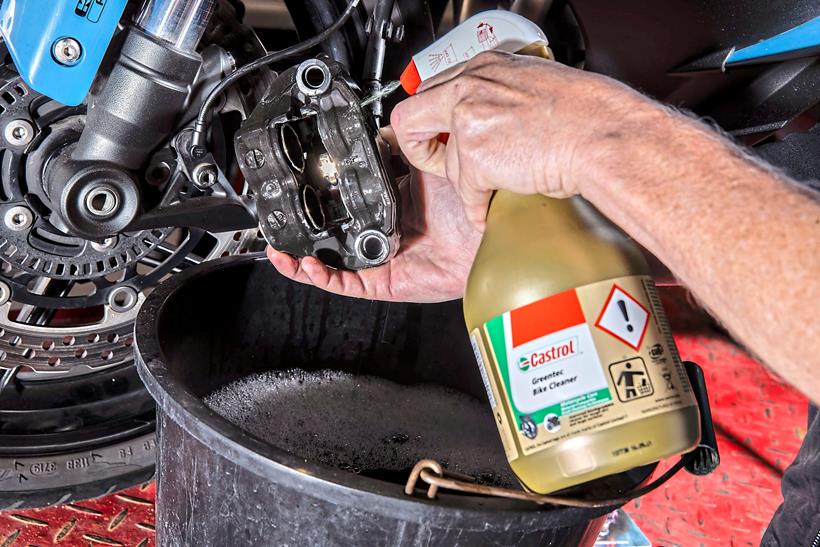
Fill a bucket with warm water and add in a bit of bike cleaner. Moisten the caliper with water and then spray on some like cleaner and allow it to dwell for a minute or so. The cleaner will penetrate and loosen the dirt. Be accurate when spraying cleaner on the brake caliper and be careful to avoid any over-spray getting onto the discs.
4. Get the pistons pristine
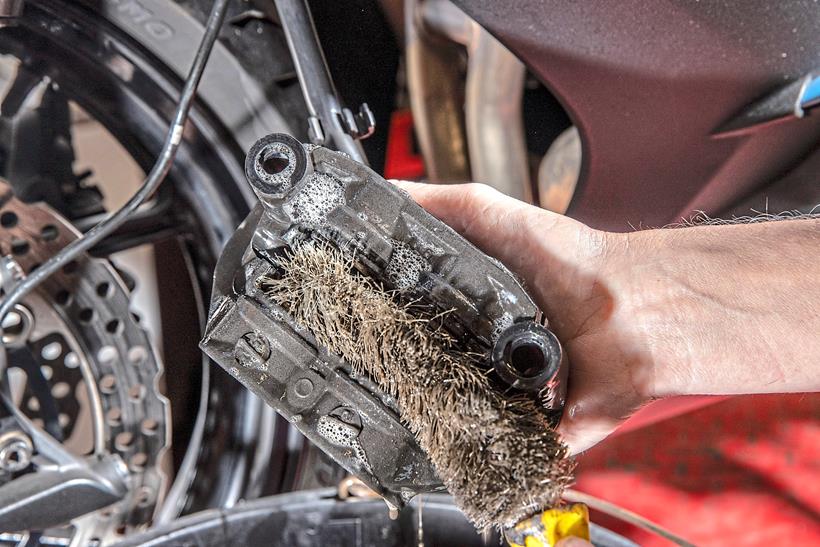
Using a suitable nylon brush, agitate the cleaner and pay particular attention to the areas in-between the pistons, as well as the exposed area of the pistons which protrudes from the caliper body. For seriously hard-tos-hift muck, use a Scotchbrite pad with bike cleaner. Rinse off with water, making sure to get in-between and around the pistons. Finally dry off with a clean cloth.
5. Use pressure on old pads
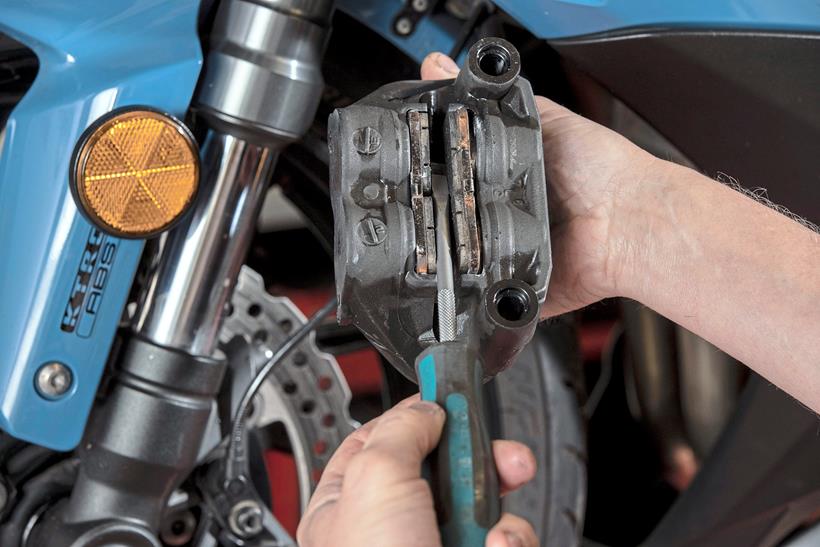
When fitting new pads, gently push the pistons back into the caliper. Do this by temporarily refitting the old pads, then insert a meaty screwdriver or tyre lever in between them and gently apply pressure. The pistons will slowly retreat into the caliper – they need to go back so they are flush with the caliper body.
6. Out with the old, in with the new
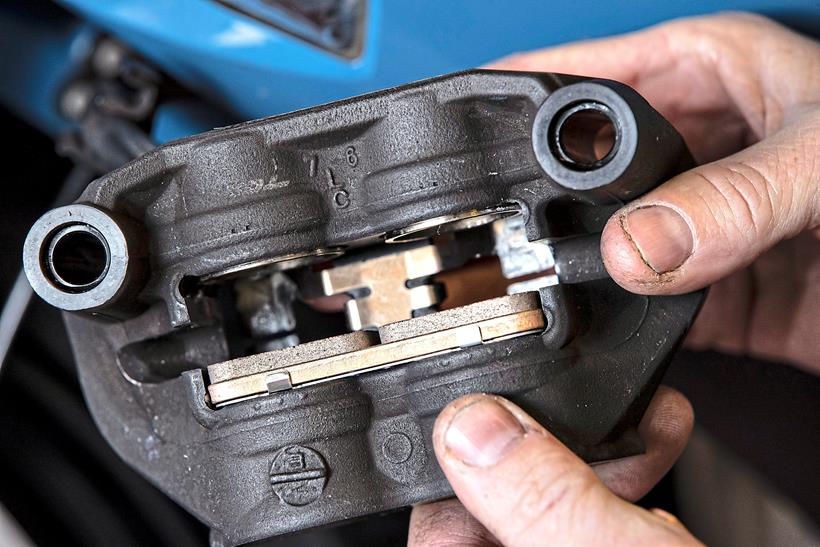
Fit the new pads making sure the friction material is facing the right way. The metal backing plate of the brake pad always sits against the caliper piston/s. When fitting the pads, refit the spring plate and shim if fitted. Screw the retaining pin in firmly. Make sure the new pads are flush against the caliper pistons.
7. Tighten and torque
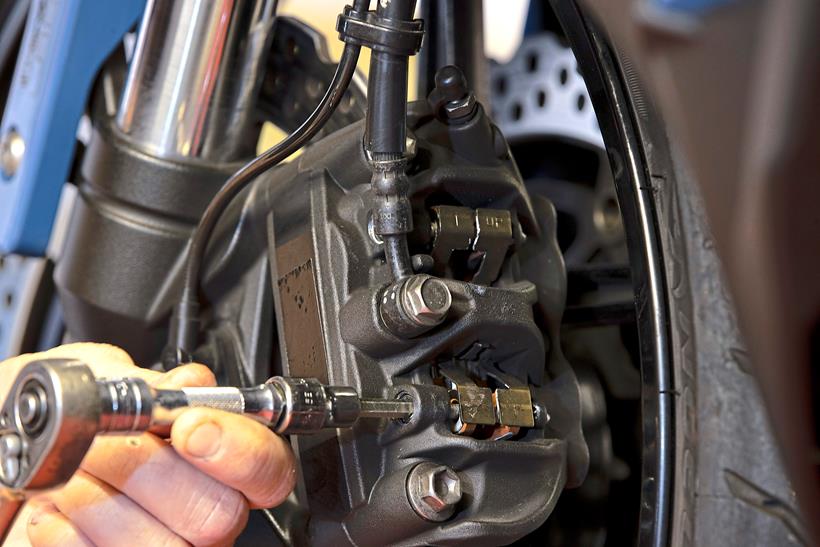
Install the caliper, making sure the disc goes between the brake pads. Install the caliper mounting bolts, do them up evenly and lightly tighten. Then use a torque wrench to make sure they are done up to spec, you’ll find the correct torque figure in your bike’s workshop manual. Do a final check on the pad retaining bolt.
8. Check and change
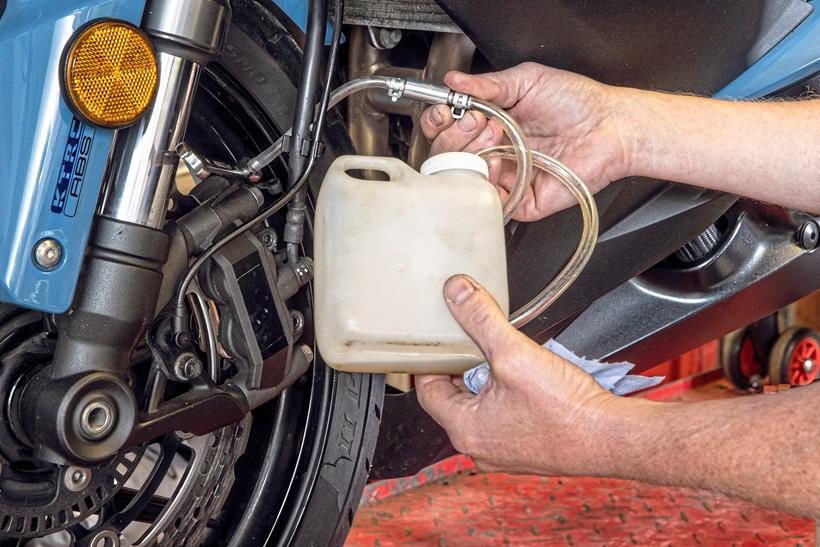
Before changing your bike’s brake fluid, check a workshop manual for the exact procedure. In some cases the ABS system might have a specific way of changing the fluid. This Kawasaki is similar to the way a non-ABS system works. Connect a quick bleed valve kit to one of the bleed nipples, then remove the reservoir cap.
9. Top up with fluid
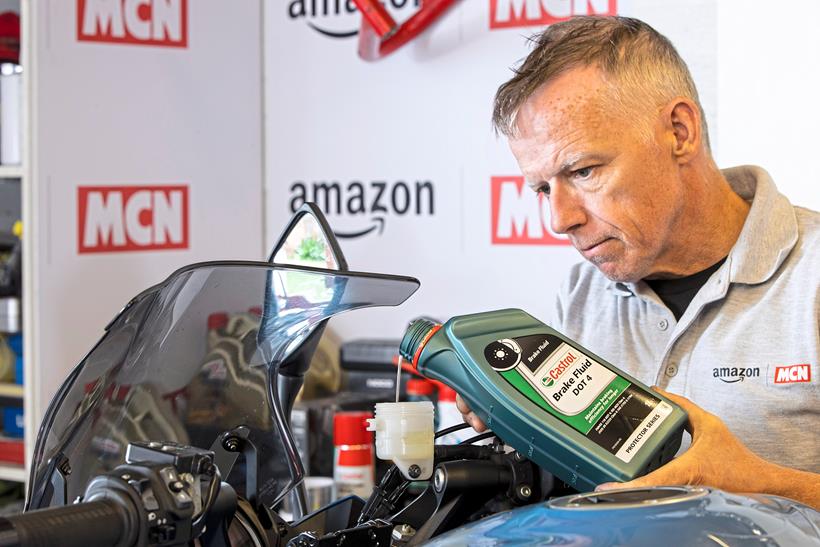
Crack the bleed nipple and squeeze the front brake lever; fluid should flow out of the nipple into the pipe and the one-way valve. Continue to pump the lever making sure that the reservoir fluid level does not get low – top up as necessary. Tighten the bleed nipple, then fit the bleed kit to the other caliper and repeat the process.
10. Time for a test
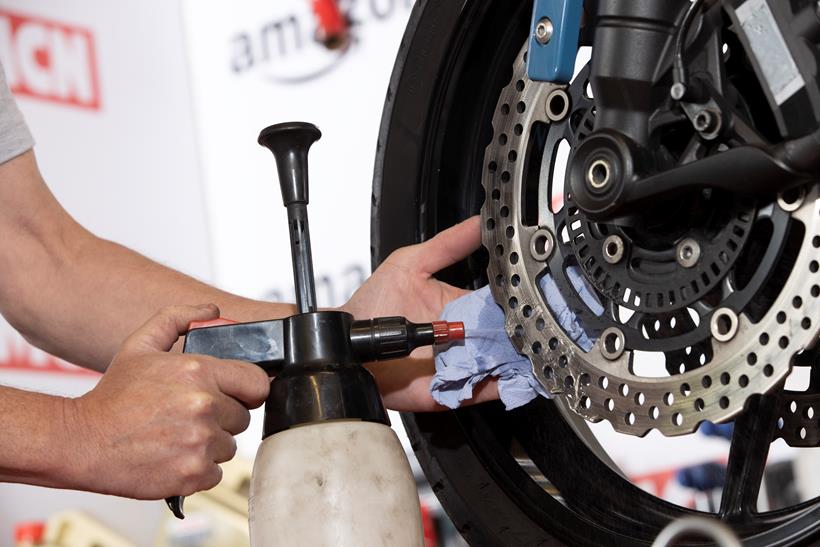
Finally, give the brake lever a few pumps to make sure that it is firm and the system is free from air, then do a re-check of all fasteners to make sure everything is tight. Give the brake discs a wipe with brake cleaner. Then test ride the bike, remembering to let the brakes bed in for a few miles before their full power can be used.
The products we used
Amazon Basics torque wrench
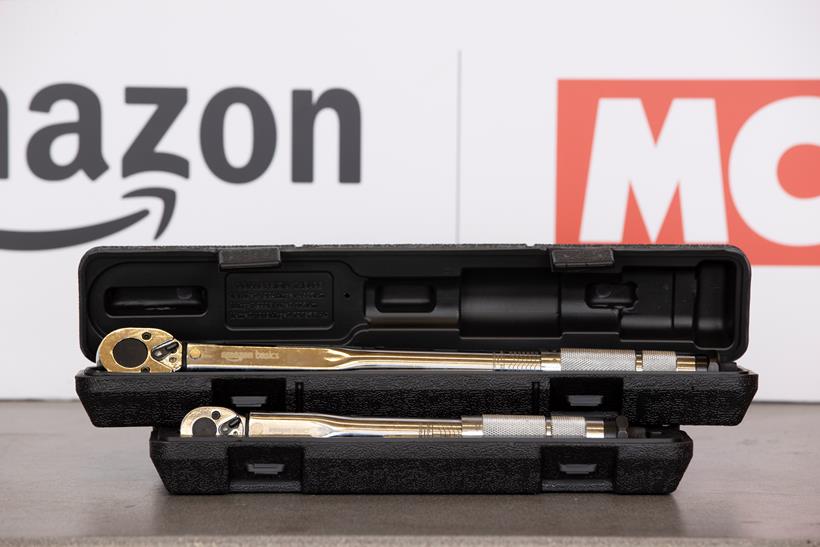
It’s critical that the caliper bolts are tightened up correctly. This torque wrench is easy to use and has a range that will suit almost every nut and bolt on a motorcycle. It has a solid feel and the exterior finish is quality.
Castrol DOT4 brake fluid
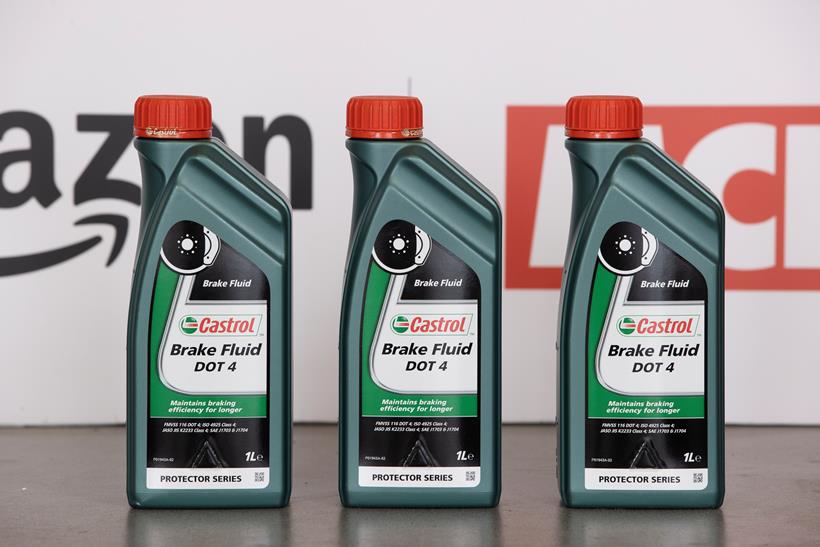
The capacity of this one-litre bottle is ideal if you’re doing a brake fluid change on both the front and rear brake systems. There ought to still be some left over for other jobs or topping up. The shape of the bottle allows precise and accurate pouring when topping up master cylinder reservoirs.
Amazon Basics socket set (201 pieces)
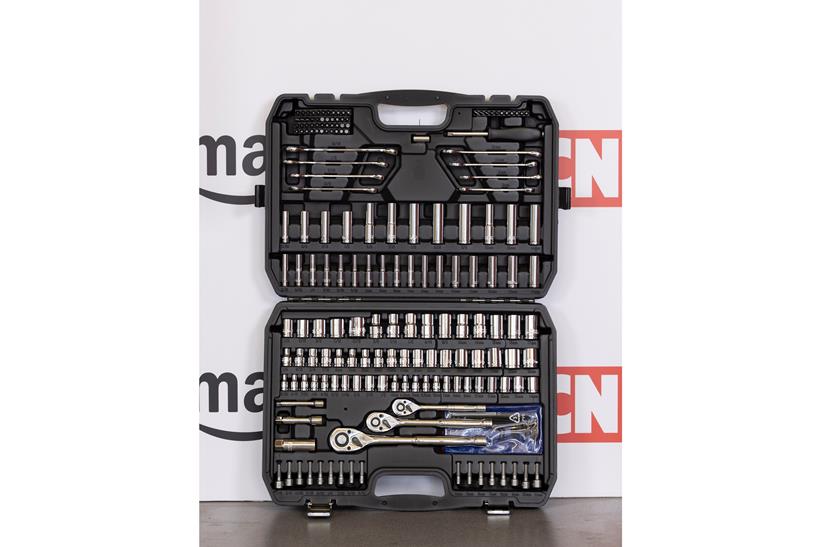
These types of socket sets are always going to be good value, there are so many pieces that almost every job can be accomplished with this kit. The 3/8 drive single metric single hexagon sockets are tough and allow large amounts of torque to be applied without any slipping.
Amazon Basics 12-in-1 magnetic screwdriver
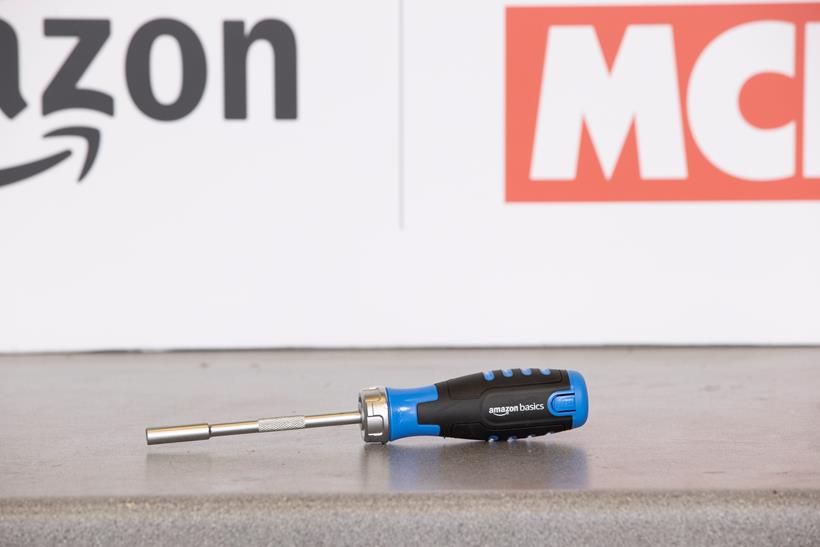
There is nothing quite like a multi-purpose tool, and this screwdriver is no exception. It comes with a selection of 12 bits that pop up like a ‘jack-inthe-box’ and when the correct driver, allen key, crosshead or straight bit is selected the top clicks back down.
Ready to Ride advertising feature with:

The Ready to Ride video series and related content provides practical sports and performance bikes information for use as general information or for educational purposes. We do not know your particular vehicle or circumstances and the information we provide may not meet your motorbike repair, maintenance and/or health and safety requirements. It is up to you to contact a motorbike mechanic professional if you are concerned about the repairs, maintenance and health and safety of your motorbike. MCN and Amazon do not give mechanic advice in relation to an individual case or motorbike, nor do we provide mechanical or diagnostic services, and this information should not be relied upon as such


