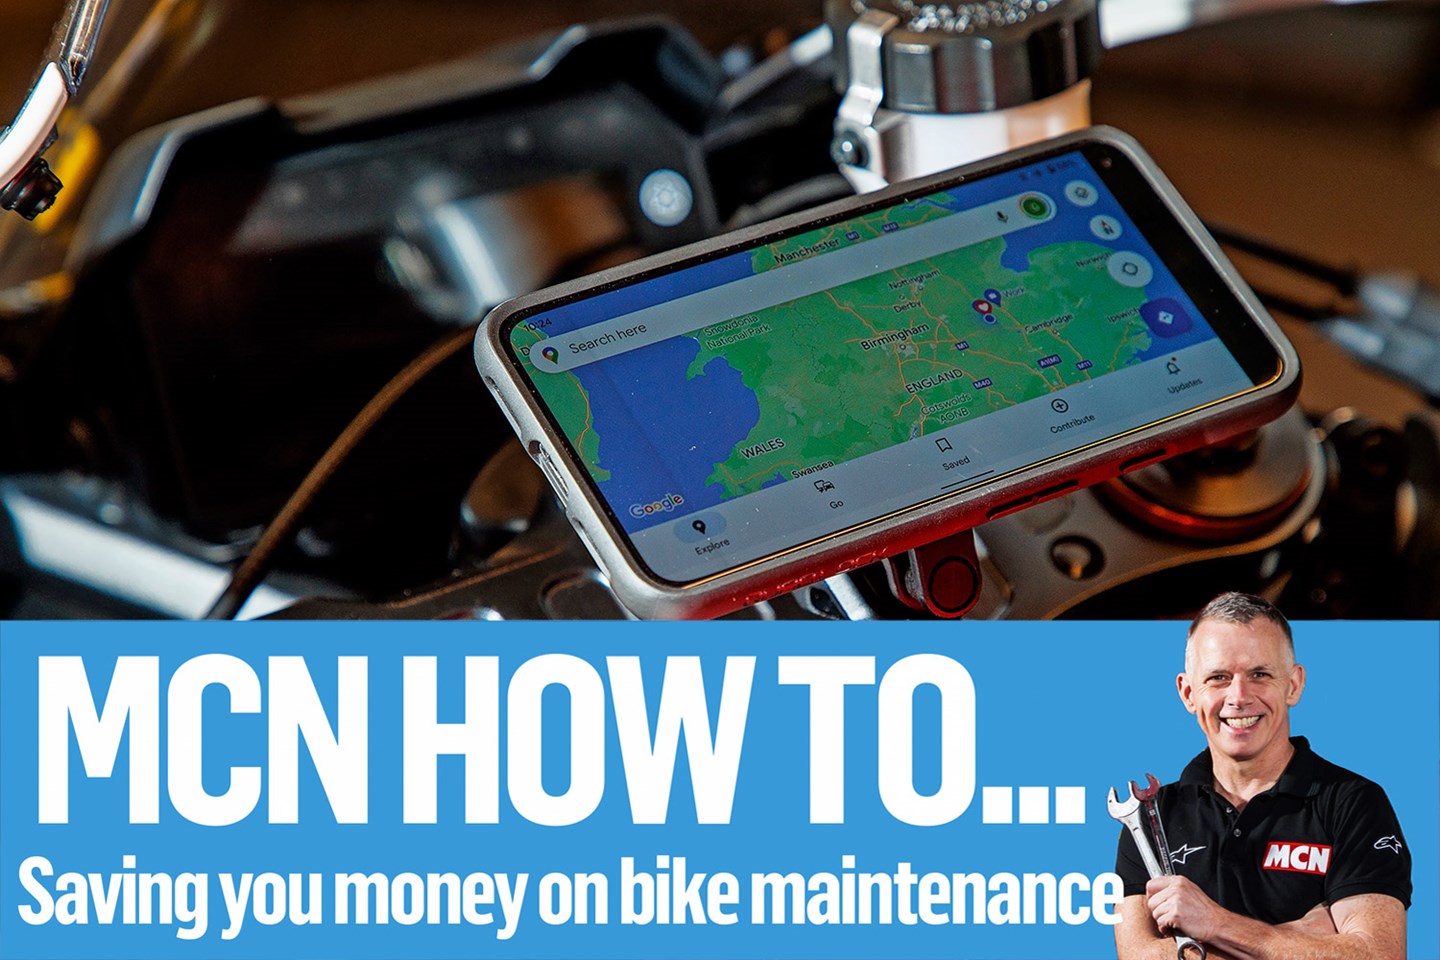
Stay connected! Wire in a motorcycle USB port and phone cradle for navigation and more
Plenty of bikers enjoy time on two wheels precisely because it’s time that we can’t be reached, distracted or hassled by our phones. The time spent ‘off-grid’ in the saddle can be a sacred break from the world and a mental health sanctuary.
But there are other times when having your phone displayed in front of you as a sat-nav can be very useful and some riders like to stay connected while they’re on the road, too.
Here’s our guide to fitting a phone cradle to your motorcycle and a USB port to make sure your battery doesn’t let you down before you reach your destination.
Step 1: Know your rating

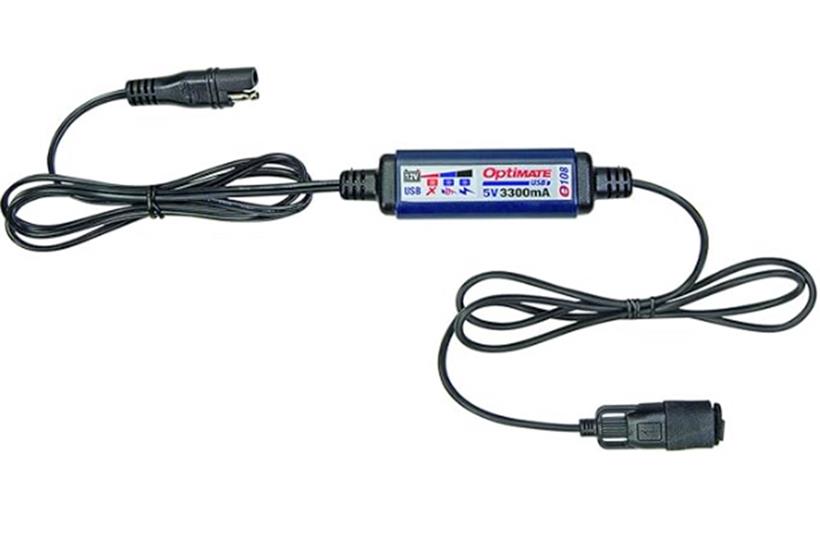
Installing a USB port is straightforward, but take care to choose one that has the correct output. A USB is always 5 volts, this does not vary but the output in terms of amps does. To charge a phone and run it as a satnav without losing charge you need to have a USB out put of at least 1.5 amps or 1500mA. This Optimate USB kit has an output of 3300mA.


Step 2: Do your homework

Do some research and buy a quality product. It’s easy to go cheap but the unit will almost certainly fail at some point. Make sure that the kit is weatherproof but the most important factor is vehicle battery protection, as this feature prevents the USB port discharging your bike’s battery when the engine isn’t running thus leaving you stranded.
Step 3: Find the battery

Find out where the bike’s battery is located as this is where the USB lead will connect. On most bikes the battery is located under the seat, but on others it may be hiding under a fairing. Identify which terminal is positive, this will usually have a red lead attached to it, with a ‘+’ mark, and the negative terminal has a black lead with a ‘-‘ symbol next to it.
Step 4: Keep everything tidy

When you are connecting accessories, it’s best to try to hide the wires behind panels if you can and route the cables alongside the existing loom. This will not only make it look tidy but by following the routing of the wires it will be safer. This Honda needed to have the left hand panels and forward tank cover removed to gain access to the desired route.
Step 5: Get the right length

Make sure the USB lead is able to run the distance from the battery to the mounting point without being stretched. Run it alongside the desired route to check. Make sure the routing has no sharp kinks or jagged edges that could snag the wires.
Step 6: Follow the loom

Start threading the wire from the front of the bike to the back, making sure the USB socket is at the front. Ensure that you follow the routing of the standard wiring exactly when going in between the forks and yokes. Cable tie as you go, keeping it all tidy.
Step 7: Secure the port

With the lead routed and tied all the way back to the battery, leave it disconnected from the battery terminals for now before securing the USB socket into position. This kit is bike-specific so has a weatherproof cap and small tie-down points on the sides to fix it.
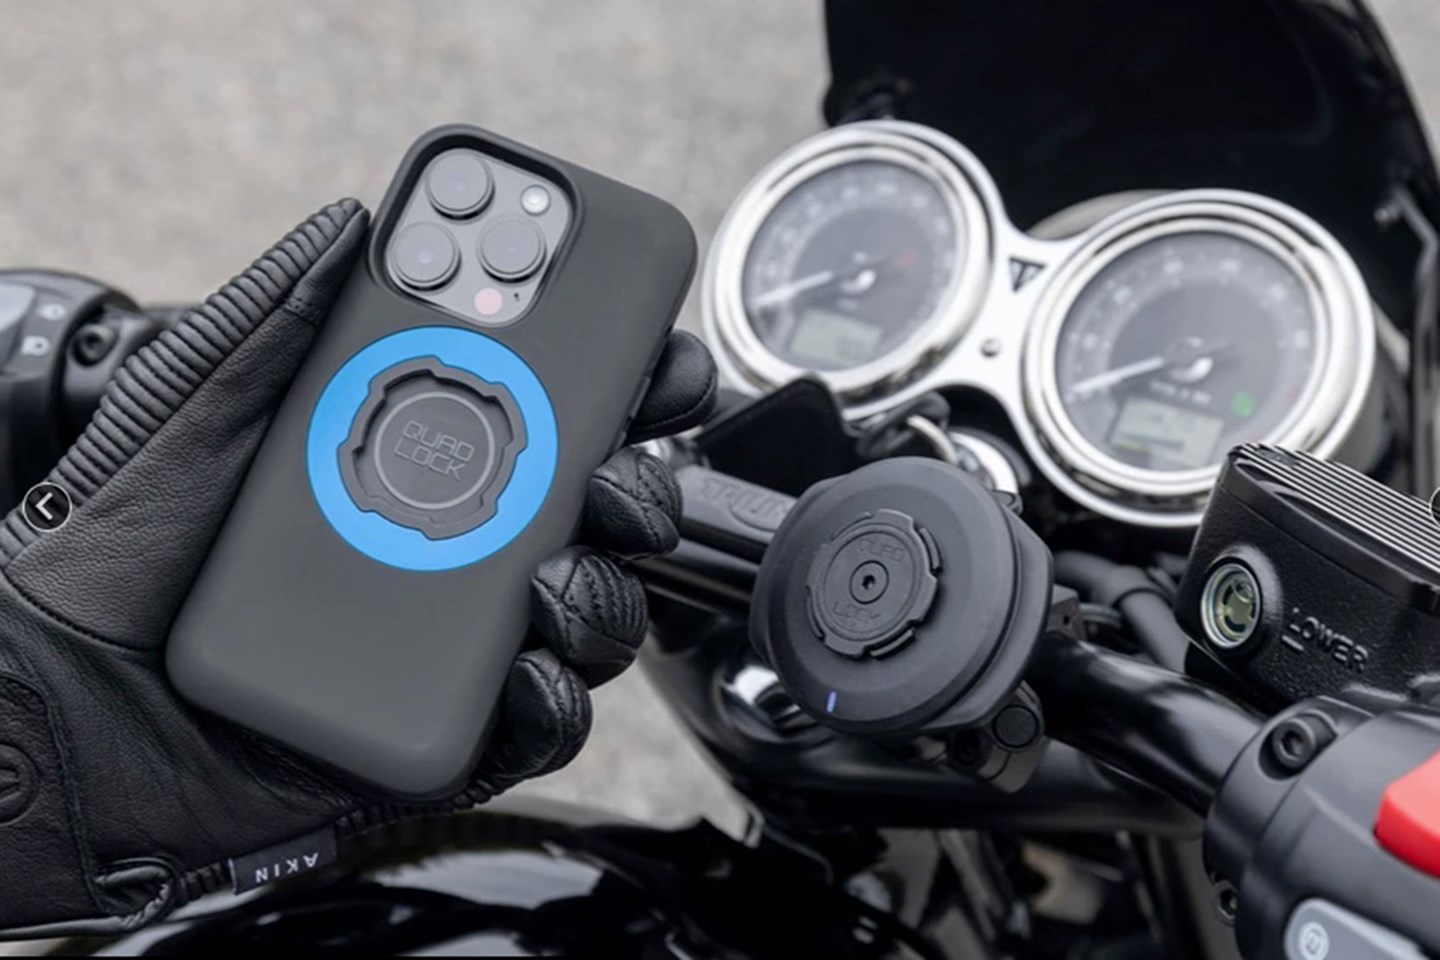
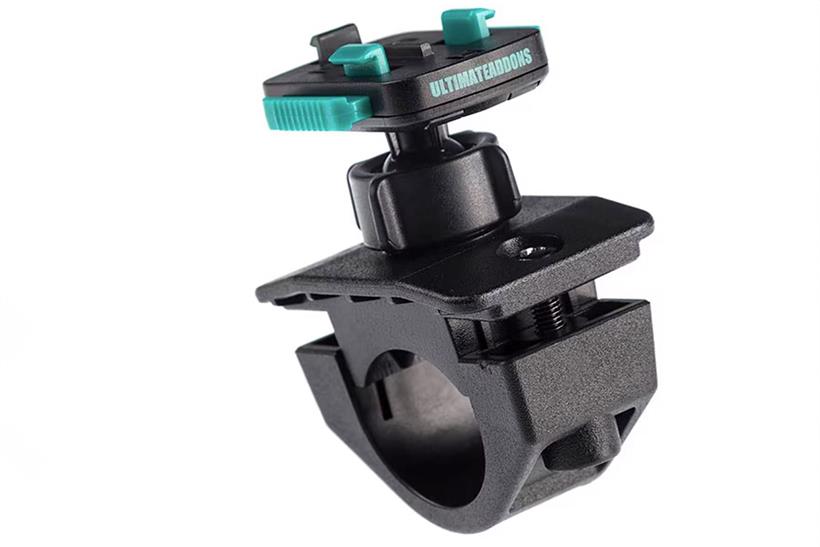
Step 8: Mount the cradle

Cradles can be split into two groups: the type that keep the phone safe in a waterproof case, or those that just hold the phone. If you choose to use a basic type, be warned: many phones claim to be waterproof, but cannot withstand extreme conditions on a bike.
Step 9: Get powered up

Connect the lead to the battery, these are both supplied with the correct colours and markings to make it easy to get the polarity to the terminals correct. Tighten the terminals firmly with the leads attached, and then replace any protective rubber caps.
Step 10: Plug and play

Before you refit the panels, plug in the phone and make sure it is charging. Check again that there is no binding from the cables when the steering is on full lock. Finally, refit the tank and any panels and as you do so, perform a final visual check of the route of the wiring.
Bruce’s top tips
I usually associate Optimate with battery chargers, but their line of premium products includes USB charging ports. Their USB chargers incorporate that all-important battery protection feature I mentioned so won’t leave you stranded.
Also if you already have an Optimate charging lead fitted to your bike, then the SAE type of connectors are the same and this means you could use the same lead to hook up to the battery. This would minimise the fitting time, and keep the wiring to a minimum.
When it comes to selecting phone holders, there are a ton of accessories to choose from – for a simple and effective solution, you can’t beat the Quadlock system, in my opinion.
But for the rider who’s doing big miles through all weather, then you definitely need a holder that mounts your phone in a case, don’t rely on your phone’s claimed waterproof specifications.
A case and holder I used recently was the iMestou system (£31 purchased at the MCN London Show), the phone clips into the case and keeps the phone charged up by induction charging. Magic!