How to change your motorbike's brake pads at home and boost both safety and performance

However hard you ride and however many miles you cover, eventually your motorbike will need new brake pads fitted.
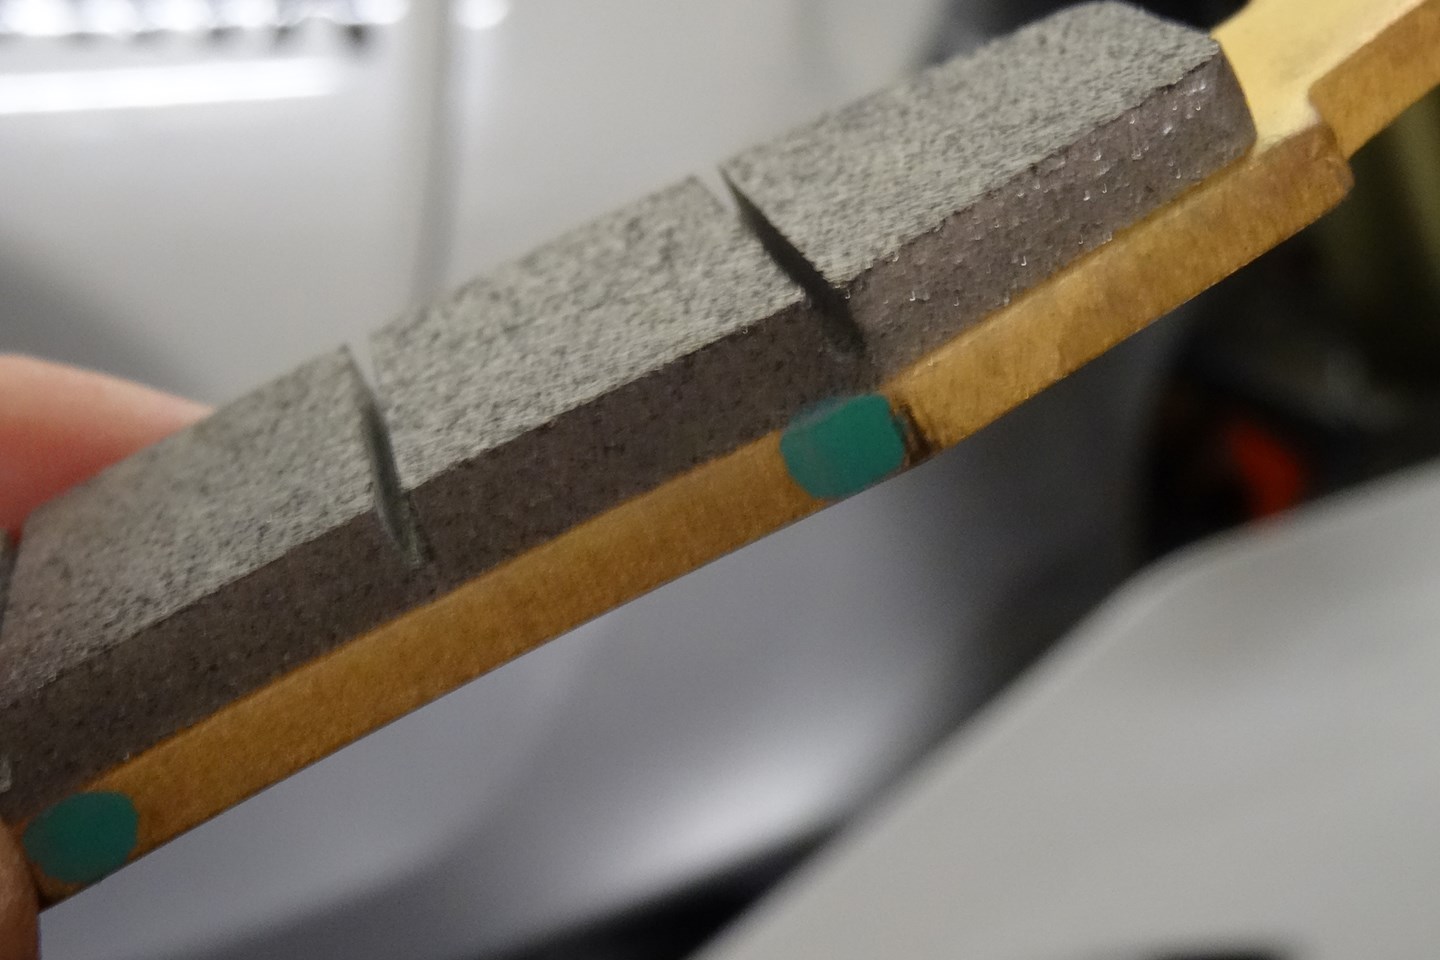
Brake pads only have a certain lifespan as the friction material on them gradually wears out from general usage. It’s common for pads to have wear grooves (much like wear indicators on a tyre) and when the groove is worn flush it’s time to change the pads – alternatively, you can check the pad minimum thickness in your bike’s manual.
But fresh pads doesn’t always mean a trip to the local mechanic – it can be a simple and relatively quick job to do at home with even a basic motorcycle toolkit. Read on for our guide to changing your own brake pads at home.
Find all the tools you are likely to need at the bottom of the page.
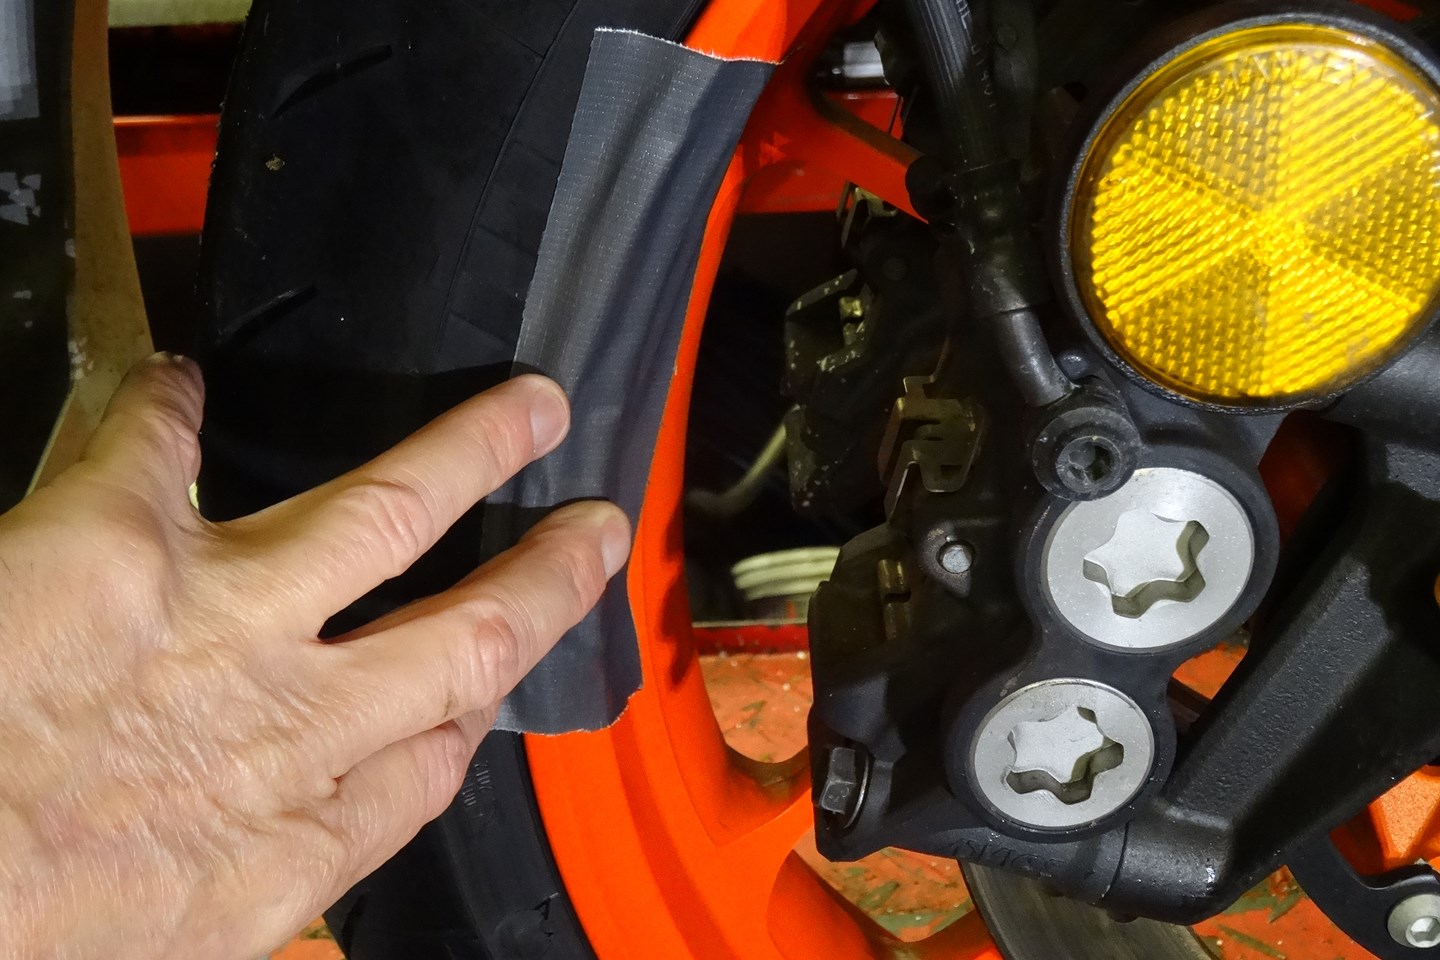
Undo the caliper

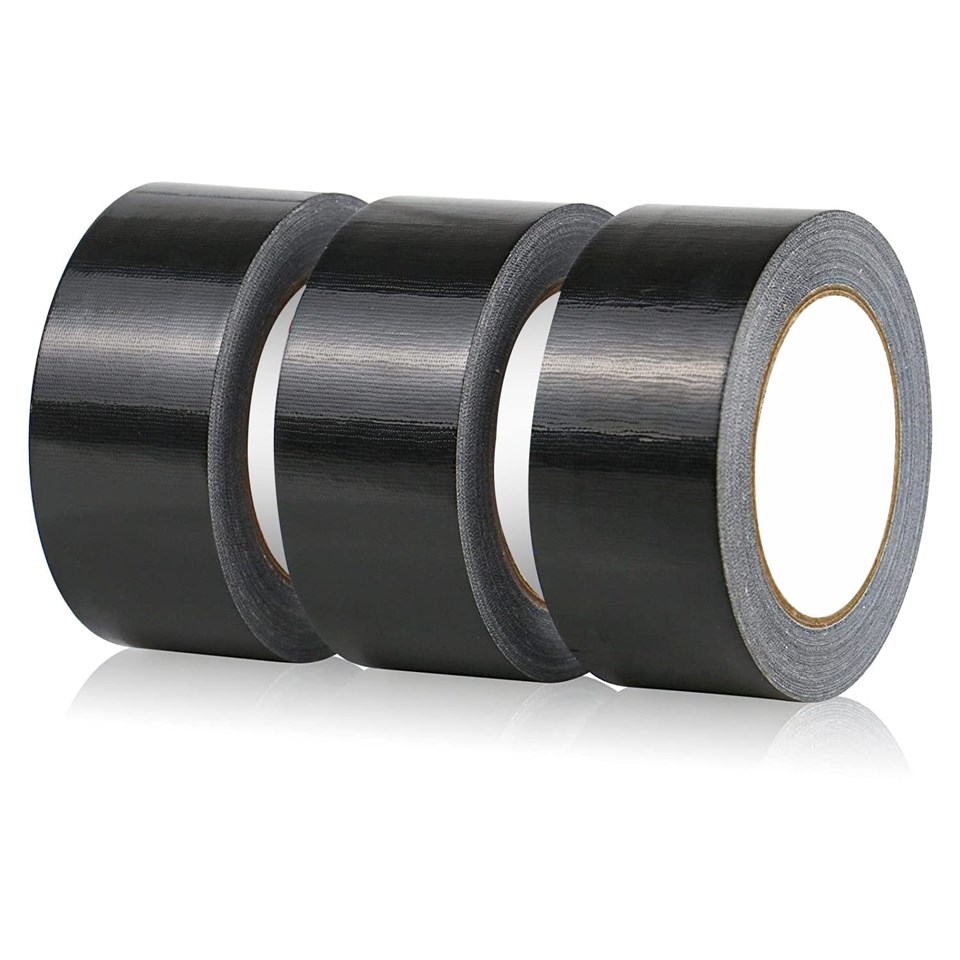
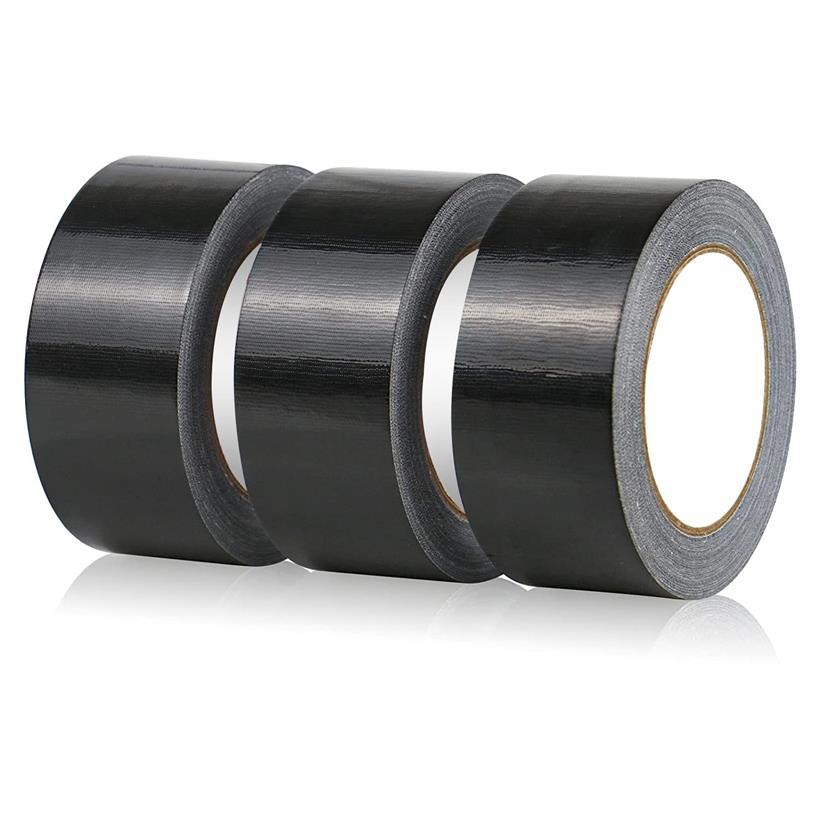
Apply gaffer tape to protect the paint on the rim. Work on one side at a time and always keep one caliper mounted on the disc, because you will need to move the pistons back and forth – with both calipers removed, you run the risk of running out of brake fluid in the reservoir. Loosen the pad retaining pin first (if one is fitted), then undo the caliper mounting bolts.
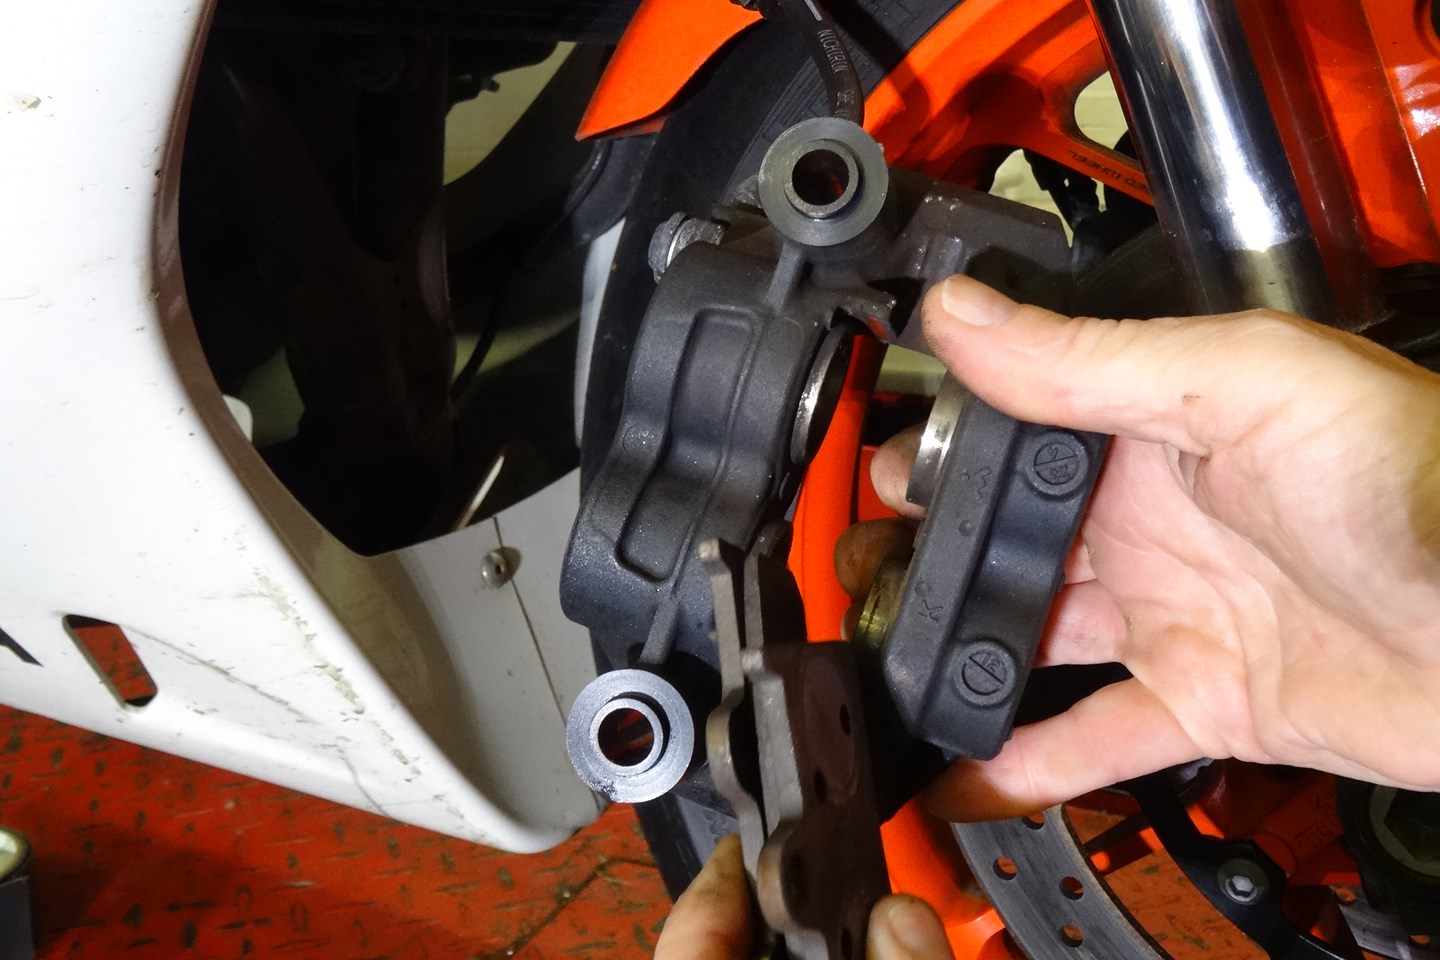
Remove the brake pads

Remove the loosened brake pad retaining pin (if fitted). Make a note of how any spring plates are mounted, as these keep the pads tensioned and prevent rattling. When the retaining pin has been removed the pads will fall out. Inspect the pads for their condition and compare them to the new ones, checking that the replacements are the same type/shape.
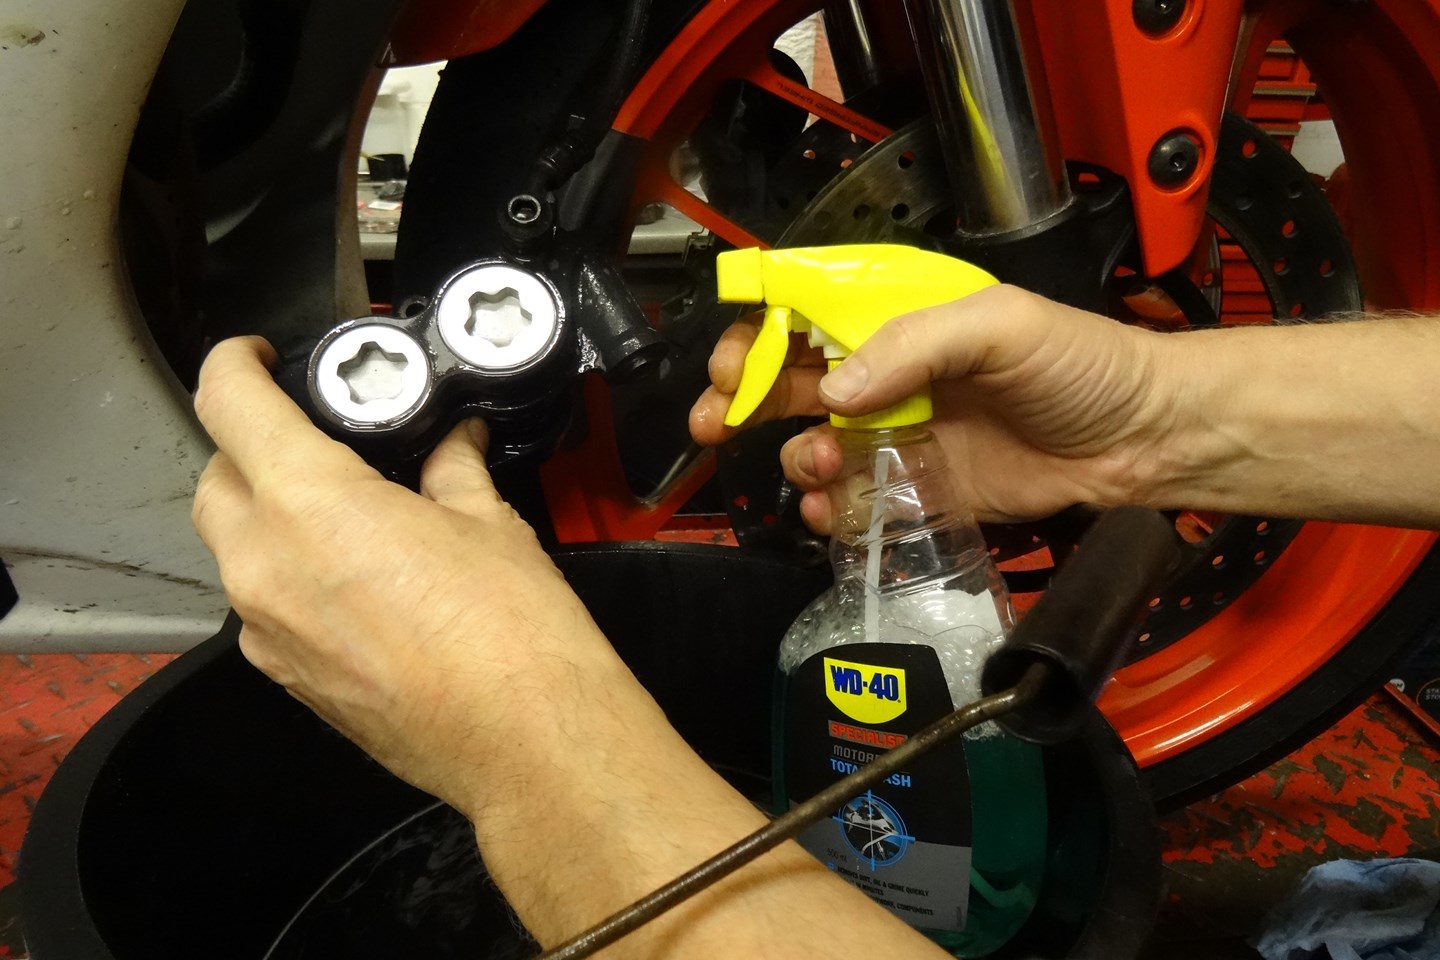
Clean the caliper

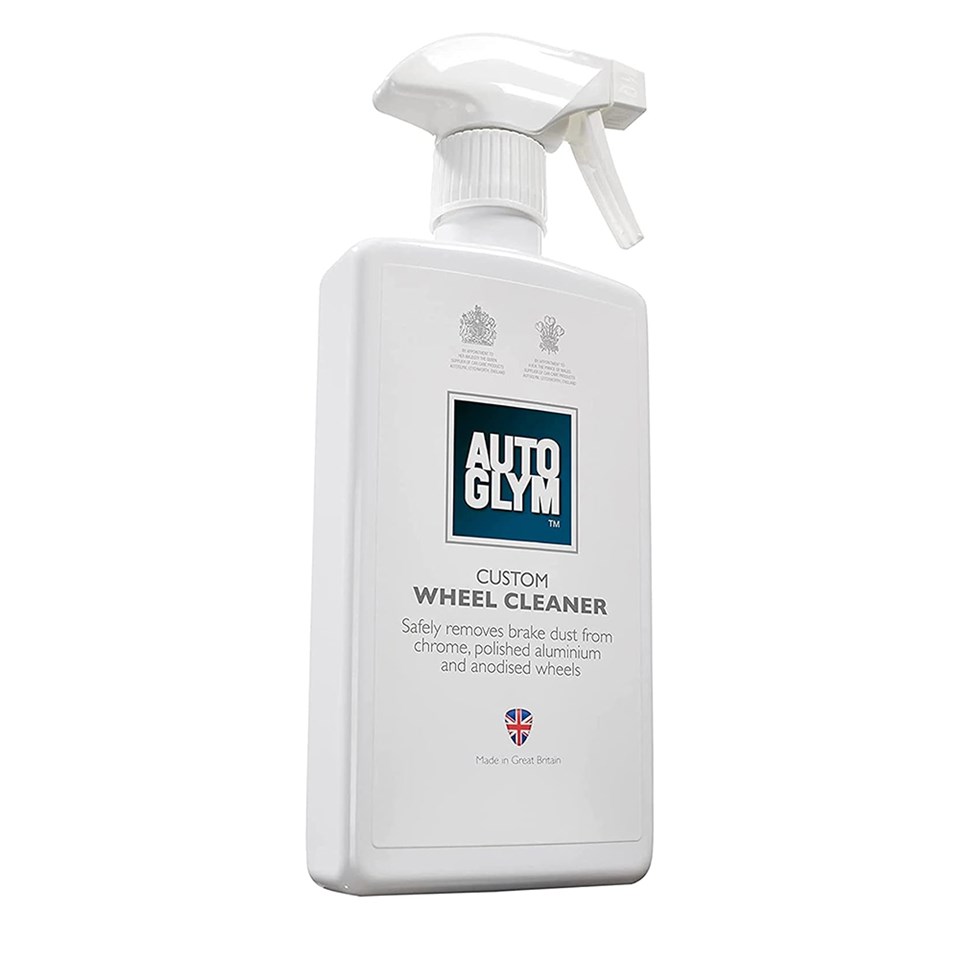
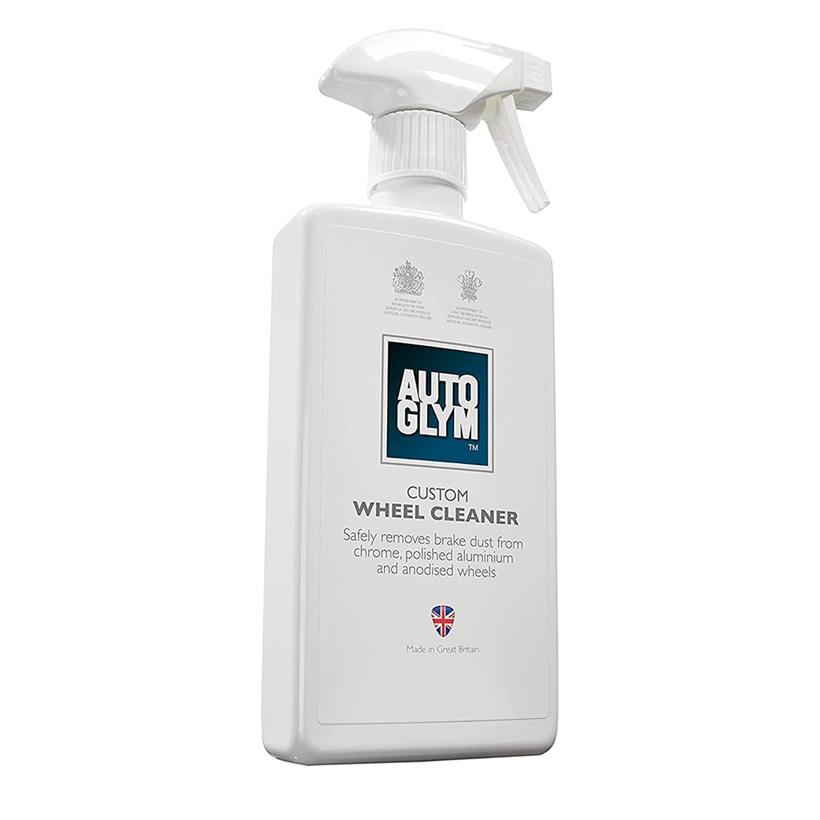
Now is the time to give the caliper a proper clean. Fill a bucket with warm water and add in a bit of bike cleaner, before giving the caliper a good coat with both. The cleaner will penetrate any grime and loosen dirt, but be accurate when spraying cleaner on the brake caliper because you don’t need to be over-spraying on to the brake discs and fork legs.
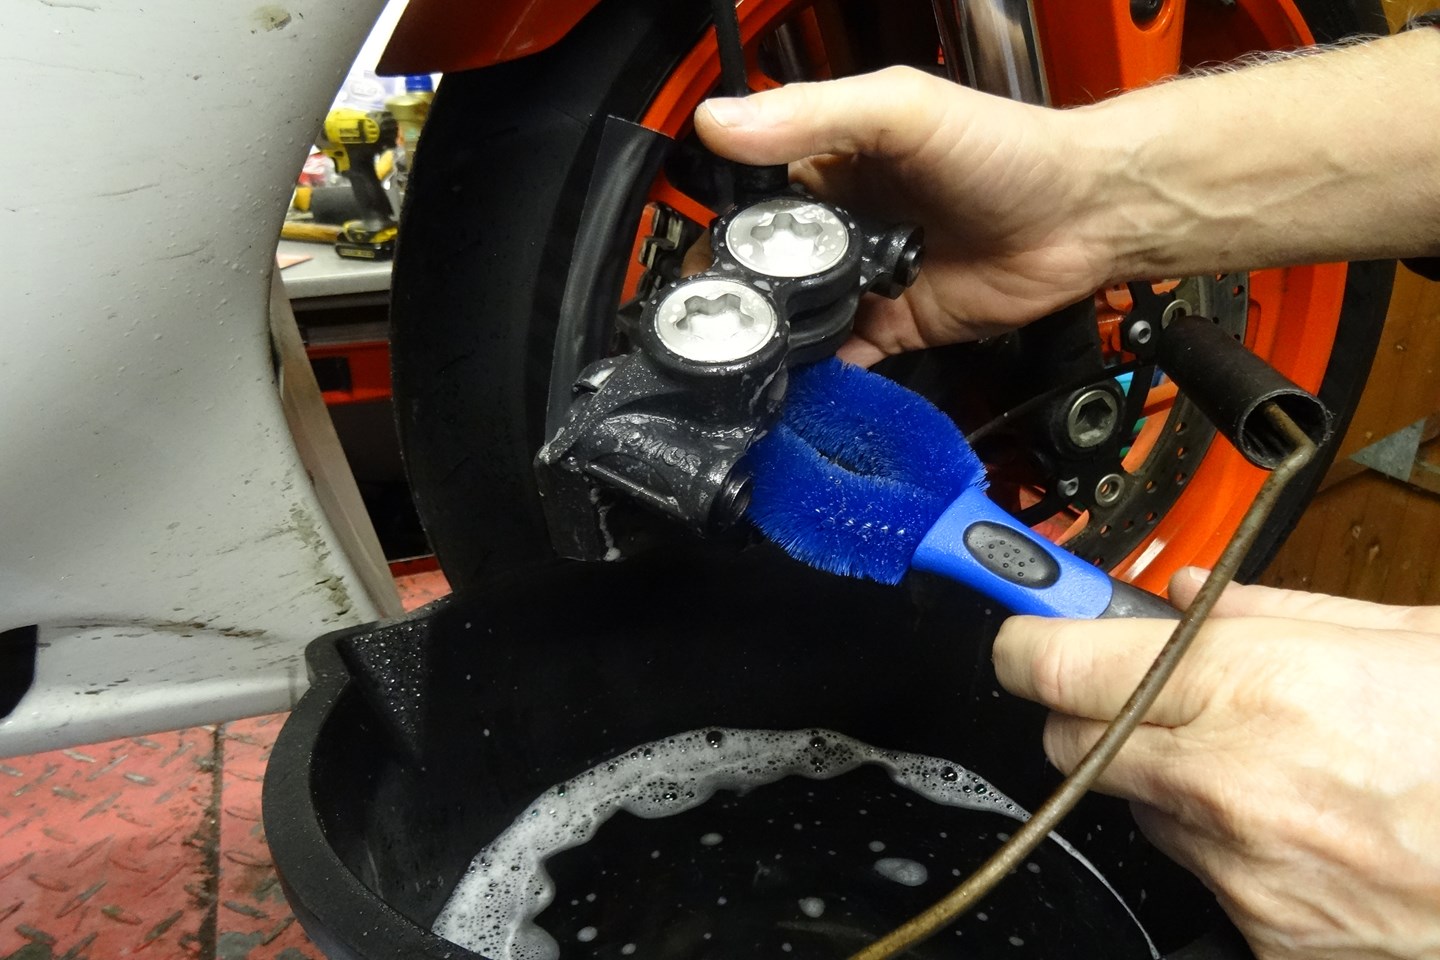
Get it properly clean

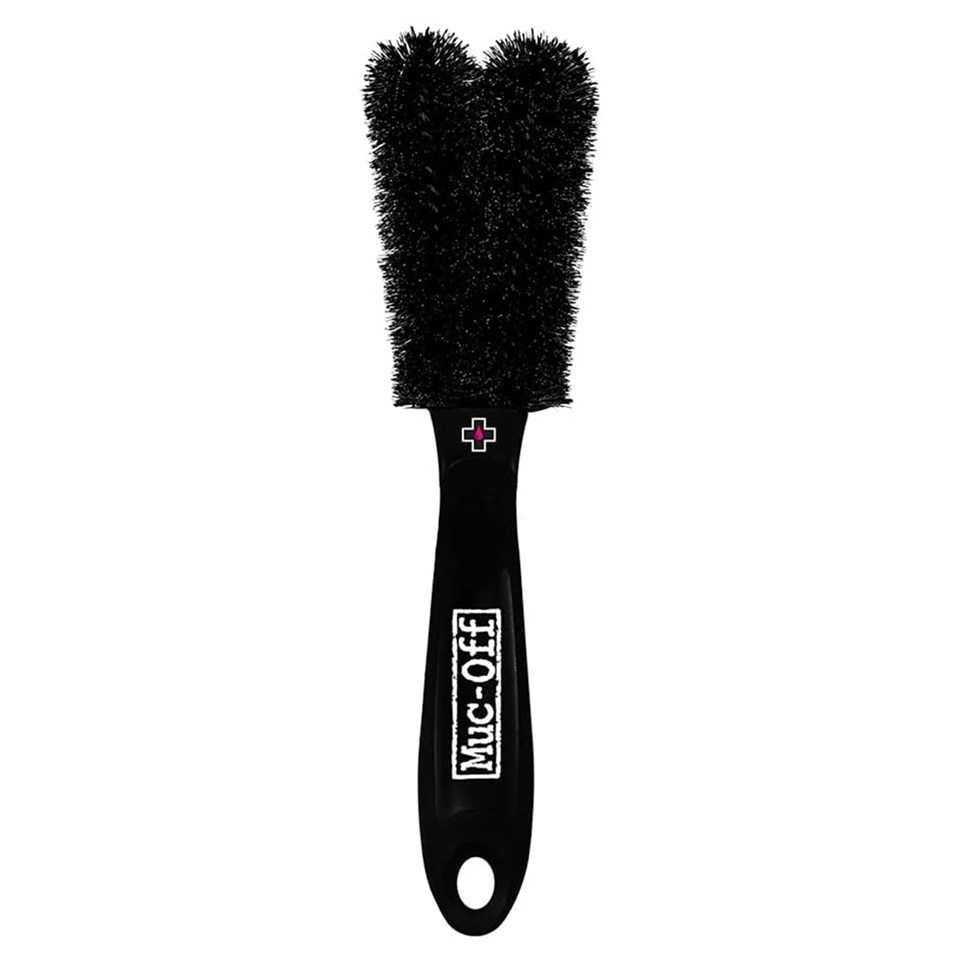
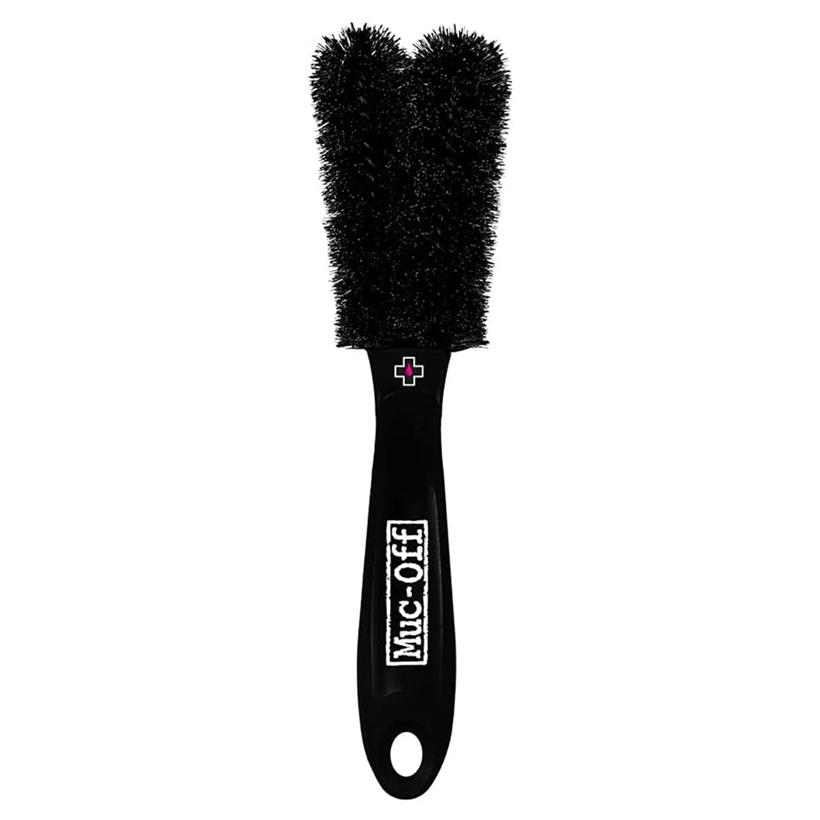
Using a suitable nylon brush, agitate the cleaner and pay attention to the areas that are within the caliper, and between the pistons. For seriously hard-to-shift muck, use a Scotchbrite pad with bike cleaner. Rinse off with water, before drying off with a clean cloth.
- Bruce’s tip: Clean the backing shim fitted to the back of the pad if you have one.
Prepare the caliper

Gently push the pistons back into the caliper. Do this by temporarily refitting the old pads, before inserting a meaty screwdriver or tyre lever between them to gently apply pressure to open the width. The pistons need to go back so they are flush with the caliper body.
- Bruce’s tip: It can be tricky, but the tip is to apply gentle, sustained pressure.
Fit the new pads and pins

Fit the new pads, remembering that the backing plate sits against the pistons. You will need to refit the spring plate and shim, and it will need a bit of tension as you install the retaining pin. Screw the pin firmly in, and make sure the new pads are flush against the pistons.
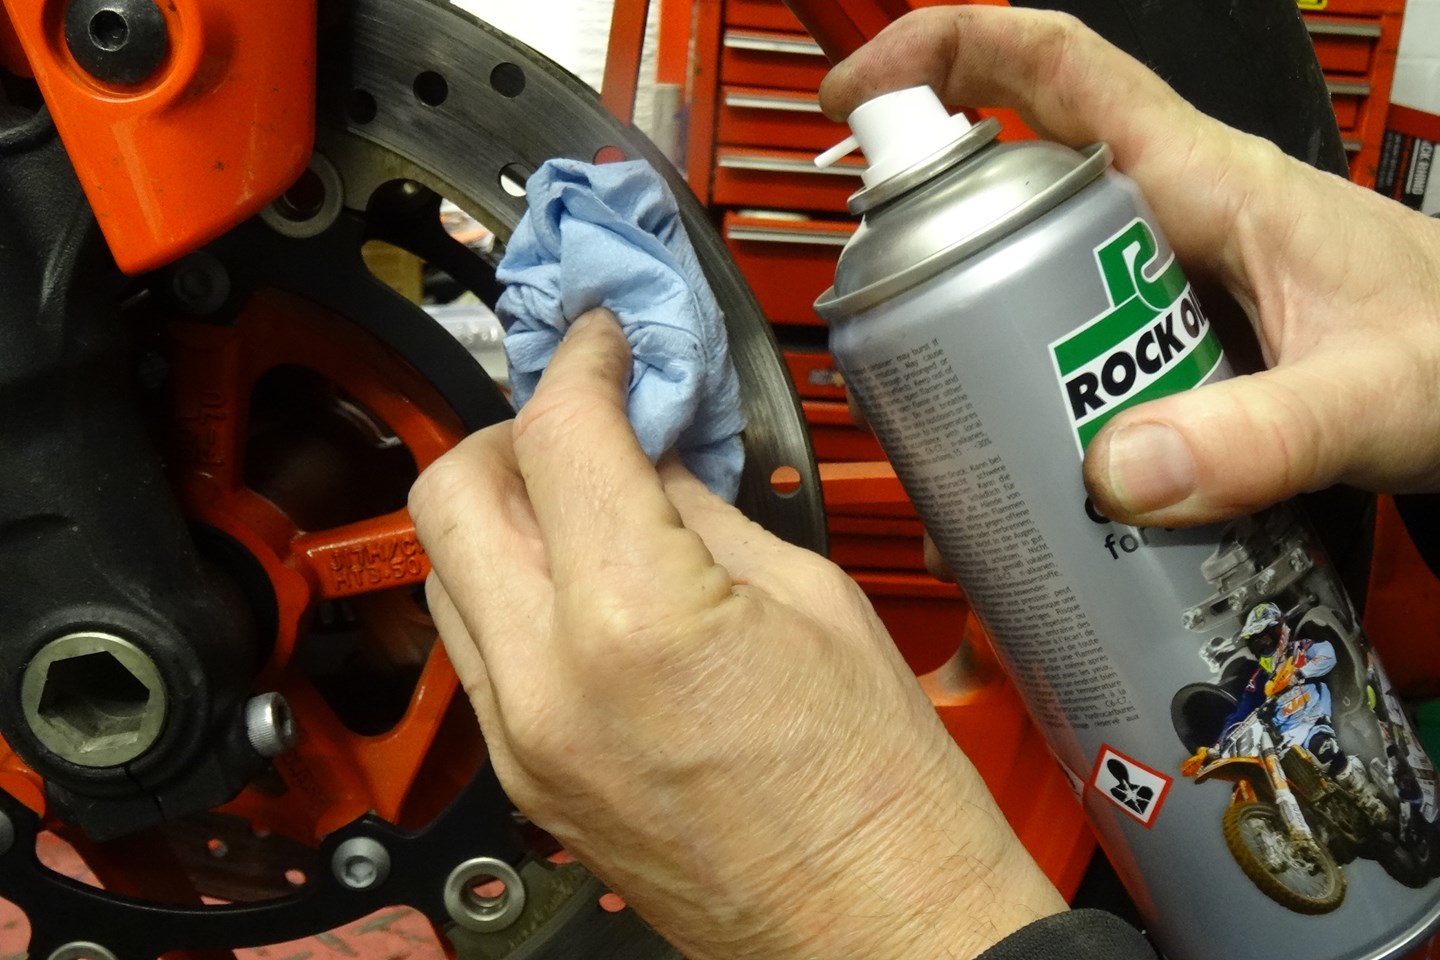
Clean the disc

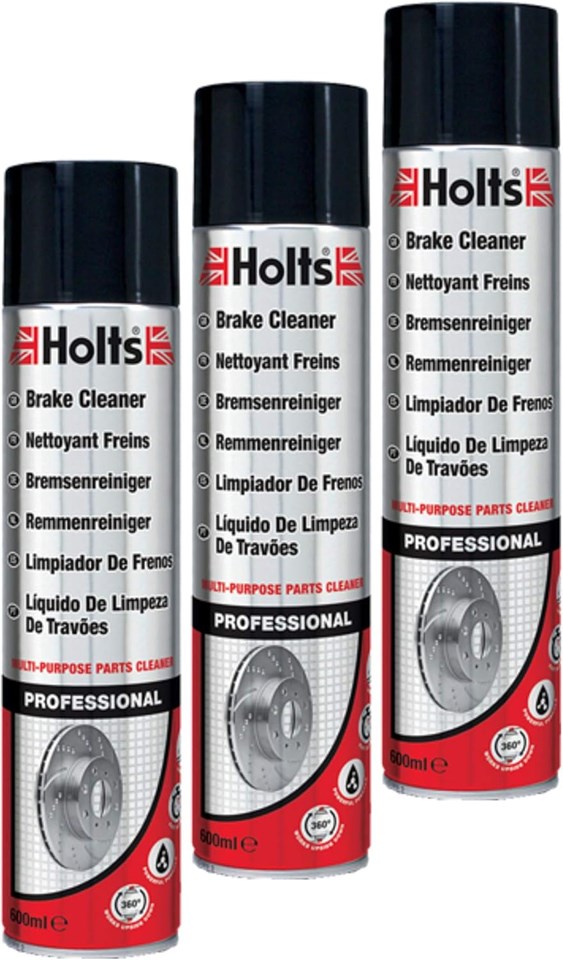
Before installing the caliper, use brake cleaner to clean the disc. Work on the carrier first using brake cleaner, and always wipe with clean workshop paper towel. Tackle the outer disc last using a fresh paper towel, using a rotating motion with the towel until it is wiped clean.
- Bruce’s tip: Check the brake disc for any excessive wear or cracks.
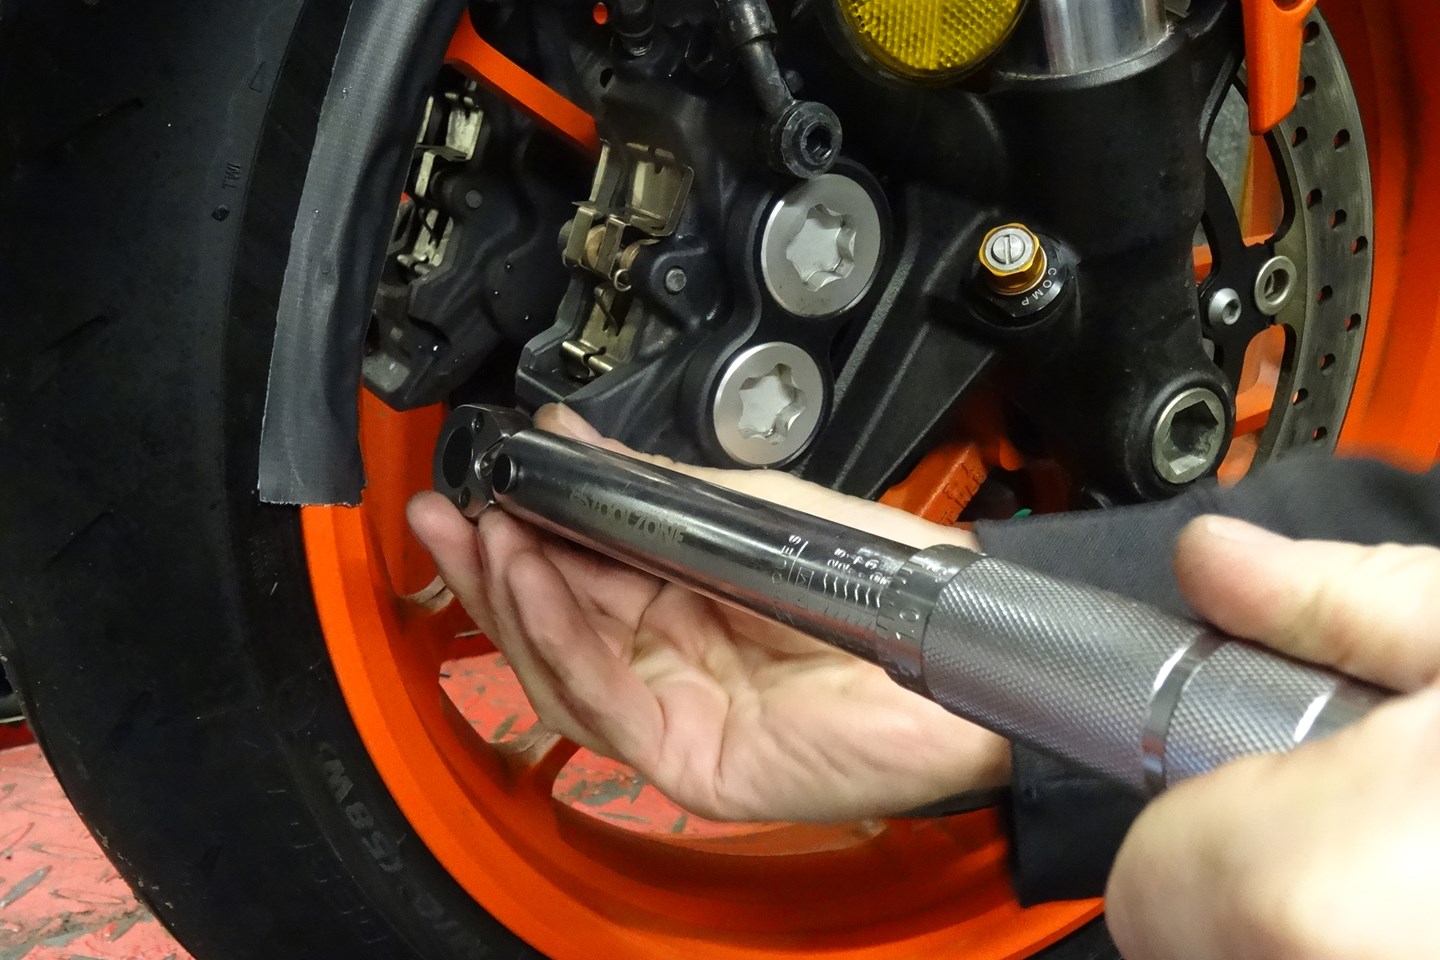
Refit the caliper

Install the caliper, making sure the disc goes between the pads. Install the caliper mounting bolts, doing them up evenly, and lightly tightening before using a torque wrench – you’ll find the torque figure in your workshop manual. Do a final check on the pad retaining bolt.
- Bruce’s tip: Check the manual as sometimes threadlock is used on the bolts.
Pump the lever

Pump the lever several times so the pistons push the new pads and contact the disc. When they do this the lever will be firm – DO NOT attempt to ride the bike before pumping the lever. If you have a twin-disc layout, now is the time to repeat the procedure on the other caliper.
- Bruce’s tip: When you test ride, make sure you allow time for the pads to bed in.
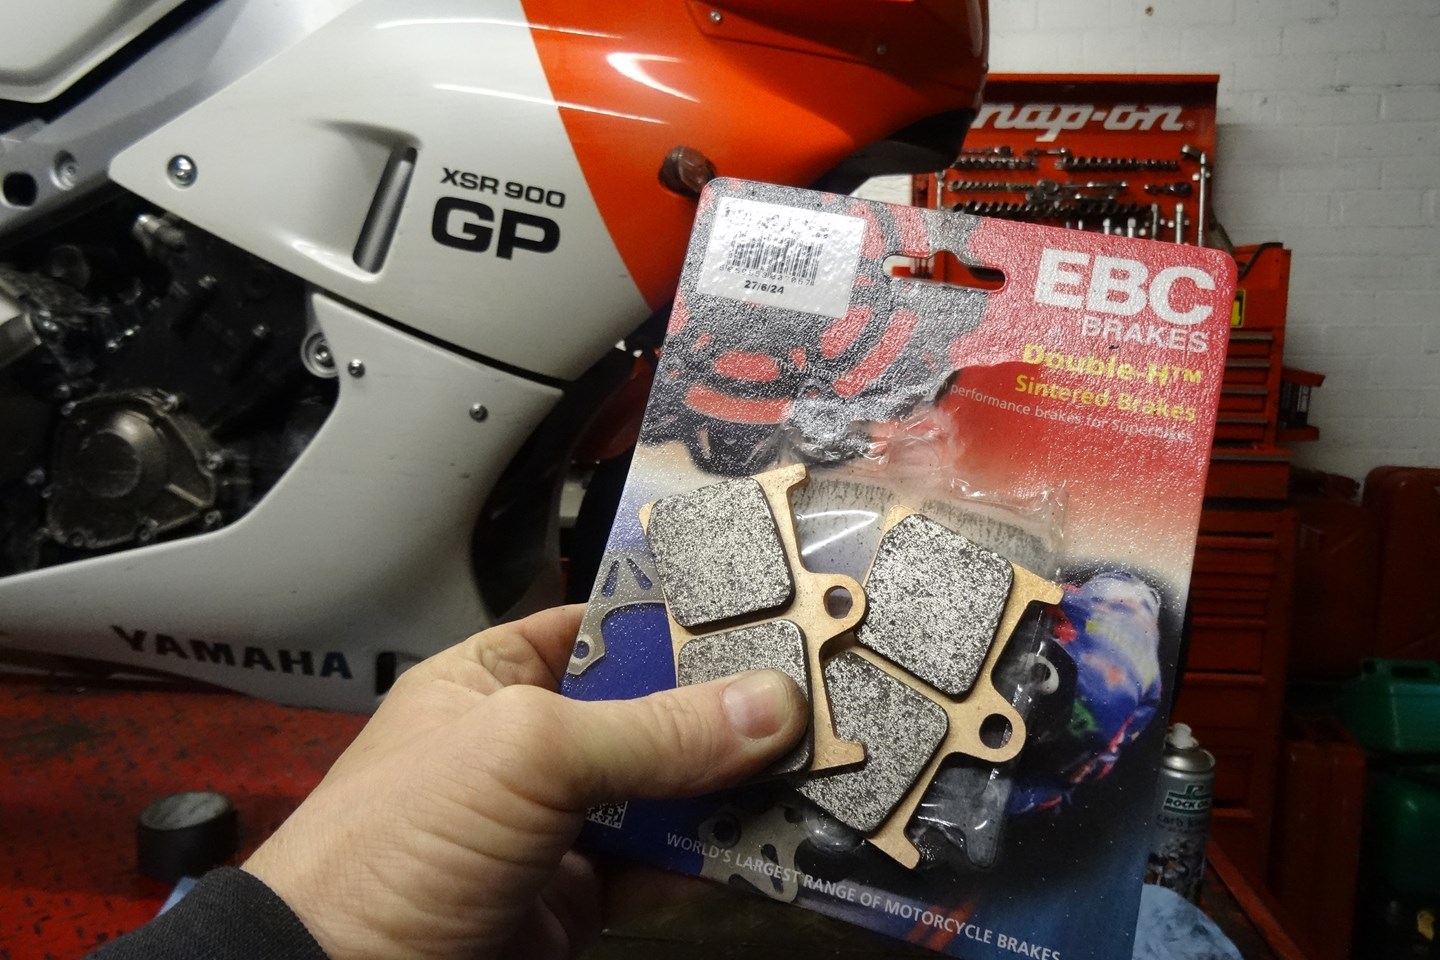
Why I always choose a recognised brake pad brand

When it comes to changing the brake pads on your bike, it’s worth checking out what types of pad are available, and what will best suit your style of riding. For a start, you will never go wrong if you fit the original units, although they are not always stocked and can be more expensive than other replacement brands. My default, go-to replacement brand is EBC, as I have never had any issues with fitment or quality, and the range of bikes they fit goes back years.
Talking of which, EBC recently helped me out with the brakes on a 1989 Yamaha TDR250, as the front disc was cracked and would have failed an MoT… a job made harder by the fact that Yamaha discontinued them years ago!
I’d always recommend going with a trusted brand and remember that a good braking set-up is vital for a safe and enjoyable riding experience.
The tools you will need
Rrp: $19.96

Rrp: $19.96

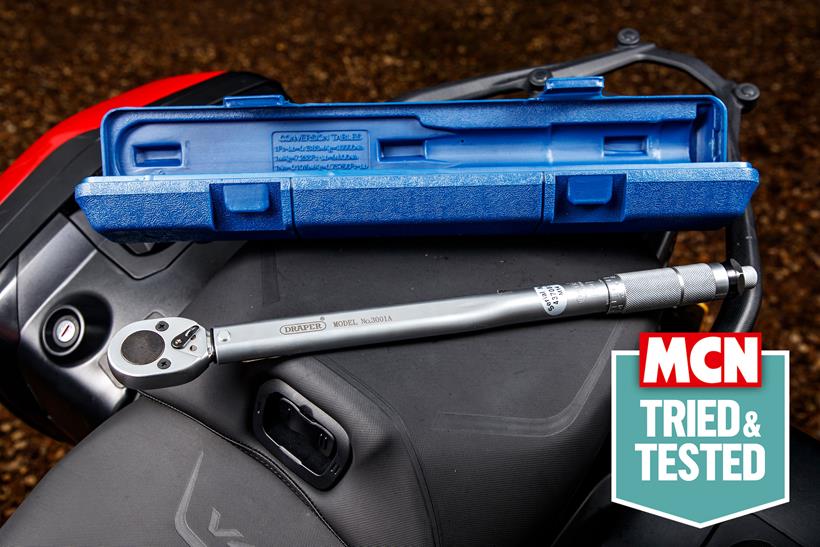
"If you do any work on your bike (or other vehicles) you really must have a torque wrench. I’ve got one for high-torque jobs, and a smaller one for more delicate tasks. This Draper item is the meaty one. Rated to cope with torques from 20-210Nm (22.1 – 154.9lb.ft), it’ll cover the vast majority of common tasks that use large nuts, like wheel spindle nuts, swingarm pivot bolts, headstock nuts etc. And these are all things you don’t want to under- or over-tighten – the consequences of both are dire, and potentially very dangerous."
"To use it, you simply add the relevant socket to the 1/2in square drive (like any other ratchet), set the torque rating on the marked handle, and tighten the nut or bolt in question. Once the right torque is reached, there’s an audible ‘click’ and it feels momentarily like you’ve broken something as the tension goes slack. Couldn’t be simpler."
Pros
- Simple to use
- Quality made item
- Feels meaty
| Construction | Carbon steel |
| Torque range | 30Nm to 210Nm |
| Size | 1/2 inch square drive |
- Comes in a handy carry case
- Engraved ratchet head with Nm and lb scales for easy adjustment
- Easy to use, clicks when tension is reached
– Just so you know, we may receive a commission or other compensation from the links on this website – read why you should trust us.